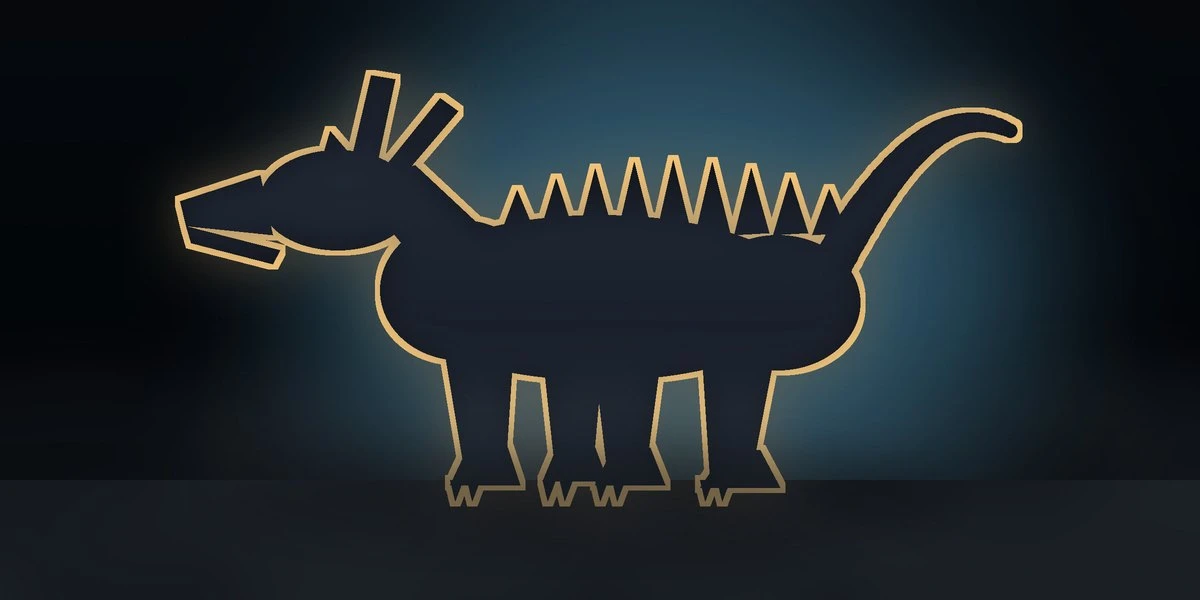
Image generated with AI
Creature Design in Blender: Anatomy & Sculpting Guide

Diego Cortés
Author
A creature is doomed if its silhouette doesn't read in black. Creature design in Blender starts before the first scale: deciding what it eats, how it moves and what makes it dangerous. Blender executes those decisions through blockout, borrowed anatomy and a few parts never sculpted into the body.
What Makes a Creature Believable (and What Doesn't)
The usual trap is starting with detail. Perfect pores on a mass nobody understands impress no one: the eye reads the big volumes first. If the creature works at thumbnail size, detail improves it. If it doesn't, detail only hides the problem for a while.
Function Before Form
Every creature that holds up has at least one primary function, and it has to be specific to it: defensive, offensive or feeding. If the animal is a scavenger working in darkness, the shape should tell how it finds food, not how it kills. That question reshapes the skull, the neck and where the weight points.
Reference: The Real Animal as a Construction Plan
Anatomy is what makes a creature believable, and it gets studied before modelling. The method: pick an animal, look at its skeleton and musculature, and treat that structure as a plan. Blend references in the skeleton, not on the surface: an avian skull on a feline ribcage is a decision; a feather texture over a cat body is a collage.
The Silhouette Decides: Design That Reads in Black
If the character doesn't read as a silhouette, no amount of detail saves it. The characters we remember are recognised from their outline alone, in flat black.
The Three-Second Test
The creature has to be recognisable and memorable within three seconds. Test it by showing only the silhouette to someone else and asking what they think it is and what attitude it has; if it needs an explanation, the design owes you work. The scale test comes with it: the outline should work from a small icon up to a large poster.
Shape Language and the Elimination Method
Curves read as friendliness and flow; angles as danger and force; organic shapes as natural power. To get there, generate ten quick silhouettes, discard eight without mercy and explain in one sentence why the survivor works. A fast sketch holds three things: silhouette, primary shapes and personality.
Borrowed Anatomy: Skeleton, Masses and Pivot Points
From the Animal Skeleton to the Creature
Before touching a brush, define the skeleton with lines: spine, ribcage, pelvis and the pivot of each limb. That is where you decide whether it leaps, carries weight or drags itself. For the quadruped case, how a quadruped moves in 3D completes the criteria.
Proportions That Tell a Story
A large skull infantilises; a huge torso on thin limbs suggests disproportionate strength; a small head over wide shoulders increases perceived mass. No invented measurements needed: decide what impression it must give at first glance, then push the masses until the outline says it unaided.
Creature Design in Blender: Blockout From Silhouette to Volume
With the design settled on paper, Blender turns the silhouette into volume. The priority stays: big masses first. Blockout happens with primitives and closes with a Voxel Remesh that rebuilds uniform topology, clears internal overlap and leaves a closed volume.
Primitives, Symmetry and Voxel Remesh
Voxel size is set with R and the operation runs with Ctrl+R: big for finding the shape, small once the silhouette is approved. Remesh preserves masks, face sets and colour attributes, and does not work without a closed volume. Symmetry works on local axes, with Mirror, Lock and radial; if dynamic topology broke it, Symmetrize rebuilds it. The full mechanics of brushes and remesh live in sculpting characters for beginners.
When to Switch to Dyntopo or Multiresolution
Dynamic Topology lets you sculpt without thinking about resolution, at the cost of speed and of losing or corrupting UVs, colours and face sets; it is mutually exclusive with voxel remesh because they share shortcuts. Multiresolution asks for a clean quad base with no non-manifold faces and does not allow topology changes afterwards. Its advantage is travelling between levels: proportions at 1, detail at 4, back to 1 to fix something. Past five subdivisions, switching levels gets slow, and Voxel Remesh does not work on it. For the middle step, how to sculpt details at an intermediate level; to see how long a creature lives in blockout, the Leviathan sculpt timelapse.
The Four Parts You Model Separately
Eyes: Why They Rarely Belong in the Body Mesh
Eyes carry attitude: head studies lean on them because they say more about character than any other part. Inside the body they share the skin material and lose the highlight that makes them alive. As separate spheres they get their own material and free placement until the gaze lands, something no texture fixes afterwards.
Teeth, Horns and Crests
Teeth go on two arcs, upper and lower, following the real curve of the jaw: they share neither size nor spacing, and copying one from the other leaves a toy mouth. Horns, crests and spines are usually solved with curves and modifiers: the profile controls thickness along the path and the silhouette can be corrected at any point. Inside Sculpt Mode, Snake Hook handles elongated forms, with Magnify to avoid losing volume and Rake to rotate geometry.
Mask Extract for Plates and Armour
Mask Extract turns a masked region into new geometry, with smoothing iterations and projection onto the original, plus an option to generate a solid: the shortcut for plates, shells and armour that must read as added pieces. To see the full workflow, the armour modelling and sculpting workshop.
Surface: Skin, Scales and Membranes
Skin is solved with relief and material, not by sculpting scale after scale. A well-scaled noise pattern gives roughness variation and micro relief. If it needs more resolution than the UV can hold, the answer is UDIM: several tiles. How those nodes are built is in Blender shaders with nodes, the tiling in UDIM for texturing a model and the end of the pipeline in PBR texturing.
Symmetry goes off for the final detail pass. Not because symmetry is wrong, but because it is a construction tool, not a finishing rule: nothing real is perfectly symmetrical. Before that point, symmetry saves half the work; after it, it costs credibility.
Staging: Pose Without a Rig, Light and 360 View
The Pose Brush
The Pose brush deforms like a rig without a rig: automatic origin, Rotate, Scale/Translate and Squash/Stretch. Its IK segments allow curved deformations, which tails, necks and tentacles need. That tests attitude in minutes before investing in a skeleton. To take it into animation, blocking, spline and polish; for the next step, character rigging in Maya.
Light, Turntable and Presentation Sheet
Presentation light isn't there to make the creature pretty but to make it legible: a side key light marks the volumes and reveals whether the silhouette works. The basics are in HDRI lighting in Blender. A 360 turntable shows the back and how each piece connects (how to set it up), and the presentation sheet sums it up in four frames: black silhouette, three-quarter view, head detail and mesh. If it survives those four, it is ready. For a stylised creature, a cute stylised alien in Blender and cel shading in Unreal Engine 5.
The Mistakes That Kill a Creature
- Detailing before approving the silhouette.
- Blending animals on the surface instead of in the skeleton.
- Leaving the eyes inside the body mesh.
- Wanting a topology change after subdividing with Multiresolution.
- Trusting Dynamic Topology to keep UVs and colours.
Conclusion
Creature design is won on decisions: what function it serves, which animal lends its anatomy, which silhouette makes it memorable and which four parts get modelled separately. Before opening Sculpt Mode, the creature should already exist as a black silhouette and a skeleton of lines.
To see the craft in motion, the platform holds a curated collection of video tutorials on sculpting and creatures, reviewed one by one so nothing unrelated sits next to them: search creatures in the video library or browse the Blender category. It is a personal archive I keep to study and rewatch, open to anyone who needs it. If you are just starting, learning CGI from scratch; if you already sculpt, the natural next step is retopology in Blender.