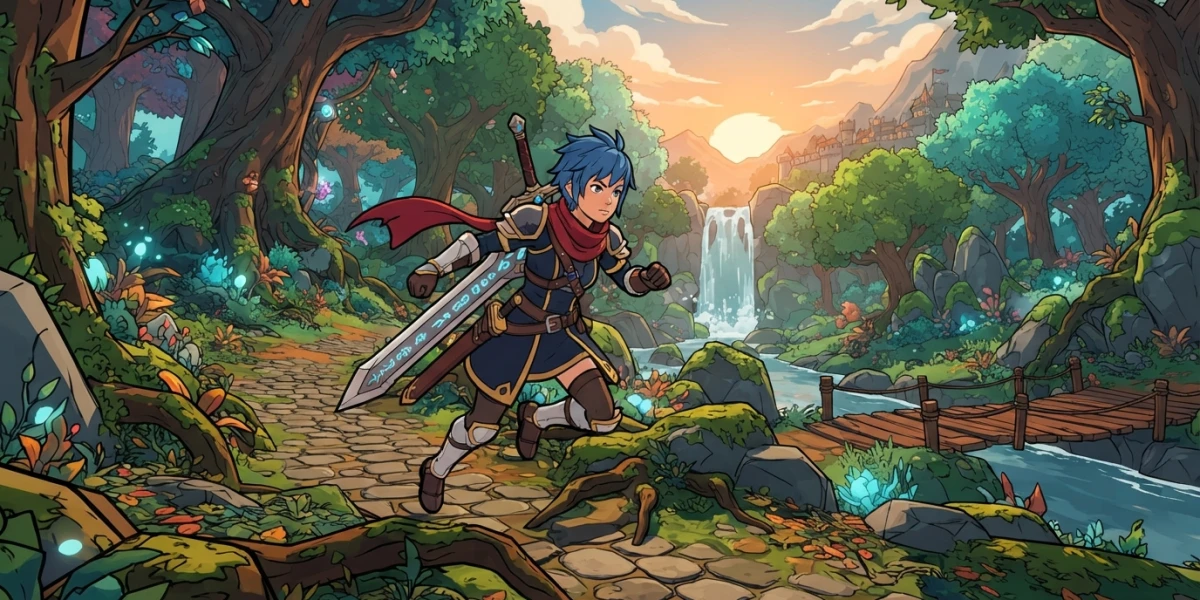
Image generated with AI
Cel Shading in Unreal Engine 5: Stylized Rendering Guide

Diego Cortés
Author
Cel shading in Unreal Engine 5 is not a colour filter you apply at the end: it is a decision about how light enters the scene and where the gradient gets cut. When the render reads as a drawing, it is because the lighting stopped being continuous.
Why a stylized render reads as a drawing (and it is not a colour filter)
In a photorealistic render, light falls gradually, with a wide range of values between the lit area and the shadow. Cel shading, or toon shading, is non-photorealistic rendering (NPR) and does the opposite: it quantizes those values into a few discrete tones. Deciding how many levels you allow is step one: two bands give the classic comic look, three or four add a mid-tone with volume.
Cels, ink and outlines: where the name comes from
The name comes from cels, the transparent sheets hand-painted in traditional animation. In 3D it became popular with Jet Set Radio (1999), The Wind Waker (2002) and Okami (2006), where the style was also about readability.
The three paths in Unreal Engine 5 at a glance
There are three places to touch: the material (light is quantized where lighting is calculated), the post process (it gets re-quantized on screen) and, since 5.8, a toon model inside Substrate.
Path 1: the stylized material (you touch the lighting calculation itself)
This is the most direct route: you intercept the lighting inside the material, just like in a Blender node tree.
Diffuse ramps and bands: quantizing the BSDF output for the toon look
Instead of letting diffuse shading produce a gradient, you take its response and push it through a ramp that jumps from one level to the next: a stepped curve on the light vector, or a ramp texture. Specular goes separately, with its own band.
Unlit: full colour control and what you give up
An Unlit material outputs colour with no lighting applied by the engine: handy for backgrounds, but you give up self-shadowing, reflections and scene light. For a character that has to sit inside a lit environment, read up on Unreal Engine 5 lighting first.
Path 2: cel shading in Unreal Engine 5 as a post process material
Here you do not touch lighting: the engine renders the scene and you re-quantize the full screen at the end. The effect sees all the real light, shadows included, but it costs on every frame; to apply it to one character only, custom depth works as the mask.
The "Post Process" domain and why the only output is emissive colour
They need the Post Process domain and should only use emissive colour as output. Epic is explicit: they are reserved for full-screen effects, because the post process graph becomes part of the lighting and often creates intermediate render targets.
Blendables: where the pass is inserted and in which order
The material is assigned in the Blendables section of the Post Process Volume and its location decides what it receives. Before Tonemapping works with HDR and scene colour, and fixes TAA issues and GBuffer reads; After Tonemapping works after tone mapping, in LDR, and is preferred for performance. Also, the default parameters should leave the pass with no effect, so entering the volume does not produce a jump.
Reading the screen with SceneTexture and the inverse-size trick
The SceneTexture node gives access to what has already been rendered. Its Size output returns the texture dimensions: dividing 1 by that size gives you the size of one pixel in UV space, and with it you walk neighbouring pixels to detect edges.
Outline: the signature of cel shading
Without a black line, the look reads as just another flat colour. There are two ways to generate it.
Inverted hull: draw the back faces and push them out along the normals
The classic technique reverses back-face culling and draws those faces in black, slightly larger than the object: the silhouette is dilated by pushing vertices along their normals. The Z-buffer sorts out the compositing because those faces end up behind.
Edge detection with depth and normals
The other family renders colour, depth and world normals to three textures; a Sobel-type filter over the last two produces the edge texture. It is more flexible and more expensive, and with inverted hull the thickness changes with the angle and the distance: for a uniform line the offset has to work in screen space.
Posterization and pixelation: cel shading's retro cousin
Cutting down the number of colours is the same operation applied to the whole image, and it pairs well with a low-resolution look: this guide to PS1 retro aesthetics covers dithering.
How many colour steps an image can take before it breaks
It depends on the contrast. With many steps you barely notice; with too few, banding shows up in smooth areas and transparency gets dirty. The quick test is moving a light: if the steps visibly shift around, there are too few.
Hand-painted and painterly materials
The last brick of the style is not in the shader, it is in the texture. Flat shading over a flat texture looks empty; the same shading with brush strokes on top reads as an illustration.
The painted stroke: how a stylized asset gets textured
You paint the asset like a canvas: visible brush marks, variation in saturation and a higher base value than usual. In Substance Painter, the anchor points trick saves time when chaining layers.
Procedural material vs painted texture: which one, when
Procedural wins when the object repeats, and the logic of procedural materials covers that. A painted texture wins when the object is unique and the stroke sells the style; if you come from PBR, review PBR texturing. In motion a fixed stroke shows, and that is where shaders that generate the brushwork on screen come in.
What is new in Unreal Engine 5.8: Substrate Toon Shading (experimental)
Version 5.8 brings a non-photorealistic shading model inside Substrate, the system that replaces the fixed shading models and blend modes with a modular framework: it is the first time the toon look ships with the engine.
Toon BSDF and Toon Profile: dithered diffuse and specular ramps
It exposes a Toon BSDF and an asset called Toon Profile, with dithered ramps for the diffuse and specular response, so transitions stay smooth without falling back to a gradient. According to the 5.8 notes it supports all light types, sky lights and Lumen included, and adds hatching in shadow self-extinction and anisotropic specular.
What "experimental" means (UE 5.8)
It means that: it is experimental in 5.8 and the Substrate documentation marks the system as Beta, advising you to learn it but ship with caution; it also builds on the Substrate Blendable GBuffer mode, considered legacy. Read it as a hint of where the engine is heading, not as a stable workflow.
The same look outside Unreal: Blender and Arnold
The mechanism is the same in any engine: intercept the lighting and quantize it.
Blender: Shader to RGB + Color Ramp (and Freestyle for the lines)
The Shader to RGB node exists for non-photorealistic rendering: it applies effects on top of the BSDF output, and its typical example is a colour ramp over a diffuse. Its cost is that it breaks the PBR pipeline: any BSDF upstream becomes invisible to screen-space reflections and subsurface scattering. Freestyle draws the lines, and the detail lives in this article on toon shading in Blender.
Arnold in Maya: the toon shader and its stylized highlights
Arnold has a toon shader, with stylized highlights instead of physical ones. Its documentation was not available for verification, so we only place it here: for the materials workflow you have this Arnold render guide, and the Eevee vs Cycles comparison helps to see when the engine matters.
Conclusion: pick one path and stay consistent
The most common mistake is mixing paths without criteria: a character on a stylized material over a post-processed environment gives two different looks in the same shot.
A checklist before the look goes to production
Check that the shading has the bands you wanted, that the outline keeps its thickness as you move away, that the effect does not eat transparency and that cost was measured with the game running.
The curated videos to start with today
For the post process cel shader, this tutorial from Pitchfork Academy splits lighting into two bands. For the painterly look, Kher's four-part series: Part 1, Part 2, Part 3 and Part 4. And for the retro cousin, this one from Pixel Perfect handles pixelation and posterization. You can keep watching on Pitchfork Academy's channel or Kher's channel, and browse the Unreal Engine category.