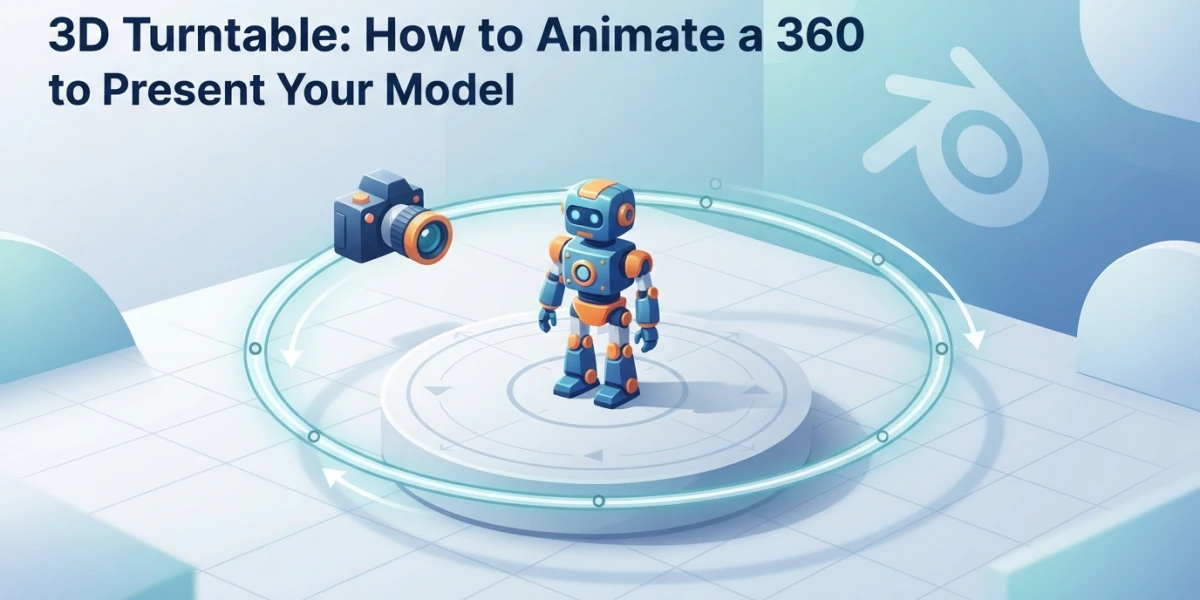
Image generated with AI
3D Turntable: 360 Camera and a Seamless Loop

Diego Cortés
Author
A turntable is the acid test for a model: a 360 camera travels all the way around it and no angle is left to hide a mistake. It is not a camera spinning at random but a rig with an axis, a pivot and a turn that closes seamlessly.
What a Turntable Is (and What It Is Not)
A turntable is the shot in which the viewer walks around the whole model in a few seconds, with no cuts and no narration. All the work lives in the turn: light and backdrop exist so that the turn reads clean.
The 360 turn: the camera orbits, the model stays put
In the classic version the model does not move: the camera orbits it. That way the axis stays fixed in the scene and the lighting does not change; if instead you spin the model, every degree shifts it relative to the lights and the piece feels different at every angle.
A turntable is not a 360 panorama
A turntable delivers a normal frame, square or 16:9. An equirectangular 360 panorama is something else: a 2:1 frame holding the whole sphere around the camera, built for immersive players. If your delivery goes to a VR headset, what you need is the equirectangular panorama, not a turn.
Before You Animate a 360 Camera: the Pivot Is the Axis of the Turn
A turntable is not animated by moving the camera frame by frame: it is animated by rotating a single transform, the one on a node the camera hangs from. Everything else stays fixed.
A camera's pivot is its nodal point, and you set it before animating
A camera's pivot is equivalent to the nodal point of a real camera: the point around which it rotates. Maya's documentation insists on setting it before you animate, because moving it afterwards forces you to redo the animation. On a turntable that is the difference between a centred turn and a model that wobbles.
A group that rotates with the camera hanging from it
Create a container at the centre of the model, hang the camera from it and animate only its rotation: the camera keeps its distance, height and aim. In Blender an object can have at most one parent and the transform flows from parent to child; in Maya, Lock Camera stops you from moving the camera by accident.
The Turntable in Maya, Step by Step
Create and aim the camera
Maya opens with four cameras, but the ones you render with are the ones you create from Create > Cameras. The Camera and Aim type adds an aim vector: it is the natural rig for a turntable, because the camera orbits while the aim keeps the model framed.
The two-node rig
The hierarchy ends up as camera_group, camera and camera_aim, and the group is what rotates. Note this: by default the scene has only one renderable camera, so new ones must be added to Renderable Cameras in Render Settings.
Focal length and aperture
Focal Length is the distance between the nodal point and the sensor: increase it and objects appear closer while perspective flattens, while a short focal length exaggerates perspective. With a long lens the model keeps its proportions as it passes the sides; with a short one the turn looks inflated.
Depth of field without guessing
Turn on Object Details in the Heads Up Display, select the object that must stay sharp, read Distance from Camera and type that value as the Focus Distance on the camera. With several objects selected, Maya uses the centre of their bounding box.
Motion blur and quality in Arnold
Render Settings holds quality, lights and motion blur, and the output tab holds the formats. On a turntable it usually pays to turn it off: the viewer reads the piece frame by frame and the smear dirties the edge where the turn moves fastest.
The Turntable in Blender, Step by Step
The camera parented to an empty that rotates
Create an Empty at the centre, place the camera and use Ctrl+P to assign the Empty as parent: the Empty is the axis and the only thing you animate is its rotation. The aim can be handled with a constraint, as in the article on camera movement.
Two keys, 0 and 360 degrees, and linear interpolation
Two keys are enough. Bezier smooths value and speed; Linear avoids abrupt changes in value, but not in speed, and it is the one that counts here: the turn reads at a constant speed. Maya rewards the same call with linear keyframe tangents, covered in keys, layers and playblast.
The F-Curve modifier that repeats the turn
F-curves accept non-destructive modifiers. The Cycles modifier repeats the rotation without keying anything again, but it must be first in the stack and cannot be combined with the gaussian smoothing modifier.
Lens: focal length, sensor and field of view
A longer focal length means a narrower field of view and more magnification. Depth of field is controlled from the camera with the F-Stop: low values give more blur, but over a full turn the backdrop changes distance and the model can blur as it passes the sides.
The Perfect Turn: the Frame You Do Not Render
0 and 360 degrees are the same pose
The 360 frame is the 0 frame: render both and the loop shows a repeated frame with a detectable micro-stutter. Render from frame 1 to the last frame of the turn.
Duration: the math for an eight-second turn
Duration in seconds is frames divided by frame rate. At 24 fps an eight-second turn is 192 frames; at 30 fps, 240. Eight to ten seconds is a good measure: shorter feels rushed, longer gets boring.
Studio Light, Render and Delivery
Key, fill and a continuous backdrop
The area size of each light drives how soft the shadow is, but what matters is that the setup survives the whole turn: if the model passes behind and nothing separates it from the backdrop you get a cut-out silhouette. The how-to lives in three-point lighting and product lighting.
Rendering to an image sequence (and why not straight to video)
An animation is written to disk as a sequence of separate files, and lossless PNG beats a compressed video: if one frame is wrong you redo that frame instead of the whole shot. In Maya the equivalent workflow is the render sequence, and with 200 frames queued, tuning samples and denoising saves more time than any trick.
Reviewing, assembling and picking a format
Blender's viewport render works as a quick preview, but only with Workbench and EEVEE. The PNG sequence is assembled in the video sequence editor. The format answers to the destination: square for marketplaces, vertical for social, 16:9 for a reel.
The Mistakes That Ruin a Turntable
Off-centre axis: the model dances instead of turning
If the container is not at the centre, the turn stops being an orbit and becomes a swing: the model comes closer, drifts away and wobbles. Set the pivot at the geometric centre before animating, not after.
A smoothed curve, motion blur and denoise
Smooth interpolation makes the turn accelerate and brake. Motion blur dirties the edge on intermediate frames, and an aggressive denoise turns the contact areas with the floor into a smudge that changes from frame to frame and reads as flicker.
Checklist: From Camera to Deliverable Video
- The pivot or the Empty sits at the centre of the model, set before animating.
- Only one rotation is animated, from 0 to 360 degrees, in linear.
- The camera is locked or parented to the rig and is not touched.
- The focal length is final and the framing was checked at both ends.
- Motion blur is off and depth of field was a deliberate decision.
- The frame range excludes the frame that repeats the opening pose.
What to Watch on the Platform
The platform curates tutorials that pair with this practice: a 360 camera animation in Maya, a turntable in Blender and product spin animation, plus videos on camera movement and studio lighting. They are all reviewed and free of distractions.
Conclusion
A turntable is not judged by how spectacular it sounds but by how honest it is: if the model works from every angle, the turn proves it in your favour. The method is short: an axis at the centre, a linear 0 to 360 degree rotation, one frame you do not render, light that survives the turn and an image sequence to assemble.