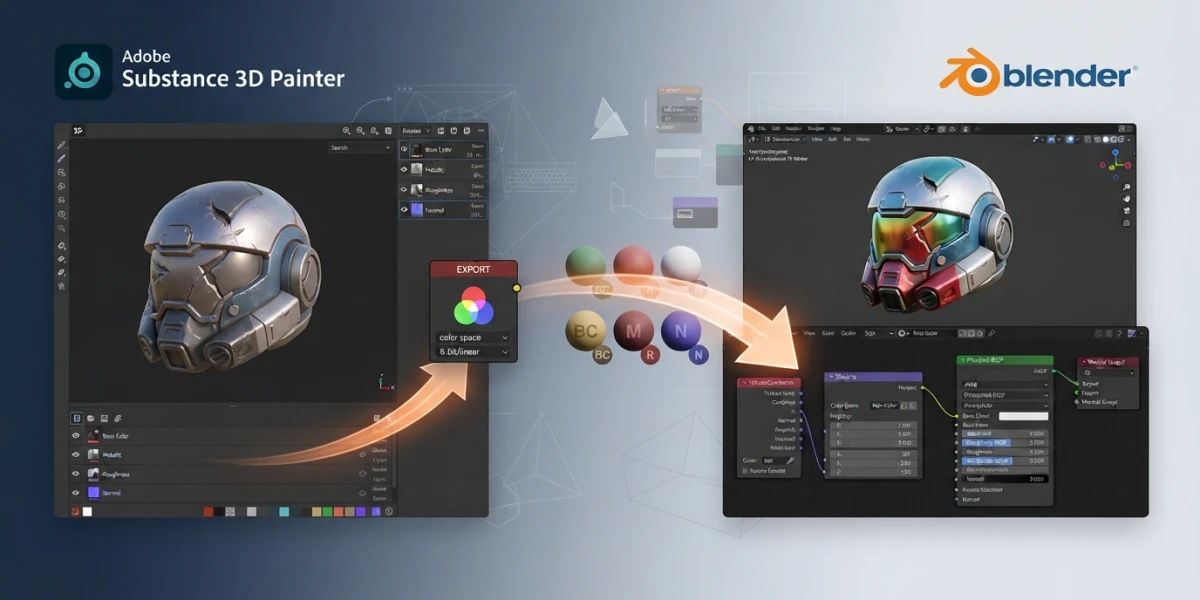
Image generated with AI
PBR Texturing from Substance Painter to Blender: A Full Workflow Without Washed-Out Colors

Diego Cortés
Author
PBR texturing from Substance Painter to Blender is not hard: it is delicate. When the final render comes out washed out, dull, or with metals that look like plastic, it is almost never a lack of skill — it is the way the maps travel between the two tools. This complete workflow takes you from the mesh in Blender to a finished material in the Principled BSDF, with the exact color you painted in Substance Painter.
What PBR is and why metalness/roughness
PBR (physically based rendering) is a way of describing surfaces with physical values that any render engine interprets the same way. Instead of telling the program "this material is shiny gray", you give it measurable data: what color the surface is, how much it scatters light, and whether it behaves like a metal or a dielectric. That is why the same asset looks consistent across Blender, Unreal, Marmoset or Substance.
The idea: maps with physical values
Each map is an image the engine reads as data, not as decorative texture. The base color defines the tone without shading; the normal map adds surface detail without extra geometry; roughness controls the micro-roughness that drives specular response; metallic separates metals from dielectrics; and ambient occlusion (AO) grounds the contact between surfaces. Together they describe the material completely, and each one has a specific channel and color space.
Why Substance Painter and Blender fit together
Blender's Principled BSDF uses exactly the same metalness/roughness workflow that Substance Painter uses. That is why maps exported from Substance plug straight into Blender with no conversion: the shader inputs (Base Color, Roughness, Metallic, Normal) speak the same language. The real work, then, is preparing the mesh properly and connecting each map to the right socket.
Preparing the mesh in Blender before exporting
Most of the problems in this workflow are avoided before you ever open Substance Painter. A well-prepared mesh makes the bake, the painting and the final import almost automatic.
Clean UV unwrap with no overlaps
Substance Painter is demanding about mesh consistency: it textures through the UVs and does not forgive overlaps, rotated islands or UVs outside the 0-1 square. Blender, by contrast, tolerates almost all of that — and you pay for the difference later. Place seams in hidden spots, orient the islands coherently and pack them with enough margin. Keep texel density consistent between islands: if one island is much larger than another, the painting detail will visibly vary across the model.
Real-world scale and consistent naming
Apply the scale with Ctrl+A and choose Scale so the object sits at true 1:1 scale. Substance uses the model's scale to compute size-dependent effects such as edge wear or dirt thickness. Also, name your materials with a system: those names travel inside the FBX and appear as material layers in Substance. A single material per object, or clear names, will save you confusion while painting.
Exporting to FBX with the right settings
FBX is the recommended format for the Blender-to-Substance bridge. In the export panel, make sure UVs and materials are included, and select only the objects you are going to texture. If the export scale does not match the project scale, Substance will detect it and warn you when creating the file; better to check before painting than to redo the bake.
Painting in Substance Painter
With the mesh ready, Substance does the heavy lifting: the bake captures the detail of the geometry, and painting becomes a creative process instead of a technical fight.
Creating the project and baking mesh maps
Create a new project with the PBR metalness/roughness template, the same model Blender uses. If you are coming from a sculpt or a high-resolution mesh, set it as the high poly so the bake captures the fine detail. The process generates the mesh maps: normal (surface detail), AO (occlusion) and curvature (for edge wear). They are computed once and reused across all layers.
Smart materials and masks
Smart materials instantly apply materials with wear, dirt and color variation, as if the object had a history. With generator-based masks (curvature, position, world space) you limit where each effect appears: worn edges, dust gathering in crevices, rust near the ground. A prop gains realism without painting every detail by hand, and the generators are parametric: you can tune the intensity without destroying the layer.
The Blender output template
Substance Painter organizes exports with output templates designed for each engine. There is a dedicated Blender template you download and drag into the Substance Painter window so it appears in the export list. It generates exactly the maps the Principled BSDF expects — base color, normal, roughness, metallic, AO and height — with the correct names and channels, ready to plug in. If you prefer to set it up manually, pick the standard metalness/roughness template and export the same set of maps.
Importing and connecting in Blender
Importing is where most people lose the color. With the right maps and the correct color spaces assigned, the material looks exactly like it did in Substance.
Principled BSDF: every map to its input
Create a new material and connect each map to its socket: base color to Base Color, roughness to Roughness, metallic to Metallic, and the normal to Normal through a Normal Map node. You can mix the AO into the color with a Mix node for contact depth. Do not leave metallic at a default value: use the map, because it is what separates metal from plastic.
Color spaces: the key almost nobody checks
Every imported image has a color space in its properties. Base color must be set to Color (sRGB); normal, roughness, metallic, AO and height must be set to Non-Color. If roughness stays in sRGB, the render looks washed out or shows odd highlights; if normals stay in sRGB, light directions are computed wrong and the material looks broken. This is the number one mistake in the workflow and the most common cause of those dull colors that ruin a good texture job.
Final tweaks: the Normal Map node and scale
Feed the normal map into a Normal Map node and from there into the Normal input of the Principled BSDF. Adjust the Strength if the normals look flat or exaggerated. If the texture pattern repeats too much or looks oversized, fix the UV scale instead of stretching the maps: the result will be much cleaner.
The washed-out color problem (and the fix)
You connected everything correctly and the render still does not match the Substance viewport. Take a breath: the material is not broken, Blender's color management is.
Why the render does not match the Substance viewport
Substance displays with its own color management, while Blender applies a view transform (Filmic or AgX) by default that compresses tones to mimic a film-like response. That compression is exactly the washed-out look you are seeing. Open the Color Management panel in the render properties: try AgX or Filmic and tune the look (contrast, saturation, exposure) until the render matches what you painted. Understanding the difference between display device and view transform will save you hours of blind tweaking.
Alternatives to the manual workflow
If you repeat this bridge daily, the official Adobe Substance 3D add-on for Blender syncs textures automatically between the two applications, and SP2Blender automates the export and import of the maps. Both use the same PBR model, so everything you learned here still applies: mesh preparation, color spaces and color management remain the factors that separate a professional material from a washed-out one.
Conclusion
PBR texturing from Substance Painter to Blender comes down to four steps: prepare the mesh with clean UVs and real scale, export to FBX, paint in Substance with smart materials and the Blender output template, and import by connecting each map to its input with the correct color space. When the render still comes out dull, check color management before touching the materials. And if you want to see this workflow applied to real meshes, CGI Academy Hub curates video tutorials on texturing and shading that complement everything you just read.