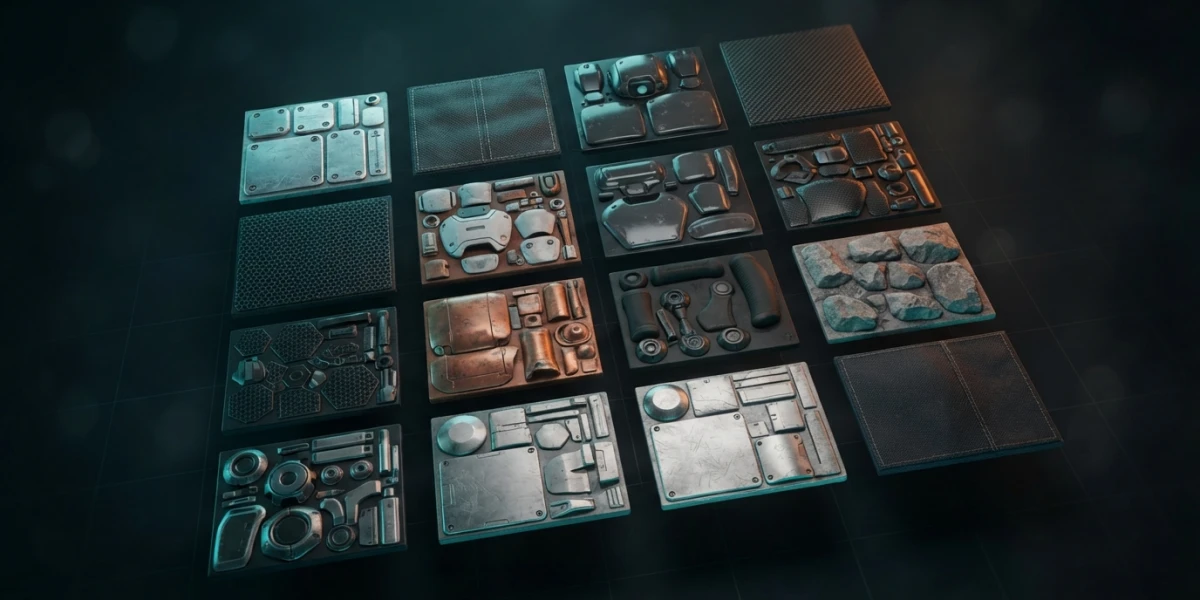
Image generated with AI
UDIM and UV Tiles: Texturing with Multiple Maps

Diego Cortés
Author
One UV map means one resolution for the whole model: too much on the face, not enough on the boot. UDIM and UV tiles split the mesh into numbered textures, each with its own file, which is why the filename is half the job.
The Problem: One UV Map, One Resolution for the Whole Model
Every unwrapped mesh lives inside a 0-1 square that becomes a single texture image, with one resolution for the whole model: detail never lands where it is needed. The classic fix is pushing to 8K, but the file grows and the eye stops noticing the difference long before memory runs out. The step-by-step unwrapping in UV mapping in Blender and UV mapping in Maya covers how to get here.
The Split: Many Textures, One Continuous UV Space
UDIM changes the question: instead of "what resolution do I give the texture", it asks "how many textures do I split this mesh into, and what is each one called". It is a grid of tiles, and each tile is a different texture with its own UV space and its own image. UV space stops being a square and becomes a continuous grid: the area that needs detail gets 4K, the rest settles for 1K. Autodesk proposes tiles outside 0-1, and Maya loads multi-tile textures authored in other applications.
How Tiles Are Numbered: 1001, 1002 and 1011
The main tile is 1001 and the next one you add is 1002, to its right. The <UDIM> token is computed as 1001 + tile-u + tile-v * 10, where u is the column and v the row; Maya writes the same sum the other way round: 1000 + (u + 1 + v*10). The grid is ten tiles wide: 1001 to 1010 fill the first row and, once it is full, a new row starts above the main tile, so 1011 sits above 1001, not next to 1010. That is why the U index maxes out at 10 while the V index is practically unlimited.
The Filename Is Half the Job: <UDIM> and <UVTILE>
A token is a placeholder inside the filename: when loading or saving, the application swaps it for the matching tile number. The four-digit notation is <UDIM>; <UVTILE> is Mudbox's convention, defined as u(tile-u + 1)_v(tile-v + 1), with coordinates starting at 1. UDIM is Mari's tiling format, created by Weta Digital, and UVTILE is Mudbox's: these are conventions, not standards from a regulatory body. With <UDIM>, monster-basecolor.<UDIM>.png saves as monster-basecolor.1021.png; with <UVTILE>, as basecolor.u1_v3.png. The golden rule: the index can sit anywhere, as long as it is the only thing that changes between files in the sequence.
UDIM in Blender, Step by Step
The workflow starts by unwrapping the mesh like any UV map. The new decision is how many textures the split will have, and a good minimum is three: one 4K, one 2K and one 1K. Tiles are managed in the sidebar under Image, UDIM Tiles (Image Editor and UV Editor): you add them with a starting number, a count and an optional label. With the tiles created you move the islands into the right one; to automate it, Pack Islands offers "Pack To", with Closest to UDIM, Active UDIM or Custom region for reserving areas such as an atlas. Two warnings: an unfilled tile is not saved with the image, and to use an existing texture you must create the tile, save the image and replace the file keeping the name. You can also paint on them, in 2D and 3D.
UDIM in Maya: One Texture Node for Every Tile
A single File node loads, previews and renders textures made of several images, more effective than using multiple UV sets. Each tile measures 1 by 1 and is not limited to 0-1: it can run from 0 to 1, from 3 to 4 or from 10 to 11. The node offers four modes, each borrowed from an application: 0-based (ZBrush), 1-based (Mudbox), UDIM (Mari) with the four-digit number, and Explicit Tiles to load each tile separately. When you pick a mode, the Image Name field updates with the matching token: u<u>_v<v>, u<U>_v<V> or <UDIM>. Maya tells you how many tiles it found and a tooltip shows the UV range covered. The preview has a cost: in Viewport 2.0 the tiles are baked into a single texture whose resolution depends on Preview Quality (High 4K, Medium 2K, Low 1K), so with large sets it is worth lowering or disabling it.
UDIM in Substance Painter: The Workflow Is Chosen Before the Project Exists
UV Tiles spread several UV ranges inside one Texture Set: in the traditional workflow one texture repeats across every range; with UV Tiles, each range is its own texture. Painter only supports the UDIM convention. When creating the project you must tick Use UV Tile workflow, which processes the mesh so you can paint outside 0-1; the manual warns it cannot be changed later, so if you forgot it you have to create the project again. With the box ticked there are two paths: Preserve UV Tile layout per materials and enable painting across tiles groups the tiles by material and lets you paint seamlessly across them; Convert UV Tiles into individual Texture Sets splits them and moves each one into the 0-1 range. Resolution is set per tile (up to 4096 per channel in the app and 8192 on export), and fill layers need Fill (Match Per UV Tile) so every image lands in its tile. On export, $udim is replaced with the UDIM number of the texture being generated: that is the piece that makes the file match the name Blender or Maya expects.
When Not to Use UDIM (and the Opposite Strategy)
UDIM is not free: it brings more files, more texture memory and more discipline, because if a name breaks the convention the texture will not show. If the asset is small or the detail is uniform, a single 0-1 map is still the right call. The opposite strategy is the trim sheet, which concentrates everything into one texture and reuses it in strips across the whole modular kit, as covered in trim sheets and modular assets.
The Mistakes That Break a UDIM
The number one cause of "my texture is not showing" is a filename that breaks the convention: an extra underscore or the wrong numbering mode in Maya is all it takes for the application not to find the file. The second mistake is layout: islands straddling two tiles, tiles that were never filled and therefore never saved, or tiles ending up with the same repeated texture. Both are caught by checking the grid in the UV Editor and counting tiles. If you come from painting straight onto the mesh, the bridge is in Polypaint in ZBrush.
Checklist: From Islands to Render with UDIM
- Decide how many textures the split will have before creating tiles (one 4K, one 2K and one 1K is a sane minimum).
- Unwrap, arrange and pack the islands with Pack Islands and "Pack To".
- Fill every tile: an empty tile is not saved with the image.
- In Maya, pick the correct UV Tiling mode and check how many tiles it found.
- In Painter, tick Use UV Tile workflow at project creation.
- Export with $udim in the output template and load the files back to confirm they land in the right tile.
What to Watch on the Platform (Curated UV and Texturing Videos)
The platform carries a curated collection covering exactly this stretch. To start, Introduction to UDIMs in Blender from CG Boost shows what a tile looks like in the editor, and its Maya counterpart is UDIMs: Modelling and Texturing Essentials from FlippedNormals. For layout and baking, 3D Prop Modelling: UV Layout, Rizom UV, UDIMs and Bakes from Abe Leal 3D; in Spanish, a realistic diorama with Maya UVs and Substance Painter texturing from Blender Deluxe Tutoriales. Filter the collection by topic under Substance Painter or search for udim.
Conclusion
UDIM and UV tiles are not a technique reserved for giant meshes: they answer how to spread texture resolution when a single image no longer covers the model. The four-digit numbering, the substitution tokens and the checkbox you commit to when creating a Painter project are the three pieces worth mastering, and all three come down to naming discipline more than hidden buttons.
At CGI Academy Hub the tutorials are curated and sorted by topic: pick the UV and texturing video that matches your level and run it against your own asset.