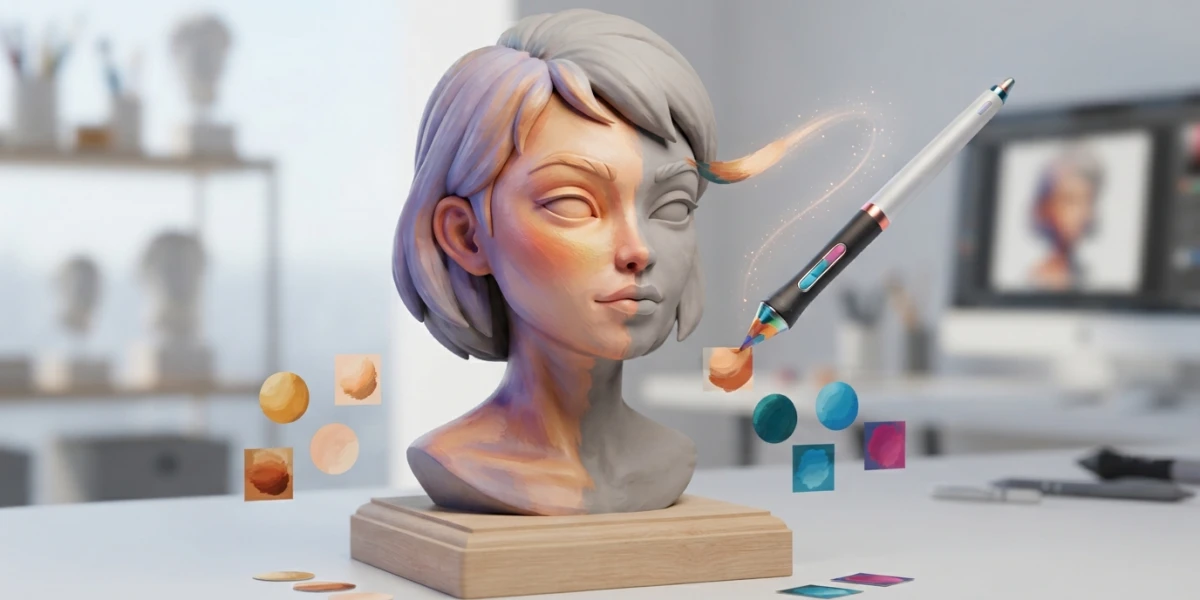
Image generated with AI
ZBrush Polypaint: Paint Your Sculpt, Then Bake It

Diego Cortés
Author
Polypaint in ZBrush paints on the polygons before a texture map exists, so resolution and UVs stop being irreversible decisions. Here is how to paint, how to turn the paint into a map, and how to send it to Substance Painter in one click.
Painting Before the Texture Exists
A map forces two decisions very early: its resolution and its UV layout. Polypaint keeps colour on the mesh itself, so you can paint while the shape is still moving and settle the texture afterwards. The official definition is on Maxon's Polypaint page.
The three real advantages
Resolution is not decided up front: if an area needs more detail, you do not repaint, you transfer the paint to a larger map. The unwrap is not locked either: if a layout disappoints you, make another one and move the paint onto that map. And removing UVs from the model frees system resources and lets you work with more polygons.
The math that explains it
A 2048 x 2048 map holds a little over four million pixels, and a four-million-polygon model with one flat colour per polygon stores a comparable amount of information. ZBrush uses pixols: every point keeps lighting, colour, material, orientation and depth, which is why paint survives subdivision changes and new unwraps.
The Switches to Set Before the First Stroke
You need enough polygons for the detail you are after: Polypaint quality depends on mesh density. Then turn Colorize on under Tool > Polypaint: if the SubTool has no paint yet, it fills it with white; once painted, it toggles colour display.
Zadd and ZSub off, RGB on
In the Draw palette, turn Zadd and ZSub off and switch RGB on with RGB Intensity at 100, so brushes paint instead of displacing surface. If you come from detailing a sculpt in ZBrush, this is the next step: there you worked the form, here you work the colour.
How to Paint: Block In, Build Zones, Unify
The portrait method, step by step
First block in gesturally with a base tone (MatCap Skin05, a large Draw Size, Standard brush, Colorized Spray stroke), no refining. Then build colour zones with a smaller Draw Size, more brightness and saturation and RGB Intensity around 30, alternating warm and cool temperatures. Finally unify with a very light near-white wash.
Alphas, stroke types and Gradient
The alpha is the shape of the brush. Dots, DragRect and Freehand are the useful strokes for painting and sculpting. With Gradient on, ZBrush blends the main colour with the secondary one. The logic is the same as in texture painting in Blender; the canvas changes, not the thinking.
Symmetry: Paint One Side, Copy It Over
Flip & Mirror by Posable Symmetry copy paint from one side of a topologically symmetric mesh to the other, even when the model is no longer posed symmetrically. Without a mask, polypaint is averaged between both sides and the result looks faded, and Flip without a mask moves all the paint to the other side. The documented flow: paint one side, store a marker at the previous history point, mask the changed points, run Flip By Posable Symmetry, invert the mask and run Mirror By Posable Symmetry.
Selecting and Correcting by Colour
Adjust Colors: eight mask channels
Adjust Colors opens a preview window with hue, intensity, contrast, gamma and tint applied to the colour stored on the vertices. It brings eight colour mask channels, each with its own tolerance, combined through Overwrite, Mask and Unmask modes.
Mask by PolyPaint: colour as a mask
Under Tool > Masking you get the same eight-channel system with tolerance, which controls how far the mask bleeds around the chosen colour. It protects areas while sculpting, isolates materials and allows 3D extractions. With node-based shading in Blender you later decide which part of that colour becomes roughness or a blend mask.
From Paint to Texture Map
Getting UVs: PUV, UV Master or the ones you have
If the mesh has no UVs there are two official routes: drop to subdivision 1, export and lay out the UVs outside (back in ZBrush you store a Morph Target, import only the UVs and restore detail with Switch), or generate them inside with Tool > UV Map > PUV or UV Master. The criteria behind UV mapping in Blender and UV mapping in Maya apply here as well.
Map size, New From Polypaint and cloning the texture
Set the size under Tool > UV Map > Width and Height, raise SDiv to the highest level and press Tool > Texture Map > New From Polypaint. To keep painting, switch Texture Off: repeating the process overwrites the same texture. Clone the map to export it as a standalone image.
UV Master Without Losing Your Polypaint
Density, Protect and Attract: guiding seams
Control Painting lets you paint Density (more or fewer pixels per polygon in each zone), Protect (where you do not want seams, usually the front of a character) and Attract (where you do, where broad areas work far better than thin lines). Then press Unwrap and validate with Check Seams: orange for seams, brown for openings.
Control Painting erases Polypaint
The warning before you start: Control Painting is based on Polypainting, so it erases existing paint. The tutorial recommends using Work on Clone first, which creates a clone of the Tool and removes the higher subdivision levels.
The One-Click Bridge to Substance Painter
The traditional process was manual: export the low and high levels separately, import them and set up the bake. The Substance Bridge in ZBrush 2026 removes those steps and answers two Painter requirements GoZ never covered: UV coordinates on every mesh and sculpt detail baked into maps.
Auto-Bake and Subdivision Level
With Auto-Bake, ZBrush sends the lowest and the highest subdivision levels and runs the bake algorithms (normals, ambient occlusion, curvature and other detail maps); the result is a light mesh that reads like the full sculpt. Low & High is the normal workflow; Current sends only the visible level, which suits fast concept work. The criteria match baking maps in Blender.
Send PolyPaint, Force UV Auto-Unwrap and Texture Sets
Send PolyPaint turns your paint into a map and applies it as a fill layer in Substance, so you keep painting on top. Force UV Auto-Unwrap is global and makes Painter discard the UVs of every SubTool: if yours are good, leave it off. Texture Sets splits one texture per SubTool or one per PolyGroup. And one detail with no way back: every send creates a new Substance project, so there is no incremental update.
The Return Trip: From Painter to Blender or Maya
Painter's output templates control the name, format and settings of exported maps, with keywords such as $project, $mesh, $textureset or $udim, and UV Tiles let each UV range be its own texture under the UDIM convention. If Blender is the destination, per-vertex colour is stored as a Color Attribute, read with the Color Attribute node and visible in Workbench. The full round trip is in PBR texturing from Substance Painter to Blender, and colour spaces are in colour management.
The Mistakes That Ruin a Polypaint Pass
- Painting with Zadd and ZSub on: the brush moves surface instead of colouring it.
- Running UV Master's Control Painting on a model that already has paint: it erases it.
- Using Mirror or Flip without a mask: paint is averaged and colour fades.
- Converting to a map at a low SDiv: the texture carries less detail than you painted.
- Re-sending a SubTool hoping to update the Painter project: every send creates a new one.
What to Watch on the Platform
Curated tutorials cover both sides. In ZBrush: ZDepth Plus and face sculpting tips. For UVs: UV creation and optimization and UV fundamentals. In Painter: hand-painted workflow, hand-painted filters, opacity maps and material layering. For the bridge: a shared ornament brush. Return trip to Maya: exporting textures. And in Blender: texture painting made simple and game textures explained. Filter by ZBrush or Substance Painter, and follow the Adobe Substance 3D and Abe Leal 3D channels.
Conclusion
Polypaint is not a shortcut around UVs: it is a way of deciding later. If the model is still moving, paint it; if you need high-resolution maps with photographic detail, Painter is the natural destination. With UV Master on a clone and the bridge delivering your paint as a fill layer, the road from sculpt to texture takes a few clicks. The step before is detail sculpting in ZBrush, and the wider picture is learning CGI from scratch.