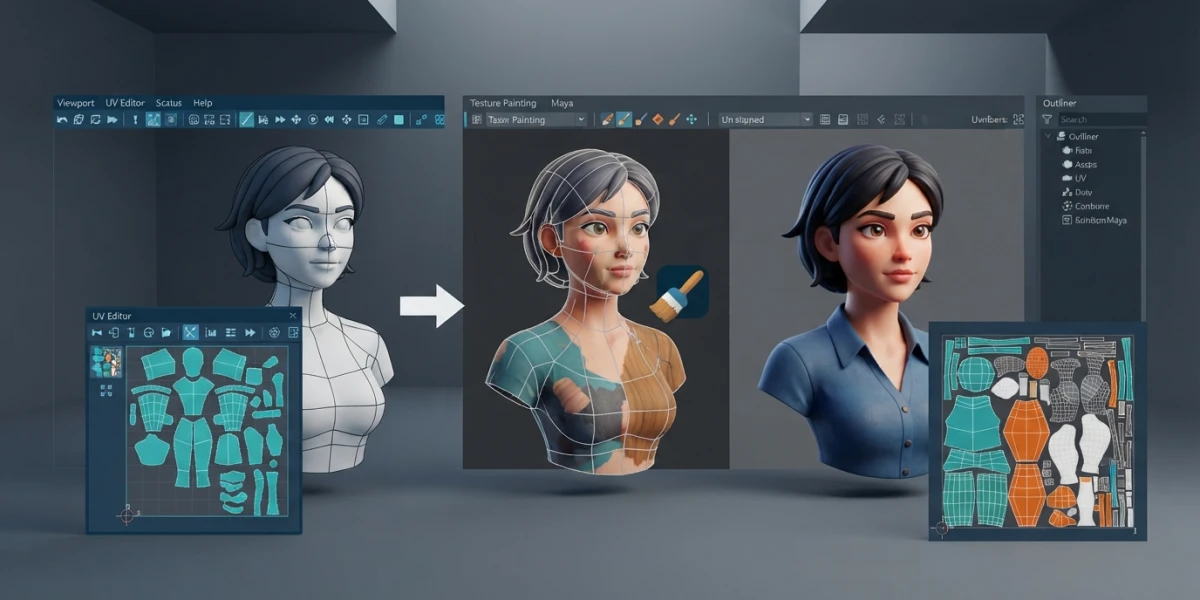
Image generated with AI
UV Mapping in Maya: Step-by-Step UV Editor Guide

Diego Cortés
Author
A perfectly modeled object can fall apart at texturing if the UVs are wrong. UV mapping in Maya turns the 3D mesh into a texture-ready canvas: projections, Unfold and texel density decide whether a texture looks crisp or stretched. Full guide, UV Editor to Substance Painter.
What UVs Are and Why They Matter
From 3D to a 2D canvas
UVs are the texture coordinates that tell the software which part of a 2D image touches each polygon of the mesh. U and V are the two axes of texture space, the 2D equivalent of the X and Y of the 3D world. Maya's UV Editor lets you view and edit the texture coordinates of polygons, NURBS and subdivision surfaces interactively in a 2D view, according to Autodesk's official documentation. Without UVs, the renderer has no way to paint a texture onto the geometry.
Why a clean layout matters
The UV Editor lets you cut, unfold and arrange UV shells so they fit into 0-1 space. A clean layout is not an aesthetic whim: it directly affects render speed and final texture quality, as 2026 Maya UV mapping guides point out. A 4K texture on poorly distributed UVs looks worse than a 1K texture on perfect ones.
UV shells: the puzzle pieces
A UV shell is a group of connected UVs, a piece of the mesh unfolded onto the texture plane. The craft of UV mapping is cutting the mesh into the right pieces and fitting them inside the 0-1 square while using every pixel of resolution.
The UV Editor and the UV Toolkit
Opening the UV Editor
You open the UV Editor from the UV menu in the viewport or from Windows > Modeling Editors > UV Editor. It is a 2D view that shows texture space: the 0-1 square acts as the background and the shells are drawn on top, ready to be edited.
The UV Toolkit
The UV Toolkit is the panel docked to the UV Editor where most of the workflow lives: sections for projection, Unfold, orientation, layout, shells and texel density. The Gnomon Workshop's introduction to the Maya 2025 UV Toolkit describes it as a complete suite of tools refined over numerous software updates, and with good reason: almost everything you need lives in that panel.
Projections: The First Mapping
Basic projections
Maya ships with Planar, Cylindrical, Spherical and Automatic projections, plus advanced camera-based options. The choice depends on the shape: flat or box-like surfaces call for a planar projection; bottles and cylinders, cylindrical; heads and spheres, spherical; and complex organic geometry, automatic.
Automatic and the projection manipulator
Automatic Mapping casts several planar projections onto the mesh and shows a projection manipulator that correlates those scene-view projections with the result in the UV Editor, as Autodesk documents. It is the closest thing to a one-click unwrap and the best starting point for characters and organic props.
Projections are not enough
The initial result almost always brings stretching and overlapping shells. The projection is only a starting point: the real craft comes with seams and Unfold, the stage where UV mapping in Maya stops being automatic and becomes a skill.
Cut, Unfold and Sew: The Unfold Workflow
Where to place seams
Seams are the cuts that let the mesh unfold without distortion. The general rule: cut where the shape changes direction (armpits, elbows, box corners) and in areas that are not very visible. The UV Toolkit includes Auto-Seams, which depending on its options either cuts seams on the mesh or only selects them so you can decide, as Autodesk explains in its guide to separating and attaching UVs.
Unfold
With seams marked, select the UVs and choose Unfold > Unfold in the UV Toolkit, or UV > Unfold in the menu bar to fine-tune options. Since Maya 2015, the Unfold 3D algorithm is the standard: it unfolds UVs into smart shells without distortion, a change MethodJ called a turning point for UV mapping in Maya. By default, Unfold repositions the selected UVs while unselected ones stay pinned; an option reverses that behavior.
Support tools
For specific cases there are Unfold Along U/V, which unfolds along a single axis, and Straighten UV Border, which straightens shell borders. Optimize, in the same toolkit section, helps compact the result, while the Relax and Smooth UV relaxers reduce residual stretching after the unfold.
Sewing what should stay together
Not everything gets cut: Sew UV Edges, Stitch Together and Move and Sew join shell borders when a seam should not exist, for example to close a character's face. Sewing where it is not needed creates fresh distortion: every join is a decision about density and orientation.
Layout: Fitting Shells into 0-1 Space
Layout and Pack
Layout and Pack reorder and pack the shells automatically to make the most of the 0-1 square without overlaps. After packing, check orientation: rotate and flip pieces so the texture direction stays coherent across them.
Stacking identical shells
Repeated objects (wheels, leaves, buttons) can share a single shell stacked in the same spot of 0-1 space. They share texel density and save texture space, a classic technique from professional UV mapping series in Maya, used mostly on game characters and environments.
Margin between shells
Leave a small margin (padding) between shells to avoid pixel bleeding when baking or painting. A few dozen pixels of separation in the atlas prevents dirty edges that are hard to track down later.
Texel Density: The Resolution You Can See
What texel density is
Texel density is the number of texture pixels per unit of surface, usually expressed in px/m. The classic ModDB example: a one-meter cube with a 1024 px map gives 1024 px/m, but the same texture on a ten-meter wall gives 102 px/m and looks blurry next to the cube no matter how good the texture file is.
Maya's texel density tools
The UV Toolkit includes Get, Set and Apply Texel Density to check a shell's density, fix it to a value and apply it to others. Free scripts such as Texel Density Advisor calculate the object's size and UV area and suggest the right proportions, as Lesterbanks explains.
Which values to use
1024 texels per meter is a common reference for game assets: heroes usually ask for 2048 or more, while secondary props stay at 512. More important than the number is consistency: two objects in the same scene with very different densities read as different budgets, and the eye notices even with perfect textures.
From UVs to Texture
Checking with a checker
Before texturing, assign a checker material to the model. If the squares look uniform across the whole surface, the UVs are healthy; if they stretch or shrink, there is distortion to fix before going further.
Exporting the UV map
UV Snapshot generates an image of the layout to paint on in Photoshop or Krita, and you can also export the model straight to Substance Painter, which uses the UV layout as-is. For more demanding projects, Maya supports multiple UV sets on the same object, for example one set for the main texture and another for lightmaps.
Common mistakes and how to fix them
Typical failures have quick fixes: shells outside the 0-1 square make the texture repeat or clip (repack with Layout); accidental overlaps duplicate detail where shells should not share space (separate and re-unfold); seams in prominent areas give the cut away (move them to less visible zones); and uneven density across assets evens out with Apply Texel Density.
Conclusion
UV mapping in Maya is neither magic nor torture: projection, seams, Unfold 3D, layout and texel density form a workflow you can learn in an afternoon and apply to any asset. Clean UVs are the difference between a texture that shines and one that gives the amateur away. With these UVs you are ready to bake normal maps or paint in Substance Painter, and if you come from Blender, the closest thing to Smart UV Project in Maya is Automatic Mapping, with its nuances: check our guide to UV mapping in Blender for the comparison. To see the workflow in action, explore the curated video tutorials on modeling, texturing and UVs at CGI Academy Hub.