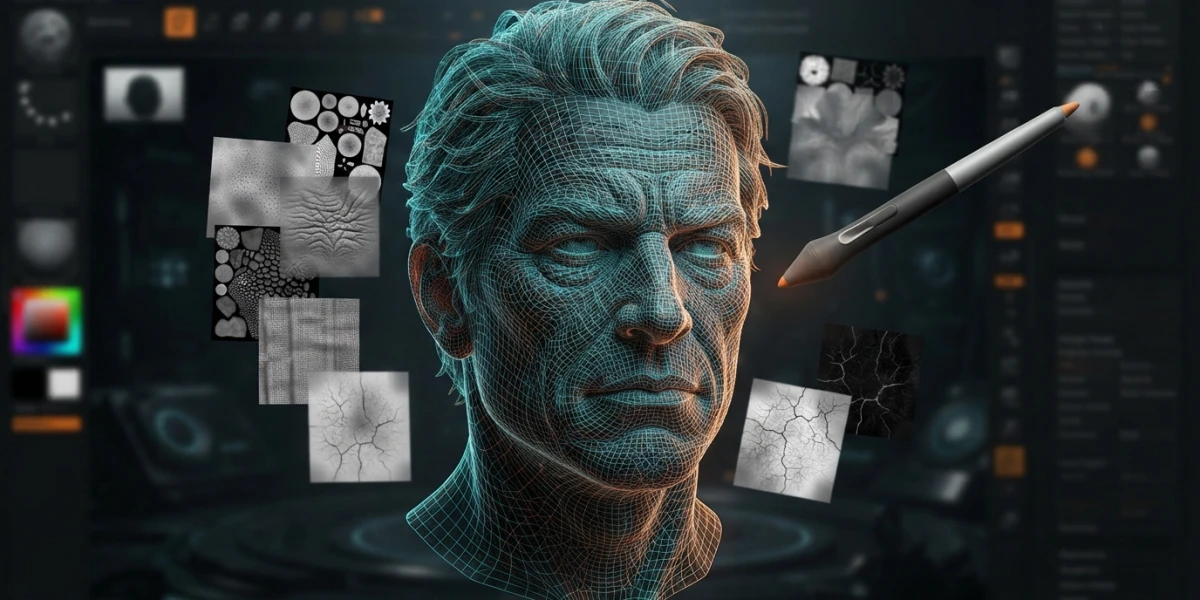
Image generated with AI
ZBrush Detail Sculpting: The Workflow, Step by Step

Diego Cortés
Author
Detail sculpting in ZBrush is not about adding on top of the form: it is built at the right resolution level. Picking that level badly ruins a model that was already working.
Detail Sculpting: What You Add, and in What Order
Digital sculpting pushes, pulls, smooths or pinches geometry as if it were clay. The difference between a piece that reads and a mass of noise is not the number of strokes, but the order you make them in.
The rule that orders everything: form first, detail second
Silhouette and large volumes belong in the low levels, where moving a single vertex changes the whole shape. Fine detail -pores, scales, wrinkles, panel edges- belongs up high, where each stroke affects a tiny surface. If you come from another tool, sculpting characters as a beginner covers those big forms: this article starts where that one ends.
Why detailing too early is the most expensive mistake
Detailing early forces you to smooth and resculpt the form underneath the detail: the fastest route to a mushy model. Checking the piece at its lowest level and reading its silhouette before you go up costs minutes and saves hours. If you are still choosing a package, the sculpting tool comparison settles that separately.
The Resolution Ladder: Four Ways to Get More Polygons
ZBrush has four ways to raise density, and picking the wrong one shows up in performance and in quality.
Classic subdivision: the history a polymesh remembers
Dividing replaces every polygon with four, so the count quadruples per level. The model keeps its history: it remembers every previous level down to the original mesh, so you can drop down to fix a large form and come back up without losing what you sculpted. That history generates the displacement, normal and bump maps, and the controls live in Tool > Geometry, with the SDiv slider, Cage and Freeze SubDivision Levels.
Dynamic Subdivision: smoothing without dividing
It shows a smoothed surface while the brushes keep operating on the base mesh, so the response is instant. Its three sliders -QGrid, Flat and Smooth- each multiply the displayed count by four: all three at 1 equals three subdivisions. It is aimed at the ZModeler brush and light meshes.
Sculptris Pro: dynamic tessellation under the brush
It adds and removes polygons as you sculpt, following the brush size: a small brush tessellates more, a large one adds less. It is controlled from Brush > Sculptris Pro, with Adaptive Size, SubDivide Size and UnDivide Ratio.
HD Geometry: working in zones
When the machine can no longer take classic subdivisions, it splits the model into zones and keeps only the one you are sculpting workable: an elephant at roughly 700,000 polygons climbs to tens of millions and, on exit, the detail stays intact. In short: classic levels for the general flow and map exports, Dynamic Subdivision for blocking forms, Sculptris Pro for organic detail and HD Geometry when hardware is the limit.
Detail Brushes: The Ones That Solve Almost Everything
Rather than memorizing two hundred brushes, it pays to master a dozen.
Build, smooth and move
Standard pushes vertices outward and holding Alt carves instead of building. Smooth averages each vertex with its neighbors. Move shifts vertices in the screen plane and is used to fix features and asymmetry. Clay is made for sculpting with alphas, as seen in Top Tips for Improving your ZBrush Sculpts.
Mark, harden and sink
Pinch pulls vertices together to sink wrinkles and harden edges; with LazyMouse it produces precise ridges. Flatten presses toward a plane and Nudge slides vertices without leaving the surface. Layer raises or lowers the surface by a fixed amount: overlapping strokes do not stack, as in ZBrush HardSurface Sculpting.
Smoothing at the right level: the trick that saves fine detail
The scale of the smoothing depends on the subdivision level: fine detail is smoothed high, large forms low. Set SDiv to the level that represents what you want to fix without showing the detail you want to keep, smooth there and return to the highest level: that is how you smooth a mountain range without erasing the streams, as in Improving Your Face Sculpting.
Alphas and Strokes: Engraving Detail Instead of Drawing It
An alpha turns a manual stroke into a repeatable stamp: it is what separates drawn detail from engraved detail.
What an alpha is and how it applies
It is a grayscale intensity map and in ZBrush it is 16-bit, which allows smooth gradations where 8-bit workflows show visible banding. It affects masking, brush appearance and how color and material are deposited. With DragRect the result lands on the first click and Replay Last Relative (Shift+1) repeats the last stroke. AlphaTile repeats the alpha inside the brush, as in Dynamic Ornament Trim Brush.
Masks and Layers: The Detail You Can Undo
Masking as a sketch
A mask protects an area from sculpting and painting, and it is not on/off: the effect depends on the intensity at each point. You paint it holding Ctrl with the stroke starting on the model; the rectangle is dragged starting outside the object; the lasso is armed with Ctrl and a click on the brush thumbnail.
3D Layers: ZBrush's non-destructive pass
They let you switch a detail off or fade it without losing the forms underneath, and also store poses or expressions. They support geometry, Polypaint and masks. To write into one you must enable Record mode, and new layers should be created at the highest subdivision level.
SubTools and PolyGroups: Working in Parts
Each SubTool is a separate object that reaches the polygon limit the machine tolerates, so a multi-part model multiplies that ceiling. You add meshes with Append or Insert, isolate them with Solo mode and repeat the last action across several at once. If you need to split the mesh without breaking the object, use PolyGroups, the same logic of parts and edges as in hard surface with booleans and support loops.
Retopologizing Without Losing the Detail
Select the SubTool, press Freeze Subdivision Level and the model drops to level 1; run ZRemesher and press the button again: ZBrush recalculates the levels and projects the detail onto the new topology. The alternative is duplicating the SubTool, remeshing the duplicate and projecting the original, and the process is explained in ZBrush New Retopology Tools and in the guide to retopology after sculpting. For hard surfaces, ZRemesher reads edges better, so enable Detect Edge.
From Detail to Pipeline: Maps, GoZ and the Substance Bridge
Normal map vs displacement
A normal map stores per-pixel normal directions, not absolute height, so it travels well between applications. A displacement map genuinely changes geometry at render time and therefore produces correct silhouettes, at a higher cost. The flow continues into normal and AO baking and the UVs of the retopologized model.
GoZ and the current bridge
GoZ connects ZBrush to other applications. A file saved in a newer version may not open in an older one, and GoZ opens older files but cannot send back to an older version (OBJ is the way out). The current release adds a one-click send to Substance Painter and updated GoZ to Maya and 3ds Max; the detail returns to the material through Substance Painter anchor points and gets reused as in trim sheets for modular assets.
Checklist: How to Know the Detail Is Right
Before calling a detail sculpt finished: the silhouette reads without the detail; the detail does not bury the form; no zone went soft from smoothing at the wrong level; it is coherent up close and from a distance; symmetries are not broken unintentionally; and the model still responds smoothly.
The 6 Mistakes That Ruin a Detail Sculpt
Detailing a form that is not resolved; always smoothing at the highest level; forcing subdivisions until the machine crawls; repeating the same alpha without varying scale or rotation; using symmetry where it does not belong; and retopologizing without projecting the detail. None of these is a talent problem: they are ordering problems, as in How to Detail Your Grounds.
What to Watch on the Platform
Beyond the videos already linked, try How to Use ZDepth Plus for controlling detail depth and How to Transfer High Poly Details to Low Poly for the high-to-low step. You can go deeper through the channels FlippedNormals or Abe Leal 3D, and in the whole ZBrush category.
Conclusion
You master detail sculpting in ZBrush when you stop thinking about brushes and start thinking in levels: resolve the form down low, climb up to detail, use alphas and layers, and retopologize by projecting the detail. The data is paraphrased from the official ZBrush documentation and the ZBrush entry on Wikipedia.