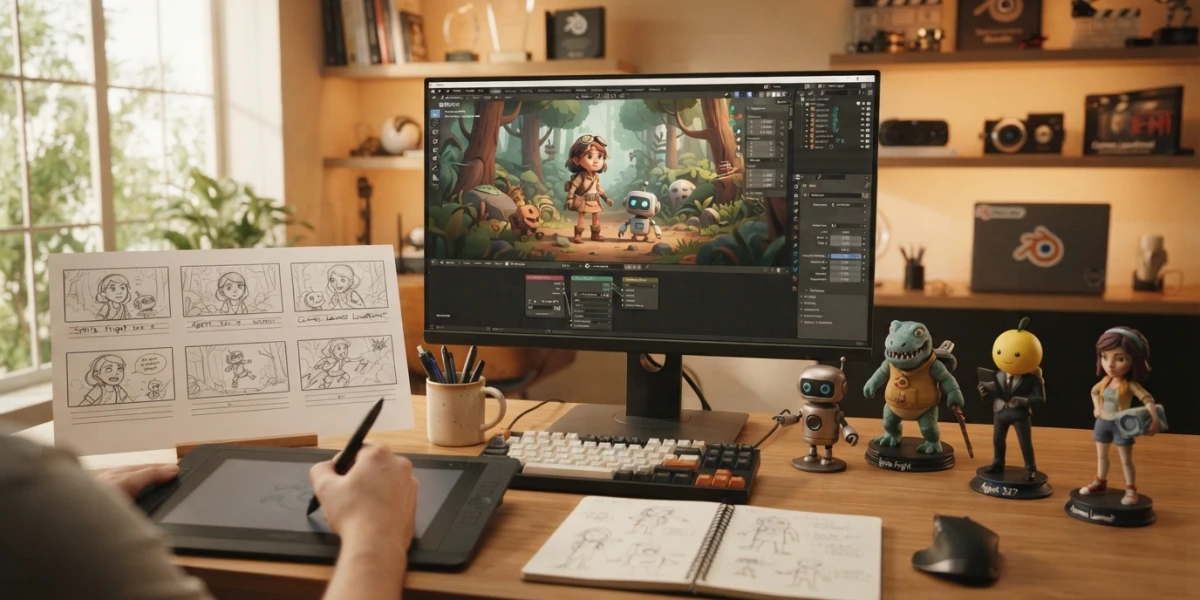
Image generated with AI
Blender Open Movies: Short Films That Teach You CGI

Diego Cortés
Author
Blender open movies are not just pretty short films: they are open projects, with scenes and production files that anyone can open and take apart. That detail is what turns them into one of the best free study materials available for learning CGI.
What an Open Movie Is (and Why It Works for Learning CGI)
An open movie is a film produced by the Blender Foundation and its studio (today, Blender Studio) under a rule the industry does not use: the whole process stays visible. The film is released freely and, along with it, the production data is published: animation, characters, textures, environments and, depending on the project, the team's actual working scenes.
For someone learning, that means you stop guessing. When you watch a finished film you only see the result: the light falls well, the hair moves well, the character has weight. When you open the production file you can see how it was achieved: what rig the character had, how the scene was lit, which nodes built the material and where the compositing cut was.
There is a second and more important reason. Blender open movies exist to push Blender itself: each film is produced with a version of the program and forces the team to solve technical problems that later become software improvements. Studying them means studying a piece of the tool's history too.
What Gets Published Besides the Film
Every project page on Blender Studio works like a small production archive. On most films you will find tabs for content, gallery, articles, production logs, credits and licensing. That is where the making-of lives: interface screenshots, art decisions, discarded iterations and side-by-side comparisons between early tests and the final shot.
On top of that, the studio publishes courses and production lessons grouped by area (animation, geometry nodes, lighting, rendering, rigging, shading), and blender.org offers free demo files per Blender version, including complete scenes from several of these short films.
Do not mix up two things: the free demo files and the full production vault are not the same. A good part of the studio material is openly accessible and another part requires a subscription. The short films themselves, however, are always free to watch.
The License in One Sentence
Project content is published under a Creative Commons Attribution license (CC-BY): you can reuse and redistribute it, even commercially, as long as you give credit. The attribution the studio itself asks for is "(CC) Blender Foundation | studio.blender.org". Logos and trademarks are excluded, and there is one exception worth knowing: in Tears of Steel you may not use footage of the actors in commercial work.
The List: Twenty Years of Blender Short Films (2006 to 2026)
The list is long and every title has its own focus. If you are going to study one, start with the film that teaches what you need right now, not with the most famous one.
The Milestones
- Elephants Dream (2006): the first open movie. A surreal world of machinery and mechanical birds, useful for seeing how a strange atmosphere is built out of very few elements.
- Big Buck Bunny (2008): the first Blender Institute project. It drove fur and hair, particles, UV mapping and the rendering pipeline.
- Sintel (2010): directed by Colin Levy. It brought interface, sculpting, shading and smoke simulation improvements.
- Tears of Steel (2012): live action plus CGI, directed by Ian Hubert. All VFX and compositing were done in Blender; it is the masterclass in tracking and masking.
- Cosmos Laundromat: First Cycle (2015): the 10-minute pilot of the Gooseberry project, the studio's largest production up to that point.
- Glass Half (2015): a cartoon short by Beorn Leonard, focused on cartoon animation and rendering inside the viewport.
- Agent 327 (2017): a proof of concept for a feature film based on a Dutch comic character.
- Hero (2018): the showcase for Blender 2.8's Grease Pencil, bringing 2D animation into a 3D pipeline.
- Spring (2019): written and directed by Andy Goralczyk, with landscape, animal fur and natural light.
- Coffee Run (2020): the non-photorealistic (NPR) look achieved with EEVEE; the reference for stylized real-time work.
- Sprite Fright (2021): an eighties horror comedy, followed by 12 published production lessons.
- Charge (2022): three minutes inspired by video game cinematics, aiming for realism and an interactive PBR workflow; its gallery includes reference-versus-final comparisons.
- Wing It! (2023): a stylized cartoon meant to push 2D and 3D animation and stylized rendering workflows.
There are also projects in development, such as Singularity, Cowboi and Overgrown, alongside non-film work (DOGWALK, Gold, Storm) and tools born inside the studio, like CloudRig, Kitsu or Brushstroke Tools.
One detail to keep in mind: open movie numbering changes depending on the source. Some official announcements count differently from the studio project pages, so it is safer to go by year and name than by release number.
What Each Film Debuted Technically
If you study by technique instead of by year, the path gets shorter: fur and particles in Big Buck Bunny, sculpting and smoke in Sintel, tracking and masking in Tears of Steel, Grease Pencil in Hero, realistic fur and natural light in Spring, NPR with EEVEE in Coffee Run, character animation and physical comedy in Sprite Fright, PBR realism in Charge and stylized rendering in Wing It!.
How to Study an Open Movie Step by Step
Watching it is not enough. The method that works is short, and you can repeat it with any film on the list.
Step 1: Watch It Twice
The first time, as an audience member. The second time, with your finger on the timeline: write down the shots you would like to know how to make. You will end up with a list of two or three shots, not a whole film. That cut is what makes studying possible.
Step 2: Pick the Right Content
Do not start with the entire project: it is too much. Start with a single shot or scene and work backwards. First check what is openly accessible and what needs a subscription, and use the blender.org demo files as a free entry point into several of these productions.
Step 3: Read the Production Logs First
Production logs and lessons explain why each decision was made: what was tested, what failed and what changed halfway through. Reading them before opening the scene saves hours of wandering around a screen full of nodes without knowing where to look.
Step 4: Reverse-Engineer One Shot
Open the scene and take it apart layer by layer. Start with the rig: how the controls are built and what each one is for. Then lighting: how many lights there are, of what type and where they sit. Then materials: which nodes build the surface. And finally compositing, where the look is finished. Write down whatever you do not understand and search for that specific point in the tutorials.
Step 5: Rebuild a Short Shot
This is the step that really teaches: rebuild a two or three second shot with your own means. It does not matter if the end result looks nothing like the original; what matters are the decisions you had to make along the way. If you want to reinforce the basics first, the blog has the guide to the 12 principles of animation and the blocking to polish animation process.
What to Look For in Each Film
- Elephants Dream: production design and atmosphere.
- Big Buck Bunny: fur, particles and character weight.
- Sintel: sculpting, smoke and emotion in animation.
- Tears of Steel: live action integrated with CGI, tracking and compositing.
- Glass Half: cartoon animation and stylized rendering.
- Agent 327: comic-book character, action and animation look.
- Hero: Grease Pencil and 2D inside a 3D pipeline.
- Spring: fur, terrain and natural light.
- Coffee Run: NPR with EEVEE and a stylized workflow.
- Sprite Fright: physical comedy and ensemble animation.
- Charge: PBR, realism and video game cinematics.
- Wing It!: stylized animation and cartoon look.
If your interest is color and shading, the blog has the guide to shading with nodes; if it is compositing, the one on how a shot is composited; and if you are starting from scratch, the learning CGI from zero path. The rest of the technical trail is in the motion tracking and toon shading tutorials, which cover exactly the techniques these films made popular.
Conclusion
Blender open movies are one of the few CGI schools that fit entirely on your computer: film, files, decisions and mistakes included. Watching them is entertainment; studying them is training.
The platform has a category of curated short films and another with behind-the-scenes making of material, and the Blender Studio channel gathers the main titles from this list. Start there: pick one shot and reverse-engineer it this week. That is the whole exercise, watching fewer films but opening one.