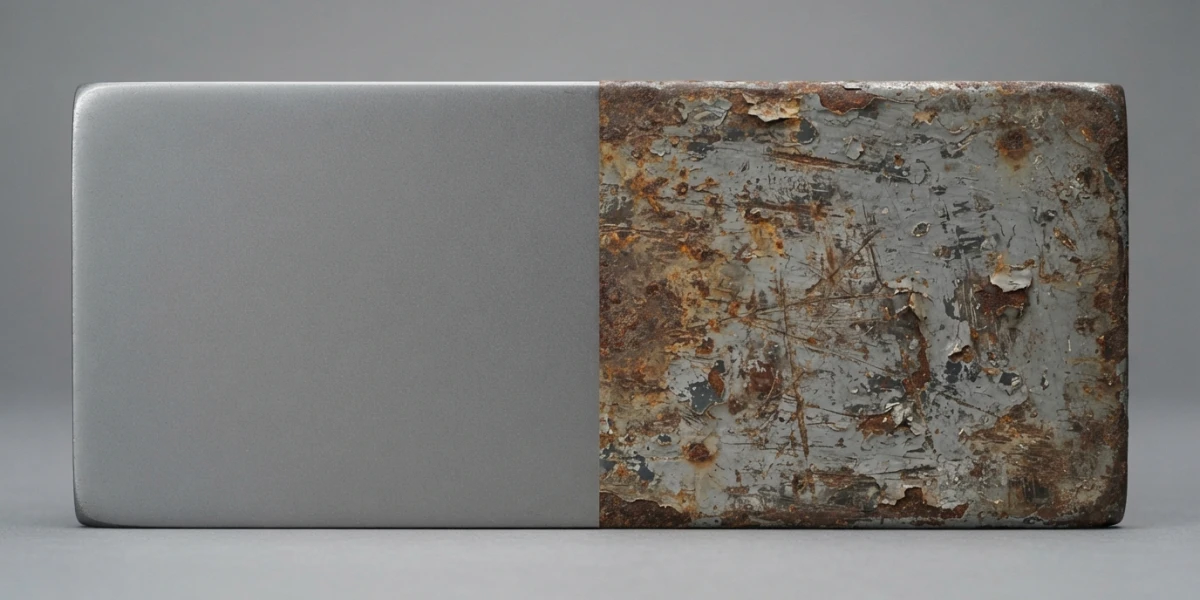
Image generated with AI
Substance Painter Tricks: Anchor Points and Generators

Diego Cortés
Author
Texturing gets slow when you paint the same thing three times: once for color, once for roughness, once for grime. Substance Painter anchor points, generators and filters turn the layer stack into a non-linear system: paint once, reuse everywhere.
Why your texturing repeats itself (and how to fix it)
You can spot the problem in someone else's project: five layers with the same mask copied by hand. It works fine until the art director asks to move the logo two centimeters, and then you edit all five copies. That is the real cost of a linear layer stack.
The way out is not painting faster or better. It is asking what you are going to reuse. Painter ships three mechanisms and all three live under the Effects menu: an anchor point exposes a resource so other layers can reference it, a generator builds a mask from the mesh shape and the baked maps, and a filter transforms layer content or a mask without repainting anything.
Substance Painter Anchor Points: expose a resource and reference it
What an anchor point is
It is an effect you add to a layer or a mask that exposes its content so other layers can reference it; when referenced, that content is instanced into the layer using it, with its own settings on top. You can reference an anchor from a Fill Layer, a Fill Effect and the input of a Substance filter (Effect, Procedural or Generator). The logo is edited in one place and everything depending on it updates, as the official Adobe documentation puts it.
The three rules that break a project
First: only anchors sitting below the referencing layer can be used. If you move one above, the reference breaks (it is undoable). Second: an anchor only works inside the same Texture Set, it does not cross into another one. Third: clicking an anchor lists every layer using it, which is how you audit a scene file in minutes.
Example: one decal driving three layers
Paint the logo on a layer, add Effects ▸ Anchor Point, then reference it three times: as a mask for a higher-roughness layer, as a mask for edge-only dirt, and as a mask for a height layer so the decal reads as raised paint instead of a sticker. Change the logo once and all three layers follow.
The same pattern sits behind flashier tricks: paint that peels off, fabric stitches and sole patterns. The full double-layer setup is shown in Anchor Point Magic 01.
Generators: automatic masks from baked mesh maps
A generator is a substance that builds a mask or a texture from topology, reading the baked utility maps: Position, Curvature and World Space Normal. Most of them output monochrome images, which is why they shine as masks.
Here is the part that wastes time: right-click the mask (or the layer) and add a generator; it appears underneath in the layer panel and you pick the exact type in Properties. Layer effects and mask effects are separate lists, so when a generator "does nothing", it was probably added to the layer instead of the mask.
The combination that carries most of the realism: Ambient Occlusion as a dirt mask in cavities plus Curvature as a wear mask on edges, both softened afterwards with a Blur filter and blended inside the mask, never as loose layers on top. And the honest limit: a generator can only read what the bake produced. If the cage, the distances or the resolution are wrong, there is nothing to read. That step is covered in the Blender map baking guide.
Filters: refine without repainting
There are two ways in and they are not equivalent. The manual one, selecting the layer content or its mask and picking the filter in Properties, gives you full control. The other is dragging and dropping from Shelf ▸ Filters, and it is meant for filters that should apply to the whole layer stack: it sets every channel's blending mode automatically and does not work for a single mask.
The three shortcuts that actually save time: Blur to soften generator masks, which is the step between procedural and plastic; levels and contrast to harden a mask without touching the layer; and channel-derived masks such as opacity or height.
Warp projection: patterns that follow the shape
When a pattern, a logo or a stitch has to sit on a surface that is not flat, a plain projection stretches or disappears on the curvature. Warp projection deforms the texture by editing the points of a grid, and the quick setup is dragging the resource from Assets onto the mesh (hold Alt for a material) and choosing the channel.
Four settings stop it looking pasted on: UV wrap, Shape crop, Projection depth (high values hurt performance) and the physical size in centimeters when the model has real scale. For advanced projections there is Creating 3D Paths.
Reuse instead of repeat
Material layering: one masked material layer drives several channels at once, which is what lets you have painted metal with rusted edges in two layers instead of eight. Saving your own masks and materials to the Shelf so they are not rebuilt every project. And instanced layers and groups, which in 12.1 can be flattened across every Texture Set with Flatten all instances.
A clean export to Blender (the three settings that matter)
In the output template tab you can rename maps with keywords the application replaces on export ($project, $mesh, $textureset, $udim, $colorSpace) and choose each map type (Gray, RGB, R+G+B, RGB+A, R+G+B+A) to pack channels such as roughness, metallic and occlusion into one file. For the template's format and bit depth to be honoured, File type has to stay on "Based on output template".
Padding decides how the space outside UV islands is filled and is the top cause of seams up close; the transparent variant keeps real alpha. On bit depth, exporting at 8 bits bands gradients, very visible on normal and height maps: 16-bit png or tiff, or floating-point exr, removes it, and dithering is the fallback when the destination forces 8 bits. And the silent one: if the data maps (normal, roughness, metallic, height) are not set to Non-Color in Blender, the render looks washed out and the engine gets blamed. That connection step is in PBR texturing from Substance to Blender. With UV tiles, the template exports one file per tile and Blender loads them with the token in the filename.
What is new in Substance 3D Painter 12.1
Version 12.1 (June 2026) weighs on the pipeline more than on the brush: baking auto-rebakes while you tweak a mesh map's parameters, skew correction can be painted directly on the mesh when the cage works in distance-based mode, and edge protection keeps the high poly's smoothness. OpenPBR 1.1 also becomes the default shader workflow, and automatic unwrapping gains a Hard surface mode that aligns islands and reduces distortion on mechanical parts.
Mistakes that keep showing up
Copying a mask into every layer instead of exposing it with an anchor point. Adding a generator to the layer when it was meant for the mask. Expecting a stack-wide filter dragged from the Shelf to hit one specific mask. Exporting at 8 bits and blaming the render engine for the banding.
A practice path using the curated videos
The order that works: anchor points first (the double-layer setup teaches how a resource gets referenced), then generators and filters, then finishing and export. All of it lives in the curated Adobe Substance 3D channel, with twelve videos, and pairs well with All Substance Painter Generators Explained and 6 Powerful New Filters. If you would rather paint inside Blender, the parallel route is texture painting in Blender, and before texturing anything it pays to have UVs sorted, which is what UV mapping in Blender and UV mapping in Maya cover.
Conclusion
The gap between an hour of texturing and a weekend of it is not in the palette: it is in deciding what you are going to reuse. Start with a single mask driving three layers through anchor points, and grow from there. The Adobe Substance 3D channel has twelve videos to see the mechanism in motion, and the platform has plenty more texturing, animation and VFX material to practice on.