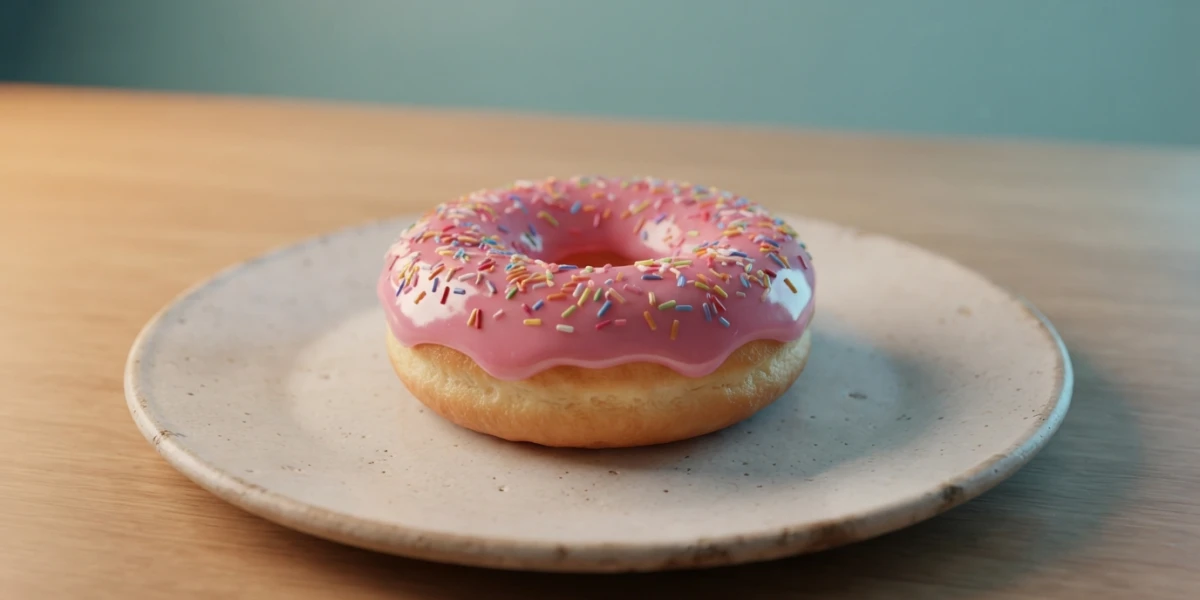
Image generated with AI
Blender Guru: Where to Start and What to Watch Next

Diego Cortés
Author
The most famous donut in 3D is not for eating: it is for modelling. Blender Guru is the Blender tutorial channel half the community started with, and it still publishes for people past the basics. Here is the order to actually use it.
Who is behind Blender Guru
The channel is run by Andrew Price and its purpose is stated in its own description: creating tutorials for Blender, the free and open-source 3D software. That explains the style: full projects explained calmly instead of thirty-second clips with a single trick in them.
Around the channel there is a wider ecosystem: a website with written posts that accompany the videos, courses, a library of textures and assets, a Discord server and a portfolio of his own work. The channel and blog material is open and free; the courses and the assets are a separate part of the ecosystem with its own path.
What you will find on the platform
On CGI Academy Hub the channel is curated with 190 videos inside the Blender category, each one reviewed by hand. That means the whole path in this article can be followed without leaving the site or fighting YouTube's search.
The entry point: the Blender Guru donut tutorial
If you have never opened Blender, start here. The series builds a donut from scratch and introduces every tool on top of the same project: interface and navigation, modelling, sculpting, materials, texturing, UVs, particle scattering, lighting and rendering. It is the reason the channel is famous: it turns the learning curve into a project with a beginning and an end, and a result you can show.
The parts, in order
- Blender Donut Tutorial (2026): the whole series in a single video, the most recent version.
- Part 2 (Modelling): modelling the donut and the plate.
- Part 3 (Sculpting): sculpting to get the irregular shape.
- Part 4 (Materials): materials and the icing.
- Blender Basic Texturing Tutorial: basic texturing on the finished piece.
- Blender Basic UV Unwrapping Tutorial: UV unwrapping, the base of any painted texture.
- How to Scatter in Blender 5.0: particle scattering for the sprinkles and sparks.
- The Basics of Lighting and Rendering in Blender: lighting and the final render, the end of the series.
The series gets rebuilt for each release
The donut is not frozen: there is a version for Blender 4.0, a rebuilt one for Blender 5.0 and a complete 2026 edition in a single video. The practical consequence is simple: if your Blender is newer than the tutorial's, some menu paths and option names differ. Always check which version the video announces and never assume every shortcut behaves the same.
The resources published with the series
The series comes with support material for the moments when something does not work: a keyboard shortcut cheat sheet, a guide to get yourself unstuck, the cup reference image, the channel's Discord, textures and the addon used to import the assets. They are the natural complement to the video, especially in the steps where your result does not look like the one on screen.
Beyond the donut: what else the channel offers
Once the series is done, the catalogue can be explored by area. Every block points to videos already curated on the platform, so the path does not end with the first project.
Modelling and full scenes
Larger-scale projects: creating a city, a suspension bridge, a spaceship corridor, an underground subway scene and a post-apocalyptic scene. They teach you how to solve a scene, not just an object on an empty background.
Texturing and shading
Here the focus is realism: how a believable material is built and why it works. The reference titles are realistic texturing with Cycles, the secrets of realistic texturing, anisotropic shading and metallic text.
Rendering and speed
Ten easy ways to render faster and how 17,731 donuts were rendered: the jump from a single render to processing in series. Both connect directly with project organisation and with choosing the right hardware for rendering.
Animation and motion graphics
A professional logo animation and another animated logo example make a good bridge between modelling and animation: a short project, a presentable result, and the perfect excuse to animate 3D text next.
VFX, tracking and camera
Introduction to camera tracking and camera mapping are the two foundations for integrating CGI into real footage. They complement the tracking and matchmoving path and the render pass compositing one.
Short practice projects
For a spare afternoon: a photorealistic fruit splash, a rainy window, realistic bread, speed modelling a couch and particle sparks. Each one has a concrete result and one new technique.
How to use a channel like this without getting lost
The problem with a channel that has years of material is not the lack of content: it is knowing how to study it. Four rules that actually work.
One series, all the way through
Finish one series before jumping to another. The donut is the best example: every part reuses what you learned in the previous one, and quitting at part 3 leaves the project half done and the vocabulary incomplete.
Replicate while you watch, not after
Pause and do it in your own file with your own variation: another icing, another plate, another colour. Reproducing it from memory once the video is over is where the real learning happens.
Check the Blender version of the tutorial
Older tutorials are still valid for understanding concepts, but the interface and some names change between releases. When in doubt, the official manual and the post that accompanies the video beat a comment from years ago.
Write down the shortcuts
Part of the value of these tutorials is in the shortcuts shown on screen. Write them down as you watch: that is the difference between remembering a workflow and being able to repeat it months later without going back to the video.
Where to watch Blender Guru tutorials
On the platform the channel has its own page with all 190 curated videos and category filters, with no recommendations or noise around them: Blender Guru on CGI Academy Hub. It is a hand-reviewed collection, built precisely for studying without distractions.
Companion paths on the blog that fit this route: first steps in Blender, learning CGI from scratch, PBR texturing and Substance, exterior lighting with HDRI, render pass compositing, motion tracking and matchmoving, project organisation and the GPU landscape for rendering. And if you want to compare channels, the BlenderDude geometry nodes path and the Aura Prods VFX path are two more curated routes on the platform.
Conclusion
Blender Guru teaches you to build rather than to memorise menus, so order matters more than the number of videos watched. Start with the donut, finish it completely, and then let the area that caught your attention (texturing, rendering, VFX, animation) pick the next block. All 190 videos are curated and organised in the platform's collection: choose your route, hit play and model something today.