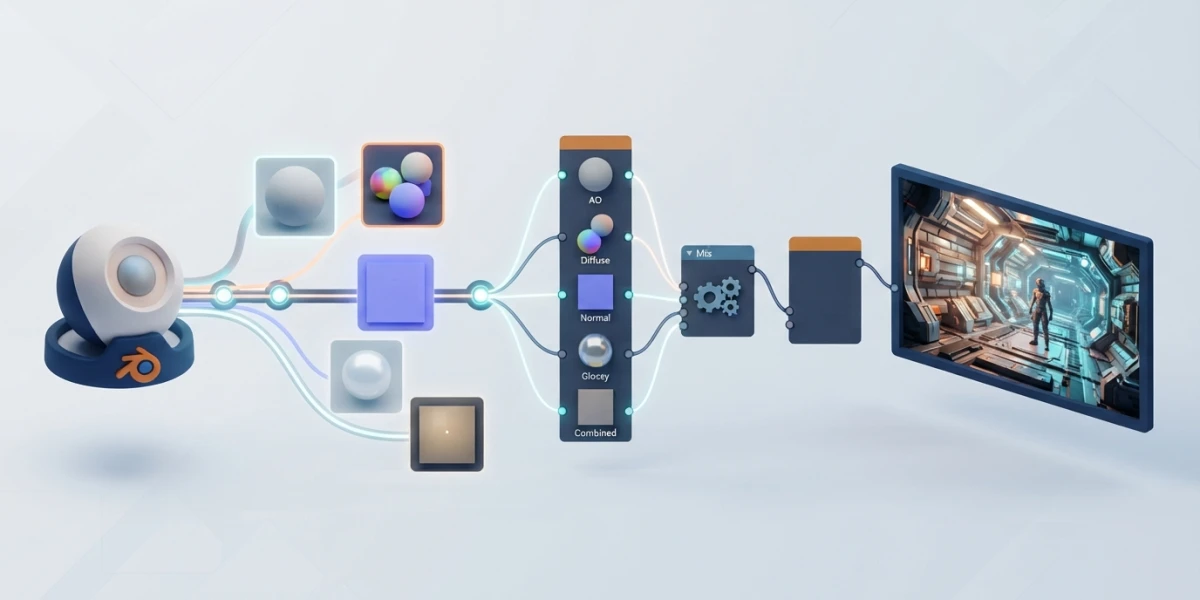
Image generated with AI
Blender Compositing: From Render Passes (AOVs) to the Final Image

Diego Cortés
Author
Blender compositing is the line between delivering a render exactly as it comes out and having real control over every part of the image: diffuse light, reflections, depth or per-object masks, all without rendering again. Render passes (AOVs) turn your render into editable raw material.
What a Render Pass Is and Why It Changes Your Workflow
A render pass is an intermediate image that stores one specific type of render information: diffuse colors, light distribution, distance from the camera or normals, among others. Instead of a single final image, Cycles gives you many layers that you can combine however you like. That means a color grade, a selective glow or a depth-of-field blur happen in the compositor, without relaunching the render.
The Channel Analogy
Think about how a photograph splits into RGB channels, each one holding color information. A render splits into far richer information channels: how much diffuse light each pixel receives, how much reflected light, how far the surface is, which object occupies that pixel. Cycles offers more than thirty passes depending on how you count them, and each one is an image you can grade separately.
Where to Enable Them
Everything is managed in Properties, inside the View Layer panel, in the Passes section. That is where you tick which passes you want generated. Note that Cycles and Eevee have different sets, and Cycles is by far the largest; if you work with the real-time render engine, some passes simply will not be available.
The Four Pass Categories
Data
The Data category groups geometric and image information. The Combined pass is always available and is the final image as-is. The Z pass stores the distance to the camera, while Mist maps that distance to the 0-1 range and is much cleaner than Z when the render uses depth of field or motion blur. You will also find Normal, Vector (for post motion blur), UV, IndexOB and IndexMA (per-object and per-material identifiers) and the denoising data: the noisy pass is added automatically if you use denoising.
Light
The light passes are the heart of the breakdown: Diffuse, Glossy and Transmission, each with its direct, indirect and color variants, plus Volume, Emission, Environment, Shadow and Ambient Occlusion. With them you can rebuild the Combined pixel by pixel and, more importantly, modify it in parts.
Cryptomatte
Cryptomatte includes the Object, Material and Asset passes, designed for instant masks by object, material or asset group.
Shader AOV
The last category, Shader AOV, holds custom passes that you define inside the material and then read in the compositor.
The Compositor: the Render Layers Node as Your Starting Point
First Steps
Switch to the Compositing workspace, enable Use Nodes and connect the Render Layers node to the Composite output. The magic is in the detail: every pass you enable in the View Layer adds a new socket to the Render Layers node, and from there you can pull any combination.
Previewing with the Viewer and Backdrop
To see the result without rendering to disk, connect a Viewer node to whatever you want to inspect and enable the backdrop button in the editor header. This overlays the final image and your test node, which is perfect for comparing corrections on the fly.
The Golden Rule
Enable the passes before rendering with F12. If a pass was not ticked when you launched the render, that pass does not exist: you will have to render again. It is the most common mistake and the most expensive one in time.
Recombining Light Passes Like a Professional Breakdown
The Formula
Correct recombination follows the engine's logic: for each light type you add the direct and indirect components and multiply by the color of the same type. That is, (Diffuse Direct + Diffuse Indirect) x Diffuse Color, and the same for Glossy and Transmission. Then you add Volume, Emission and Environment. With Mix nodes in Add and Multiply mode you reproduce the exact Combined and, as a bonus, you take control of each component.
Why Break It Down
Once the breakdown is in place, boosting only the diffuse light, recoloring the reflections or attenuating the emission is a matter of one node. Glare applies only to the area you want, and the Shadow pass, which comes out with flat shading, can be blurred in post to soften shadows without touching the scene.
A Note on Denoising
Important detail: separate passes do not come out denoised, only the Combined does. The Denoise node works on individual passes but is limited to the Intel denoiser; if you use OptiX, denoising is only available through the Combined. Plan your noise cleanup accordingly.
Cryptomatte: Frictionless Masks by Object or Material
What It Is
Cryptomatte is an image standard designed to create efficient masks for objects or materials. Compared to the Object or Material Index passes, its setup is easier, the masks work in other compositing applications and each pixel can belong to several objects at once, something impossible with a plain index.
Levels
The Levels parameter defines the maximum number of objects distinguishable per pixel. A curious detail: the Render Layers node outputs half as many images as the Levels value, so with Levels 6 you get CryptoObject00, CryptoObject01 and CryptoObject02.
The Cryptomatte Node
The Cryptomatte node builds the mask from the Cryptomatte image generated by Blender, or by any other software that supports the standard, and lets you add or remove objects from the selection directly from the node's interface.
Shader AOVs: Your Own Passes
The Workflow
First you create the pass in the Shader AOV panel of the View Layer. Then, inside a material, you write to it with the AOV Output node, which works both in materials and in the World. Finally you read it in the compositor from the corresponding socket of the Render Layers node. Any value you can compute in a shader becomes an editable pass.
What They Are Used For
They are ideal for debugging or fine-tuning very subtle details of the scene in post, and they are a pillar of non-photorealistic rendering (NPR), where you usually need arbitrary shader components separated from the rest of the image.
From the Compositor to a File: Multilayer OpenEXR
Saving the Multilayer File
If you want to take the work to another application, save the render as a Multilayer OpenEXR: in the Image Editor press Alt+S and choose that format. Every enabled pass is stored as a layer whose name combines the View Layer and the pass, so you keep all the information losslessly.
Editing Outside Blender
When you open the file in Photoshop, GIMP, Affinity Photo or any compatible editor, each pass appears as an independent layer. It is the cleanest way to work with a post-production team that does not use Blender.
What's New in the Blender 5.2 Compositor
35 New Nodes and Six New Socket Types
The built-in compositor gets a serious boost in Blender 5.2: 35 new nodes and six new socket types. If your compositing workflow lived in the classic compositor, you now have much more to work with without leaving Blender.
Ready-Made Assets
There are also new compositor assets already prepared: film grain, painterly looks and 3D coordinate transforms between world and camera space, ready to drag into your tree.
Conclusion
Mastering render passes turns the render into working material you can iterate on without limits, and Blender's compositor is powerful enough for the full pipeline. If you want to see these concepts applied calmly, step by step, the curated compositing and rendering video tutorials on CGI Academy Hub will walk you through the journey.