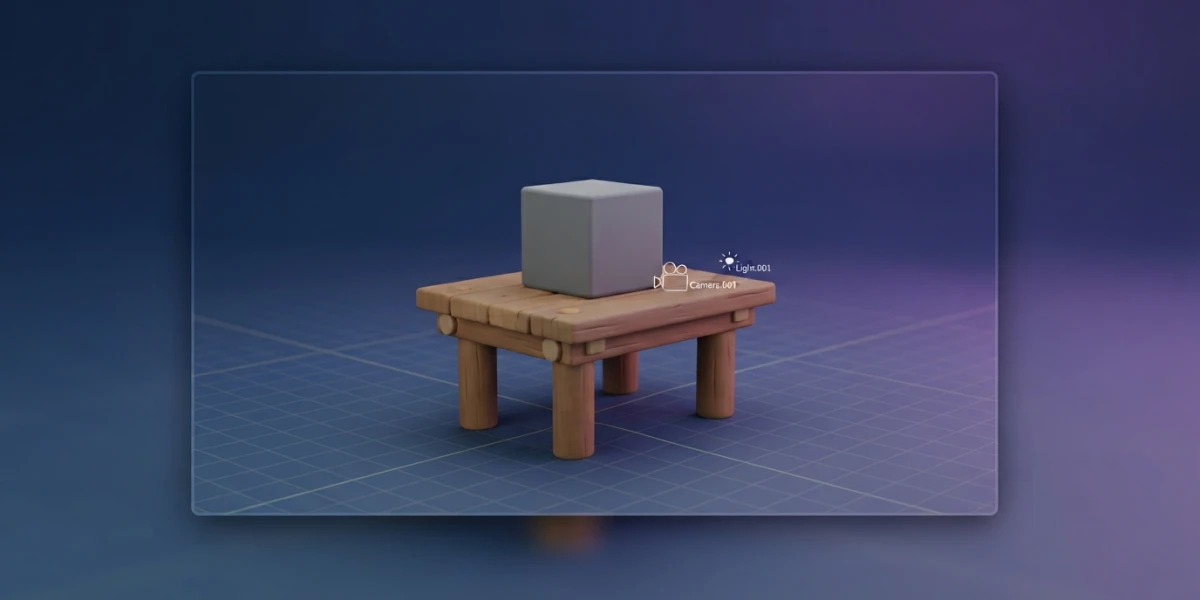
Image generated with AI
Getting Started with Blender: Interface and First Model

Diego Cortés
Author
You open Blender and there it is: a gray cube, a camera and a light. Now what? The good news: getting started with Blender is simpler than it looks. This guide maps your first hour: what every element is, how to navigate the viewport and how to reach your first model and render.
Getting Started with Blender: What It Is and Why Start with It
Blender is a complete, free 3D suite: modeling, sculpting, texturing, rigging, animation, simulation, compositing, VFX and even video editing live in a single program that costs nothing to download. It is open source software (GPL license), so it does not depend on subscriptions or studio licenses: what you learn today will still be there tomorrow.
The current version is Blender 5.2 LTS, released on July 14, 2026, with stability support until July 2028. The LTS (long-term support) label matters if you want to use it in production: two years of updates focused on stability. Behind it there is an enormous community, with tutorials in English and Spanish for any doubt.
Installing and setting up Blender
The official download lives at blender.org/download, with installers for Windows, macOS and Linux; you can also install it through Steam or Snap. On first launch you will see the splash screen, and you can set the interface language in the preferences.
One tip for day one: keep the default keymap, the one called Blender. There is the Industry Compatible alternative for people coming from other programs such as Maya or 3ds Max, but starting with the native keymap saves you from relearning it when you follow tutorials, which almost always use the default.
The interface: windows and workspaces
When you close the splash screen, Blender does not show you a single window: a set of editors organized in a workspace. Understanding that structure is the first big step to stop feeling intimidated by the interface.
The default Layout workspace
The workspace you see on startup is called Layout and contains four editors: the 3D Viewport (top left, where almost everything happens), the Outliner (top right, the list of objects), the Properties (bottom right, the settings panels) and the Timeline (bottom left, for animation). At the top is the Topbar, with the menus and workspace tabs, and at the bottom the Status Bar with contextual information.
Switching workspaces
Workspaces are predefined window layouts geared towards a specific task such as modeling, sculpting, animating or scripting. You switch between them with the tabs in the Topbar or with Ctrl+PageUp and Ctrl+PageDown. Blender ships with Modeling, Sculpting, UV Editing, Texture Paint, Shading, Animation, Rendering, Compositing, Geometry Nodes and Scripting workspaces. You do not need to use them all on day one: just know they exist.
The startup scene: what is what
The default scene is deliberately minimal: three objects and a couple of visual helpers. Knowing them by heart saves you a lot of confusion:
- The cube: a mesh object; its orange outline means it is selected, and the orange dot is its origin, the position that transformations use as reference.
- The camera: the pyramid with the diagonal line; it is the point of view of the final render.
- The light: the concentric circles that illuminate the scene; without light, the render comes out black.
- The 3D cursor: the cross with a red and white circle; it determines where new objects are placed.
- The grid floor: the gray lines mark the zero height of the world, and the red and green lines are the X and Y axes, which cross at the origin, where the cube sits.
If you lose track of an object, this mental map tells you where to look: select it and press Numpad . to frame it.
Navigating the viewport
Moving around the viewport is the first skill to master, and it takes two minutes. With the mouse: drag the middle button to orbit, hold Shift while dragging the middle button to pan, and use the wheel to zoom.
A couple of handy views: Numpad 0 puts you in camera view (what the render will see) and Numpad 5 toggles between perspective and orthographic projection. There is also fly/walk navigation (Shift + backtick) to move through the scene like in a video game, great for large scenes though you will not need it on day one.
First transforms: move, rotate and scale
All modeling in Blender boils down to three operations, and each one has a key: G to move (grab), R to rotate and S to scale. Select the cube, press G and move the mouse: the object follows. Press X, Y or Z after the key to restrict the movement to a single axis, something you will use constantly.
Two details that confuse beginners: the left mouse button confirms the operation and the right button or Escape cancels it. After every transform, the Adjust Last Operation panel (F9) appears, where you fine-tune exact numeric values: one of the best-kept secrets for beginners.
A note about the default keymap: selection is done with the right mouse button. It surprises newcomers at first, but in a few days it becomes natural and prevents accidentally selecting things while transforming.
From the startup scene to your first model: a table
With all of the above you can already make your first model: a simple table using only primitives, without entering edit mode.
The scene cube will be the tabletop. Press S to scale, then Z to limit it to the vertical axis, and drag down to flatten it. Now add the legs: Shift+A opens the Add menu, choose Mesh and then Cylinder. Place it under a corner of the tabletop with G; for the next leg, select it and press Shift+D to duplicate (the copy stays in place; move it with G). Repeat until you have four legs.
To finish, select everything with A and press Ctrl+J to join the objects. There is your table, and without realizing it you used the basic tools of any modeling workflow: axis-restricted scaling, adding, moving, duplicating and joining.
When you want to go further, press Tab to toggle between object mode and edit mode, where you move vertices, edges and faces instead of the whole object: the next level, which the modeling tutorials on this platform cover in depth.
Basic material and your first render
Adding color: the Shading workspace
Your table is gray because it has no material yet. Switch to the Shading tab in the Topbar: the node editor opens. With the table selected, press New to create a material; the Principled BSDF node comes by default and with it you can define practically any surface. Change the Base Color and you will see the result in the viewport.
Rendering with F12
Moment of truth: press F12 to render the current frame and F11 to show the render window. Blender ships with two engines: EEVEE, real-time, fast for iterating; and Cycles, a ray tracer that is more realistic and slower, ideal for the final result. You pick the engine in the render properties.
Once you like the image, save it with Image > Save As in the image editor (or directly with F3). If the render comes out black, it is not a Blender failure: check that the camera points at the table and that there is light in the scene.
Tips to keep learning
Save with Ctrl+S and, even better, enable autosave in the preferences; Blender is not going to ask you. Do not try to memorize every shortcut: the ones in this guide are enough to start. Learn through small projects - a table, a cup, a room - because each one forces you to solve a concrete problem.
Video tutorials are the perfect complement: this platform has a curated collection of the best ones, such as Aura Prods' The Definitive Blender Guide, a complete course in Spanish from scratch that follows the path you are starting today. Once you master the basics, the articles on this blog are waiting for you: procedural materials, three-point lighting or optimized Cycles rendering.
Conclusion
The first hour in Blender is the hardest, but also the most rewarding: knowing the startup scene, navigating the viewport and mastering move, rotate and scale already lets you model a table, give it a material and render it. Those are the first steps in getting started with Blender, and you have already taken them. Keep going with the curated beginner tutorials on the platform and, in a few weeks, the gray cube will be just a memory.