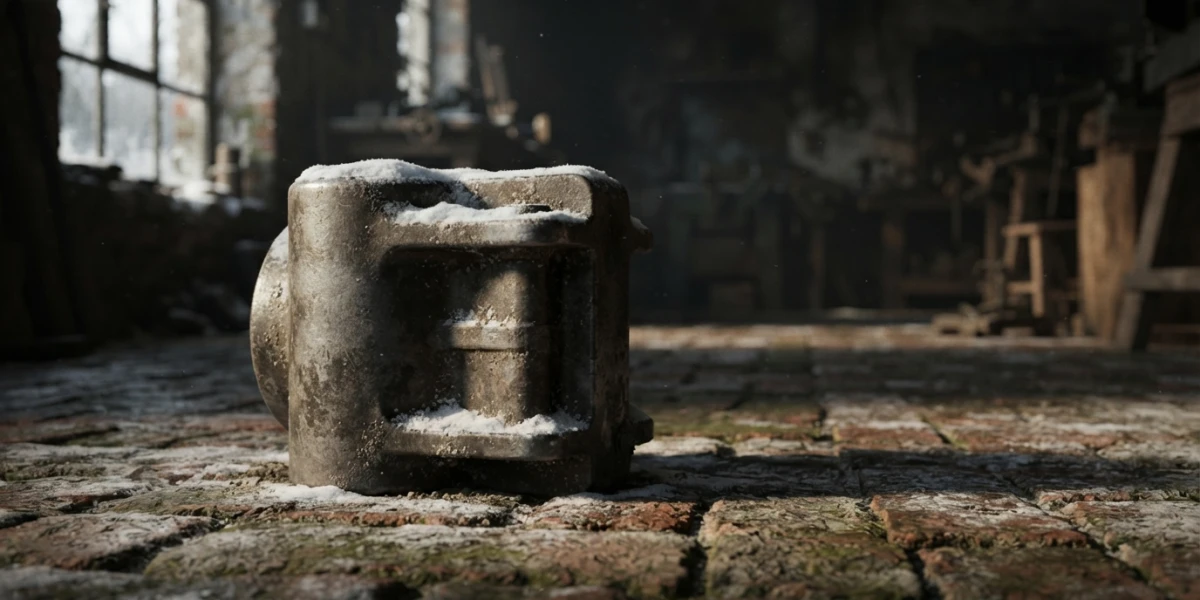
Image generated with AI
Arnold Utility Shaders: 7 Nodes That Solve the Render

Diego Cortés
Author
Arnold utility shaders do not paint a surface: they return a measurement. Distance, occlusion, curvature. Once that clicks, seven nodes that looked odd become the kit you reach for when a shot is almost right.
What an Arnold utility shader is and why it paints nothing
A surface shader answers one question: what colour leaves this point towards the camera. A utility shader answers another: how far is the nearest geometry, how much light arrives in the hemisphere, how convex is this patch. That is why its output rarely lands in a material's Color. It goes to masks, to Opacity, to the Normal or Coat Normal of a Standard Surface, or to an AOV. If you come from Blender, the conceptual bridge is node-based shaders.
In Maya they live in Hypershade with the ai prefix and appear in the tab search like any material: Distance, Ambient Occlusion, Ray Switch, Shadow Matte, Clip Geo, Round Corners, Utility and a few more. Parameters are from MtoA 5.6.3.4 (Arnold 7.5.3.4, Maya 2025 to 2027); if your Attribute Editor disagrees, the Arnold User Guide wins.
The seven Arnold utility shaders worth keeping close
- Distance: gradient by proximity. Snow, sand, dust.
- Ambient Occlusion: dirt in corners, crevices and contact areas.
- Ray Switch: a different shading tree per ray type.
- Shadow Matte: a shadow over a photo, to ground a render.
- Clip Geo: cutting geometry with a volume.
- Round Corners: a bevel that was never modelled.
- Utility: diagnostic and occlusion passes, even as a global AOV.
Distance: the gradient that depends on how close geometry is
It handles everything that piles up where two surfaces meet: snow on a ledge, sand against a wall, dust in the joint of a cabinet.
Four parameters do the work. Samples is the estimate, because the measurement comes from firing rays: 16 by default, with 8 and 32 as the comparison values. Distance is the furthest the shader will look, and it defaults to 1. Near Color is the colour in contact, black by default, and Far Color is the colour at that distance or beyond, white by default; swapping them changes the whole read of the effect.
Trace Set decides which geometry feeds the measurement: one name in the shader and the same name on the shapes, or Inclusive switched off to exclude. Snow should not be measured against the car itself. Out Distance returns the distance and out_direction the direction. Two limits: it does not work with displacement, and trace sets are not available on GPU.
Ambient Occlusion: the dirt that makes a surface believable
It fires rays into the upper hemisphere defined by the tangent plane and returns the ratio of hits to rays. Ratio zero, nothing blocks it, White. Ratio one, fully blocked, Black. In between, it interpolates.
Samples defaults to 3 and is enough for soft masks; if you see grain in the AO, that is the first knob. Spread goes from 0 to 1, and 1 is the full hemisphere. Far Clip is the maximum occlusion distance: lower it for tight contact, raise it for ambient grime. FallOff is not compatible with semi-transparent surfaces.
Invert Normals sends the rays inwards and concentrates occlusion where the form closes: corners, joints, edges. That is the classic use, dirt and erosion, and the official example is an AO with far_clip at 0.3 multiplied over the beauty of a brick floor. It almost never stands alone: it multiplies over the final colour, with intensity as the blend knob.
Ray Switch: a different shading tree per ray type
The channels are Camera, Shadow, Diffuse Reflection, Specular Reflection, Diffuse Transmission, Specular Transmission and Volume; anything you leave unconnected falls back to the normal behaviour. Three uses: dropping secondary rays that add nothing, extra brightness in camera only, and an opacity in the Shadow channel that differs from real transparency, the trick for fabric that scatters light. It also cuts render time, because a shading tree that is not needed is never evaluated.
Shadow Matte: putting your render on a photo without giving it away
It is assigned to the ground plane and its job is to catch the shadow, not to be seen. With Scene Background it uses the scene background; with Background Color it accepts a texture, which is what you want when the plate is already a photo. Shadow Color tints the shadow, and in Shadow Opacity the higher values give a lighter shadow, not a darker one.
The captured shadow lives in the alpha channel and the node brings its own AOVs: Shadow, Shadow Diff and Shadow Mask. If the ground has real relief, the setting almost nobody touches is raising Transparency Depth in Render Settings, and Backlighting only works for thin single-sided objects. Once the shadow leaves the render and gets composited, you are in shot compositing territory.
Clip Geo and Round Corners: fixing geometry without touching it
Clip Geo turns a shape into a blade: it cuts any geometry that intersects it, and Intersection sets the colour of the cut surface. The rules are strict: it must be the root shader, only one clipping object, no self-intersecting geometry or open meshes, and clipped volumes are not supported yet. To hide the blade, turn off Primary Visibility and Cast Shadows; with only the first one off the cut renders black because the object still casts shadow.
Round Corners moves shading normals near the edges and fakes a rounded corner: it connects to the Normal or Coat Normal of a Standard Surface and only affects the meshes it is assigned to. Samples defaults to 6 and Radius is 0.1 in object space, so the rounding scales with the object. It breaks with wrong normals, does not work on single-sided surfaces and is not visible through transparent surfaces, though it does work with displacement. Check it with the normals AOV: this is the same reason a render looks fake when every edge is a razor blade.
Utility: the Swiss-army node and the AOV that writes itself
Shade Mode offers ndoteye, lambert, flat, ambocc, plastic and metal; ambocc has its own AO Distance for when the default 100 units are too short. Color Mode is almost all diagnostics: bad uvs in magenta, geometric normal, object id, polygon wireframe, reflection lines, ucoords. Overlay Mode adds wire or polywire on top of the shading.
Its best trick is the global AOV: these shaders are evaluated after surface shading and also run for atmosphere and background. In Maya there is nothing to wire by hand: add a shader to a custom AOV and MtoA inserts the aov_write for you, which is the shortcut to a free AO or wireframe pass without touching the materials. In maintenance, bad uvs shows where the UV is broken (then read UV mapping in Maya) and polygon wireframe shows the polygons you do not need.
Bonus: Curvature, wear that comes from the shape itself
It samples around the shading point within a radius and returns curvature. Output can be convex, concave or both, and in both the convex side comes out red and the concave side green. Samples defaults to 3, but the number of rays is its square. Radius, Spread, Threshold and Bias 0.5 finish the job: a higher Bias exaggerates and a lower one emphasises fine detail.
The limits worth knowing before you touch anything
Trace sets are not on GPU and Distance does not work with displacement, so check it before promising it on a GPU delivery. With no trace set the ray hits all geometry, the inclusive one only hits tagged geometry and the exclusive one only hits untagged geometry; an empty name means the shape belongs to every set, so pulling an object out of reflections means giving it a decoy name. The name has to be in place before the ray is fired, and Self Only cannot be combined with trace sets. Most failures in this family are geometry, not shader: flipped normals, open meshes, faces with no thickness.
Where to practise each node
This site is a curated video collection, so the next step is watching the node work. The distance shader for abstract art is the best way into the gradient; for Ray Switch, Clip Geo, Round Corners and Curvature there is one video per node. The AO and Cryptomatte in After Effects one is in Spanish and closes the loop with compositing. If you are new to the renderer, start with lights and materials in Arnold; if what you see is noise rather than detail, the topic is denoisers.
Conclusion
The seven nodes are the same move: measure instead of paint. Distance measures proximity, Ambient Occlusion measures how much the environment blocks, Curvature measures the form, Utility measures almost anything, and the other three use those measurements to cut, round or integrate. My advice is one scene, one node, one parameter: connect the output to a mask, see the change, and the node stays learned.