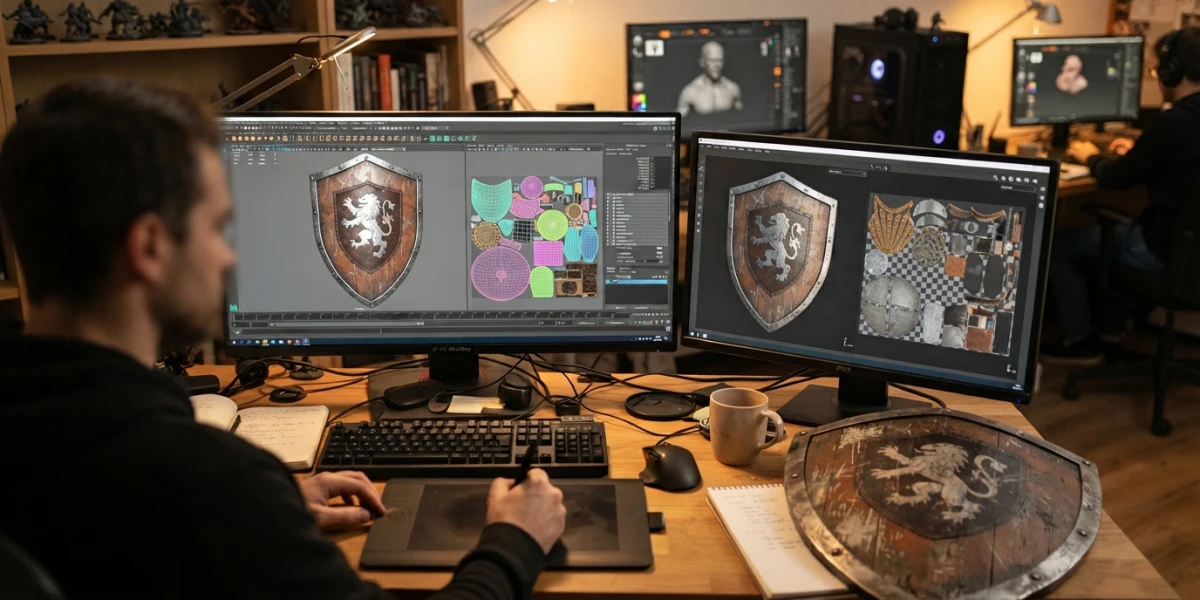
Image generated with AI
Abe Leal 3D: a step-by-step game art path

Diego Cortés
Author
In game art you don't learn tool by tool, you learn it as a chain. Abe Leal 3D is the channel where that chain is shown end to end, from blocking in Maya to the final portfolio render. Here is the path, stage by stage.
Who is behind Abe Leal 3D
The channel belongs to Abraham Leal, a 3D artist with over a decade in the industry: he has taught at universities in Mexico, produced more than twenty courses for different companies and works freelance while running his own indie studio. His stated goal is simple: teach the 3D world and push others to create things, without the hype.
The channel is the open side of a bigger ecosystem, with an academy of courses, a Discord community and live streams. The courses and the assets are a separate world that is not promoted here: what this article walks through is the free material, which is plenty and well ordered.
What you will find on the platform
On CGI Academy Hub the channel is curated with 28 hand-reviewed videos sorted by software: Maya (12), Substance Painter (10), ZBrush (2), Blender (2), RizomUV (1) and one uncategorised. That means the whole path in this article can be followed without leaving the site: no ads, no cross-recommendations and no losing the thread in the YouTube search box. Everything sits on the channel page.
The full pipeline path, stage by stage
What sets this channel apart from most 3D material is that it shows the real order of production. Almost everything out there teaches one tool in isolation; here the prop is modelled, unwrapped, baked, textured and presented. That route is the one worth studying, and these are the videos that cover it on the platform.
1. Modelling and sculpting: the prop is built, not guessed
The start is deliberately small. How to model a Greek Column in 5 min gets you past the fear of the Maya interface with a closed object, and Maya Medieval Shield Tutorial Part 1: Modelling is the first real full model: a shield with volume, edges and detail. Before moving a vertex, watch Making 3D Weapons! Explaining the Steps!, where proportion, silhouette and detail-level decisions are explained instead of typed in without context.
Once the blockout is done, detail comes in. In ZBrush, HardSurface Sculpting Armor: Tools and Workflows covers the tools and workflow for hard surfaces, and NEW Retopology Tools: Full Process solves the next step without switching programs. And if you work in Blender, Blender 5.0! Modelling and Sculpting Armor is a full recorded workshop, from blockout to final result.
2. UVs: where a project is won or lost
This is the stage most people skip and the one that decides whether texturing comes out clean. Everything You Need to Know About UVs is the base class: islands, cuts, margins and stretching. Then 5 Easy Steps for Clean UVs and Master UV Mapping in Maya bring the same ideas down to concrete clicks, and UV Creation and Optimization explains how a layout is planned when the asset is headed for a real-time engine.
The most complete case is UV Layout, Rizom UV, UDIMs and Bakes: a whole prop unwrapped outside Maya, with UDIMs to spread resolution and the bakes in the same session. It is the video worth watching twice, once before unwrapping and once with the layout already done.
3. Bakes and game optimisation
Here the work stops being practice and becomes production. Optimizing 3D Assets for Games sets the general criteria (polygons, texel density, what can go), UVs and Bakes brings it down to the maps, and Transfer ALL Texture Maps solves the transfer between model versions, the step where textures get lost when it is left for the end.
The companion piece is Trim Sheets for Games: Modelling and Organization: modelling with reusable textures in mind from the start. It is not a texturing technique, it is a modelling decision, and it changes how you organise the whole project.
4. PBR texturing in Substance Painter
This is the biggest block on the channel. To understand the system: Material Layering Basic Setup and ALL Generators EXPLAINED. With those two you can texture any prop with intent instead of trial and error.
Concrete techniques come next: Anchor Points to chain layers without rebuilding masks, 3D PATHS for details that follow the geometry and Painting Opacity Maps for cloth, grilles and worn edges. 7 Tips To Make Texturing Easier is pure speed.
The stylised side has its own route: Hand-Painted Style in Substance Painter, NEW Hand Painted Filters and the Complex Wooden Medieval Door Tutorial, the channel's best long example of the whole process with clean layers.
5. Maya materials and final presentation
The loop closes by connecting what comes out of Substance with the render: The Maya Hypershade and How to Connect PBR Textures in Maya show where each map goes. And Improve your Renders and Portfolio covers the last mile: light, camera and framing, because a portfolio is judged by the final image, not by the wireframe.
Where to start depending on what you already know
If you have never opened Maya
The Greek column in five minutes first, then the medieval shield in both parts (modelling and texturing). One finished object teaches more than ten unrelated fragments, and it is the equivalent of the first rounded prop in any software. Only then go into UVs.
If you come from Blender
The channel has two Blender entries (the armour workshop and Making 3D Weapons) so you can watch the same process in your software, and the rest of the material covers exactly what Blender does not: the Substance Painter pipeline (see PBR texturing from Substance to Blender) and hard-surface work in ZBrush.
If you already model and only want better textures
Go straight to the Substance Painter block: layers and generators first, then Anchor Points and 3D Paths. Two sessions and the quality of your work changes. If you also want to sharpen your map decisions, metalness vs specular and map baking pair well with that block.
How to study a pipeline channel without getting lost
One project, start to finish
A pipeline makes sense the first time you walk it end to end. Pick one prop (a shield, a door, a weapon) and take it through all five stages: that teaches more than five tutorials from five different projects, because the problems arrive as a chain. A badly unwrapped UV blows up in the bake, and a dirty bake ruins the texturing.
Replicate while you watch
The channel's approach is explicit: real-time recorded material, step by step, meant to be followed with the file open next to it. Pausing, clicking, getting it wrong and fixing it is where the learning happens; watching straight through leaves nothing behind.
Think like production, not like a hobby
Texel density, extra UV seams, polygon count, trim sheet reuse: in these videos those decisions always come with their reason. Writing them down is what later lets you work with a team and hand over a file someone else can read. To go deeper on that judgement, retopology, hard surface and UV mapping in Maya are the natural follow-up reads.
Save your renders
The channel keeps insisting on presentation because a portfolio is judged by the image, not by the wireframe. Keeping one render per project, with decent light and framing, is the difference between having practice and having something to show: building a 3D portfolio that gets work is the step that closes the pipeline.
Where to watch Abe Leal 3D tutorials
On the platform the channel has its own page with all 28 curated videos and category filters, with no recommendations or noise around it: Abe Leal 3D on CGI Academy Hub.
To combine with other routes on the blog: Blender Guru (full Blender projects), BlenderDude (geometry nodes) and Aura Prods (VFX). And if you are mapping out the big picture, Blender vs Maya vs Houdini and learning CGI from scratch answer the questions that come up before you pick a pipeline.
Conclusion
Game art is learned as a chain: model, unwrap, bake, texture and present. Abe Leal 3D shows that chain end to end with real projects and no filler, and the 28 curated videos are waiting on the platform. Pick one prop, take it through the whole chain, then repeat with the next one: that is how a pipeline stops being a checklist and becomes muscle memory.