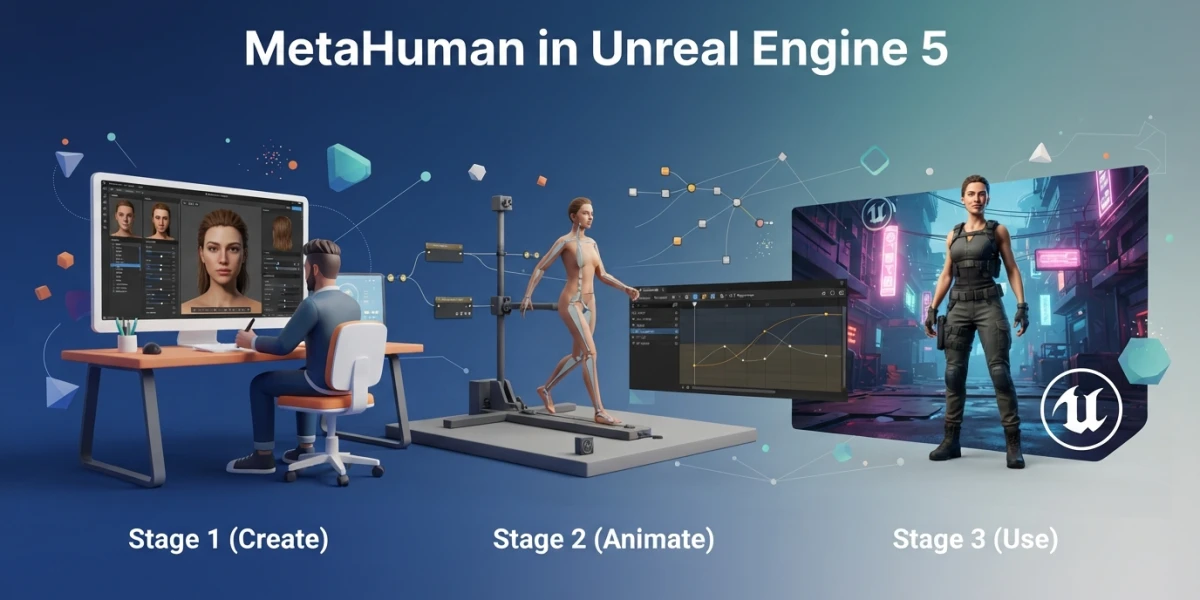
Image generated with AI
MetaHuman in Unreal Engine 5: Create and Animate Characters

Diego Cortés
Author
A MetaHuman in Unreal Engine 5 is not a model with a skeleton: it is a full rig, with its own face, body and data, whose parts are animated along different paths. Understanding that map separates a downloaded character from one that produces shots.
MetaHuman in Unreal Engine 5: what it is and why it changes character work
It is not a mesh pack: it is digital human technology built for production, with head and body assembled separately and a set of in-engine tools to animate them.
A full rig, not a model
The head and the body are built separately, and each arrives with its own rig plus the data that describes how it should deform. Animating a face and animating a body are two different operations that later meet in the same character. If you come from rigging in Blender or from rigging in Maya, most of the rig is already solved here.
What is still your job
You no longer build the mesh, the skeleton or the base weights; you still decide the design, the wardrobe, the hair, the performance and the final polish. Skin already ships with subsurface scattering, so you do not have to replicate by hand what realistic skin with SSS covers; you do want the principle in your head to tune the look.
The photorealism bar
The eye is forgiving toward the artificial until the likeness gets close to human, and that is where the uncanny valley appears, already developed in why 3D characters trigger discomfort. The consequence is simple: facial capture is not a luxury, it is where a character holds up or falls apart.
Creating the character: MetaHuman Creator inside the engine
The creator is no longer a web app: it lives in the editor and opens with a double click on a character asset. Two steps get forgotten and ruin the first attempt: ticking the creator core data when installing the engine and enabling its plugin in the project.
The tools and the assembly
The editor lets you start from a preset, blend features, sculpt, adjust skin, build hairstyles and dress the character; for clothing, see clothing assets. On assembly the character becomes a blueprint you can drag into a level; the set comes from environment art and the credibility of the shot from UE5 lighting.
From your own mesh: Mesh to MetaHuman (5.8)
Version 5.8 converts a human mesh with arbitrary topology into a fully rigged character in a single flow, fitting head and body at the same time. It only accepts humanoids, and for anyone coming from a pipeline such as Blender to Unreal Engine 5 it changes the starting point.
Animating the face: real-time and offline facial capture
The animation toolset generates movement from capture data: audio, video or depth, live or offline.
Live, from a webcam or your phone
The shortest route is real-time capture from a webcam or from the mobile app, with Live Link enabled and a subject set on the character. The hands-on reference is the ultimate guide to MetaHuman creation and facial animation.
Offline: depth, mono video and audio
Offline there are three inputs: depth (TrueDepth or a head-mounted stereo camera), mono video and audio. Audio alone already drives the face, useful for dubbing without a camera; to work a take outside the engine, motion capture in Blender still applies.
From the take to the curves
Raw material is ingested with the capture manager and each take is processed with a performance asset that solves the curves, exportable as an animation or level sequence. It does not replace timing, which you train in animation keys in Maya.
Animating the body: from classic capture to a single camera
The body has traditionally been solved with capture suits and live streaming, the flow covered in MetaHumans for mocap.
Body from one camera (experimental in 5.8)
Version 5.8 lets you capture body, or face and body together, from a single actor with a single camera: it is an experimental capability and it removes the optical capture stage. It ships as a plugin and integrated into the animator, and the mobile apps now capture body as well as face.
Real limits
Because it is experimental it should not be sold as a stable pipeline: body capture runs on Windows only, even though facial capture already runs on Linux and macOS. And the whole animator is an editor tool, not a runtime one.
Live Link: the cable that carries the performance
What travels between the actor and the character is not finished poses but performance data; Live Link is the interface that carries it.
Sources, Subjects and Roles
A source is the connection to the external application or the capture server; a subject is one stream of data, and a character being animated is a subject; roles define how that incoming data is used so it maps onto an actor.
Evaluation modes and virtual subjects
The client builds each frame by copying the last received data or by interpolating with a configurable delay; pick the wrong mode and you get popping or visible lag. Virtual subjects combine two streams on one character, for example face and body.
Live Link Hub
Live Link Hub is a standalone app for streaming, modifying and recording data into the engine, and its capture manager is the doorway for raw material into the animator; the practical walkthrough is Live Link Hub Tips.
Control Rig: rigging and fixing inside the engine
The other half is tweaking without leaving the editor, with the engine's own rigging and animation set.
The Control Rig asset: controls, bones and nulls
Controls (what you animate), bones (what deforms) and nulls (grouping and compensation) live together, and solve directions define what each control is allowed to do. It supports modular rigs, full-body inverse kinematics and splines; an example is Control Rig Physics.
When to fix in-engine and when to go back to the DCC
If the fix is about interpretation, do it in the engine; if it is about structure, go back to Blender or Maya, where armatures and weight painting weigh more than any local correction.
Retargeting: reusing animation across different characters
Retargeting reuses animation across characters with very different proportions without deforming the skeleton. Key detail: only translation gets retargeted; rotation always comes from the animation data.
The three modes
Animation (translation comes from the animation: root bone, IK bones and markers), Skeleton (it comes from the destination base pose) and AnimationScaled (the animation scaled by proportions, the typical mode for the pelvis). To share animation between different skeletons you need a rig asset on both.
The hand IK bones trick
For props you add a chain of hand IK bones that follow the hands and skip retargeting: that way characters of different sizes manipulate the same object.
MetaHuman outside Unreal: Maya, Blender and the open tech
A Maya plugin exists with a character assembler, expression editor and groom exporter. It requires Maya 2024 to 2027 and is only tested on Rocky 8; the installer does not exist on Linux, so installation is prepared on Windows and copied over.
The bridge to Blender
A round trip is possible: it helps to know the pipeline for exporting and importing between Blender and the engine and the comparison of Blender, Maya and Houdini. The devkit integrates the technology outside the engine, it is fully open source and it starts with the rig libraries under the MIT licence.
What changes with MetaHuman in 5.8
Unbaked materials and your own lighting scenes
You can assemble without baked materials or textures to control lookdev with the engine editors or in external DCCs, applying your own as overrides. The creator supports custom lighting scenes to preview the character in the target context, with Lumen in the viewport.
Crowds (experimental) and other improvements
An experimental plugin builds Mass-compatible crowds, from dozens to thousands of characters, switching between high-fidelity actors and instanced meshes by distance; hair uses card meshes and distant characters do not run the post-process animation blueprint. The animator now runs on Linux and macOS for facial work (body is still Windows), with network video and batch processing.
Conclusion: the full pipeline and the checklist
The ordered flow: create and assemble the character, add it to the level, enable Live Link and set the subject, capture the face live or offline, solve the body, process the take and export the curves, fix with Control Rig and reuse through retargeting. The part no tool gives you is the principles, studied in the 12 principles of animation.
The curated videos to start with today
Three good starting points: cloning characters in UE5, the facial animation guide and Live Link Hub Tips. All the material sits under the Unreal Engine category, and if motion is still what hurts, the next step is the character animation path.