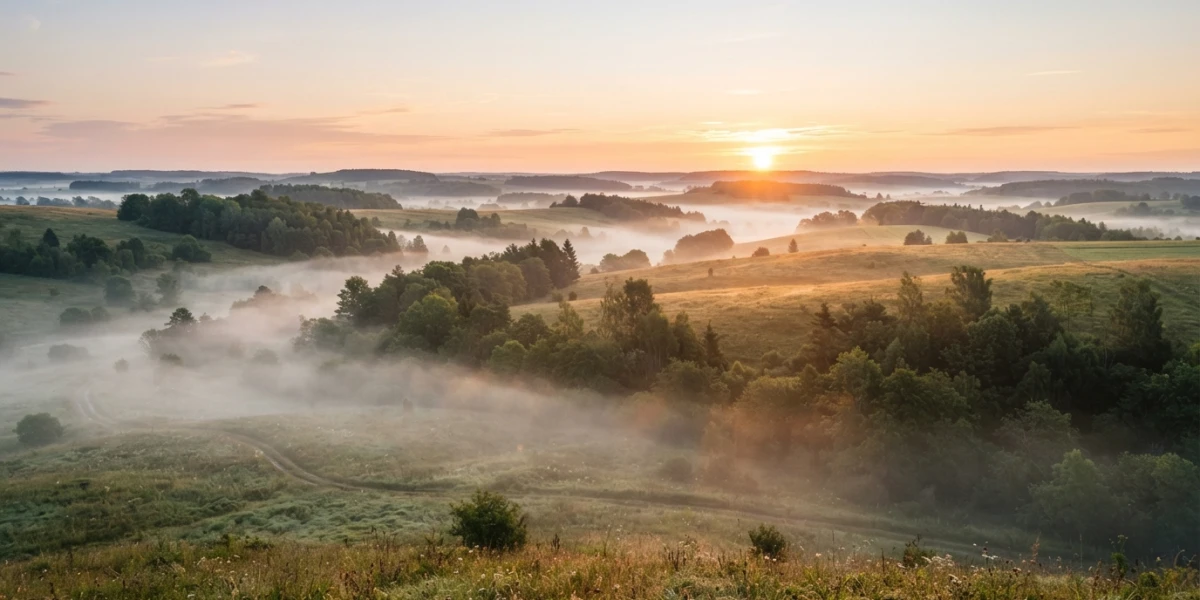
Image generated with AI
Environment Art in UE5: Landscape, PCG and World Partition

Diego Cortés
Author
An endless horizon, a forest that keeps repeating and light that shifts with the hour. An open world in Unreal Engine 5 is not modelled by hand: it is built in layers, terrain underneath and rules on top.
What Environment Art in Unreal Engine 5 Really Is
Environment art in Unreal Engine 5 is the craft of deciding how a habitable space looks and how it feels to move through it: the scale of the terrain, the silhouette of the hills, the material blend underfoot, the density of the forest and the light that cuts through it. It is not filling a backdrop or dropping in an asset pack: it is making decisions that hold up when the camera moves.
The golden rule is counterintuitive: you pick the point of view and the time of day before you touch geometry; a landscape for wide shots is not sized like one for a chase sequence at knee height. If you come from Blender, that stretch is already covered in Unreal Engine 5 for 3D Artists and this article starts where it ends, already inside the engine; lighting, which is just one section here, gets its own treatment in UE5 lighting secrets.
Start With the Ground: How a Landscape Is Built
The Landscape actor is the base of every outdoor environment: a sculpted surface, painted with layers and shaded with a material of its own. It is worth understanding how it is put together, because that internal structure drives performance.
Components, Sections and Why Scale Is Decided First
A Landscape is not one mesh: it is split into Landscape Components, the unit of rendering, visibility and collision, all square and the same size. Each one can be subdivided into one or four sections (2x2), which are the unit used to calculate level of detail.
Two hard limits: section size must be a power of two and cannot exceed 256x256. Every section is a draw call, so Epic recommends staying under 1,024 components. The recommended table makes it concrete: 8,129 x 8,129 vertices at 127 quads per section gives 1,024 components, 2,017 x 2,017 drops to 256 and 253 x 253 to 4 or 16. Bigger is not better, it is more expensive: you size the terrain around the area the camera can actually see.
Heightmaps: Shaping the World From Outside
A heightmap is a grayscale height image the engine turns into terrain, and Epic prefers 16-bit grayscale PNG, r8 and r16 because the bit depth is declared and nothing gets reinterpreted on import. The usual workflow is to grab a real digital elevation model or sculpt the relief in an external tool, import it and refine it with the engine brushes. If you would rather generate it procedurally, the logic is close to the scattering in Geometry Nodes.
Painting the Ground: Layers, Weights and Materials
A landscape material is a blend between layers: the painted weights decide how much each layer contributes and each one needs a Landscape Layer Info before it can be painted. Weight Blending and Alpha Blending combine to produce effects like snow sitting on grass and dirt at once.
A warning that saves hours of debugging: if the material looks for a layer that has not been declared on the terrain, its weight is always zero; no error, it simply does not paint. In UE 5.8 the brush was improved for weight-blended layers and landscape edit layers are now exposed to Blueprint.
Foliage: First by Hand, Then by Rules
Foliage Mode: Painting by Hand (and Why It Is So Cheap)
Foliage Mode (Shift+3) paints or erases vegetation. The type matters: Static Mesh Foliage uses instancing and batches many instances into a single draw call, while Actor Foliage costs the same as placing regular actors in the scene. For a dense forest, that difference is enormous.
PCG: Planting by Rules
The Procedural Content Generation Framework generates procedural content inside the engine. It needs the PCG plugin (plus Geometry Script Interop to sample points on Static Meshes) and it is authored in a PCG Graph that receives data from a PCG Component placed in the level.
The minimum vocabulary: Points are positions carrying a transform, bounds, colour, density, steepness and seed; Point Density is the probability that a point exists (zero is black, one is white); and the graph is assembled with node families such as Sampler, Filter, Density, Spatial and Metadata. UE 5.8 brought contextual node filtering, attribute authoring through HLSL kernels and better instance reuse with large sets.
Grass: The System That Only Works on a Landscape
The grass system only works with the Landscape actor; for grass on other actors, PCG solves density and slope without complaint.
The Trick That Separates Amateur From Believable: Blending Objects Into the Ground
This is where the Runtime Virtual Texture comes in: an RVT generates its texels on demand on the GPU at runtime and caches the shading of large areas, so rocks, roads and puddles stop floating and fuse with the ground.
The workflow has five steps: create the RVT asset, place an RVT Volume in the scene, set the materials to write into the RVT, set them to sample from it, and mark the components that render into it. For fine detail there is Nanite displacement, which pushes real geometry onto the surface instead of faking it with normals; Nanite virtualises with automatic LOD, but four things are worth measuring: instances, triangles per mesh, material complexity and output resolution.
The Sky Does Half the Work: Atmosphere, Clouds and Outdoor Light
Sky Atmosphere: A Sky That Answers to the Time of Day
Sky Atmosphere is physically based and supports time-of-day, with a ground-to-space transition driven by aerial perspective. To switch it on, place the component, add a Directional Light and enable Atmosphere Sun Light; with two lights index 0 is the Sun and 1 is the Moon, and Ctrl+L plus Ctrl+L+Shift move them across the sky. A Sky Light captures the atmosphere and contributes to the lighting.
Volumetric Clouds: Real Clouds, Not a Painted Dome
Volumetric clouds use a 3D volume texture traced by ray marching instead of a painted dome. They are material-driven and work alongside the atmosphere and the Sky Light, with multiple scattering, shadows cast on and by the clouds and ground light bouncing off their base.
Fog and Light: The Finish That Adds Depth
Exponential Height Fog packs more density at the bottom than at the top and supports a second layer; its two fog colours, one per hemisphere relative to the directional light, are what creates the sense of distance. For global illumination, Lumen targets open worlds at 60 fps with a surface cache of 12 cards per mesh, and UE 5.8 brings Lumen Lite in beta, twice as fast as high-quality Lumen.
Water: Rivers, Lakes and Ocean by Splines
The Water plugin handles rivers, lakes and oceans with splines: Water Body Actors define the surface and the Water Mesh Actor manages a single water mesh, which avoids seams. It brings waves, fluid simulation, buoyancy, caustics and underwater post-processing, with types for ocean, lake, river, island and exclusion volume.
Making It Fit: World Partition and the World That Loads Itself
An open world does not fit in memory all at once. World Partition keeps everything in a single persistent level divided into cells by a configurable runtime grid and loads or unloads them based on distance to the streaming sources: the documentation example uses 256 m cells and a 768 m loading range. It lives alongside One File Per Actor, Data Layers and HLOD, and the Open World map already ships with a 2 km by 2 km sample landscape and the full outdoor set. Cooking a World Partition map requires the cook commandlet.
A Checklist to Close Out an Open World
Eight points that sum up the craft: lock the point of view and the time of day before modelling; size the landscape around draw calls, not size; paint only with declared layers; use Static Mesh Foliage for density and PCG when rules are involved; add RVT so objects fuse with the ground; set up atmosphere and clouds before touching fill light; enable World Partition from the start; and measure before you beautify.
Conclusion
An open world is a hierarchy of decisions: scale, layers, rules, atmosphere and streaming. Each tool solves its own slice, and none of them replaces the others.
If you want to watch the craft in motion, the platform has curated video tutorials that walk this path. The starting point is Create An Open World In UE5 & CityBLD; for the jump from brush to rules, How to Procedurally Generate 3D Environments in Unreal Engine 5 and PCG Forrest; and to make objects fuse with the ground, the Runtime Virtual Texture guide and Master Nanite Displacement. It is all in the Unreal Engine category, ready to study without distractions.