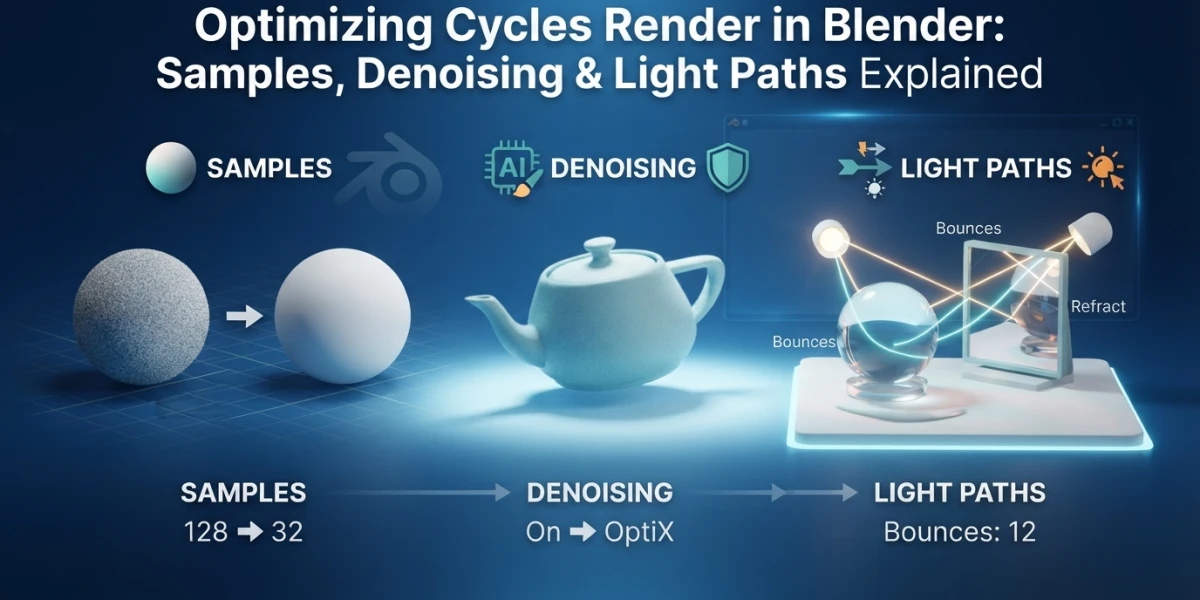
Image generated with AI
Optimize Blender Cycles Rendering: Samples, Denoising and Light Paths Explained

Diego Cortés
Author
Do you keep pushing samples to 2000 and the render still takes hours? Optimizing Blender Cycles rendering is not about patience — it is about knowing where the noise comes from. With adaptive sampling, a well-chosen denoiser and tuned light paths you can cut render time by up to 70% while keeping the same quality, and this article shows you exactly where those levers are.
Why your renders come out noisy
Before touching any setting, it helps to understand the enemy. The grain is not there because Cycles is misconfigured: it is part of how the engine works.
The noise of path tracing
Cycles is a path tracer: each sample shoots paths of light from the camera and averages what they find. With few samples there is little information, high variance, and therefore grain. Noise is not a bug, it is statistics. The important part is the scaling relationship: doubling the samples doubles the render time, but only reduces noise by its square root. Going from 100 to 400 samples costs four times as long and barely cuts the grain in half. That is why professionals do not raise samples blindly: they attack noise on several fronts at once.
Adaptive sampling: the first lever
The most cost-effective option is enabled by default, but almost nobody understands it. With it, Cycles stops sampling areas that are already clean and concentrates work where noise remains.
How it works
Adaptive sampling uses a noise threshold (0.01 by default) to decide when an area is clean enough and stop spending samples on it. The result is that noise is distributed evenly across the image instead of piling up in difficult areas, and time is invested where it is actually needed. It is the number one lever because it automatically does the work that used to be done by hand with region samples.
The typical mistake: a huge max samples value
Setting max samples to 2000 with adaptive sampling enabled is counterproductive: Cycles will chase perfection in noisy areas with no useful limit, spending time on details nobody will notice. The practical range for most scenes is 128 to 256 samples with a threshold of 0.01 to 0.03. If one specific area still has grain, the better move is to review the lighting or add a denoiser rather than double the global samples.
Denoising: OptiX, OIDN and NLM
Denoising is the great accelerator of modern Cycles. A good AI denoiser removes the grain from a low-sample image in a fraction of a second, and that completely changes the time/quality equation.
OptiX (NVIDIA GPUs)
In Render Properties, under Sampling, you will find Viewport Denoising (to iterate while you work) and the final-render Denoising. OptiX takes advantage of the tensor cores in NVIDIA GPUs and is the fastest and cleanest of the three. If your machine has no NVIDIA hardware, OIDN (OpenImageDenoise) runs on CPU and also as a GPU backend on Intel cards, with results very close to OptiX. Cycles' denoising pipeline is device-agnostic: pick the one your hardware supports.
The number that convinces: 50-70% less time
AI denoisers cut render time by 50 to 70%. A real example from a render farm: a frame that costs 5.60 USD at 512 samples drops to 1.90 USD at 128 samples with OptiX enabled: a 66% reduction with visually identical quality. Prices vary between farms, but the ratio holds: fewer samples plus denoising beats twice the samples with no denoising.
NLM, the classic denoiser
Non-Local Means is still available in Blender, but it is the old option: slower and with worse results than OptiX or OIDN. It can still be useful on very old setups or when you need per-pass denoising without touching the compositor, but if your hardware supports OptiX or OIDN, there is no reason to stay on NLM.
Light paths and the other levers
Denoising attacks the grain; light paths attack the time each sample takes to compute. Together they are the most effective combination.
Reducing bounces
Cycles uses 12 total bounces by default, more than most scenes need. Practical values: Total between 4 and 8, Diffuse and Glossy at 2-3, and Transmission at 4. In interiors with lots of indirect light, test the minimum that does not darken the scene: every bounce you remove multiplies compute speed, and the eye barely notices when direct lighting dominates the image.
Clamp indirect, cut-off and AOVs
Clamp indirect light cuts the extremely bright rays that produce fireflies, those flickering white dots on specular materials. The cut-off threshold discards tiny light contributions nobody can see. And the fewer AOVs you export, the less memory and post-processing time you need. These are fine adjustments, but on large scenes or animations they add up to real minutes per frame.
Fast GI Approximation in Blender 5.x
Since Blender 5.0 there is an optimization called Fast GI Approximation that cleans up indirect-lighting noise almost for free, especially useful in interiors where light bounces many times. You enable it in the render properties, and it pairs beautifully with adaptive sampling: interiors come out clean with very few samples, no need to raise the bounces.
Workflow: fast preview, final render
With all the levers on the table, the final trick is to organize the work in two passes: one to iterate quickly and one for the final result. That way you never sacrifice speed while working, nor quality at delivery time.
Two passes
For the preview, use 64-128 samples with Viewport Denoising enabled: it is enough to judge lighting, composition and materials almost in real time. For the final render, go up to 128-256 samples with adaptive sampling on and final denoising with OptiX or OIDN. If one specific element — depth of field, a volume, hair — needs more, raise it locally instead of inflating the global sample count.
How to check you did not lose quality
Compare light and shadow areas between the preview and the final, and inspect edges and reflections, not just the grain. If you doubt the denoiser, keep a reference version without denoising: with very few samples it can smooth fine detail such as hair or material grain. The practical rule is that denoising should clean the noise, not erase the texture.
Conclusion
Optimizing Blender Cycles rendering comes down to one sentence: fewer samples, better distributed, and a good denoiser at the end. Enable adaptive sampling with a reasonable maximum of 128-256 samples, pick OptiX or OIDN according to your hardware, trim the light paths to what your scene needs, and work in preview/final passes. The result is the same quality with up to 70% less time, without touching the lighting. If you want to see these settings applied to real scenes, CGI Academy Hub curates video tutorials on lighting and rendering that take this workflow one step further.