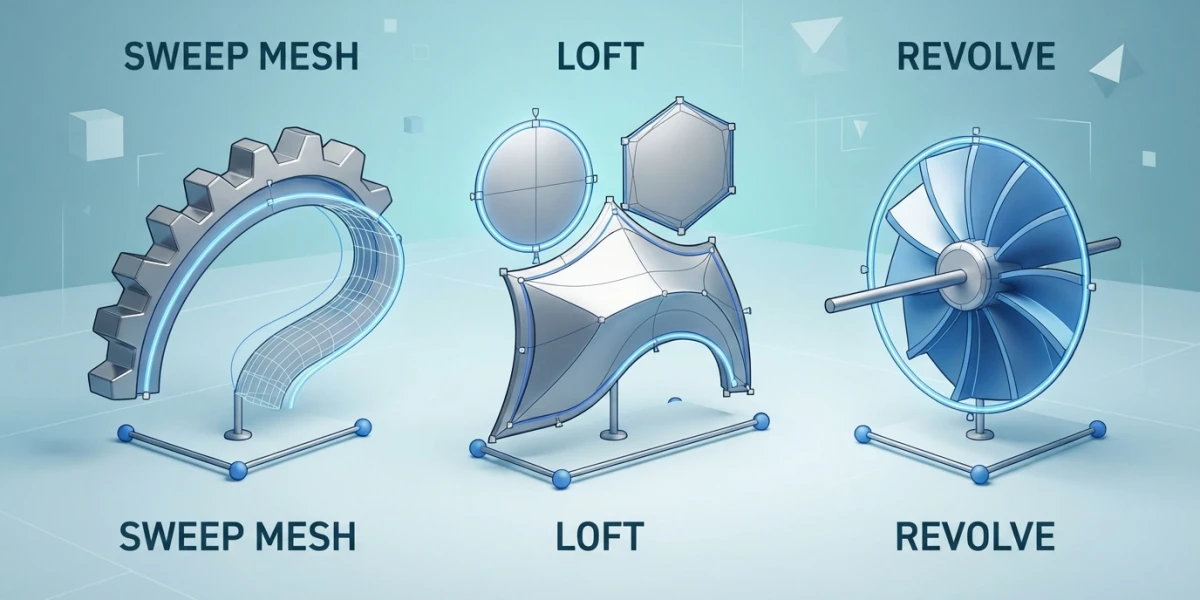
Image generated with AI
Curve Modeling in Maya: Sweep Mesh, Loft and Revolve

Diego Cortés
Author
Curve modeling in Maya turns one hand-drawn line into a finished part: pick a profile, sweep it along a path, and the mesh shows up with parameters that stay live. Here is the whole workflow, from Bezier curve to clean polygon mesh.
What You Can (and Can't) Model with Curves in Maya
Curves win when a shape repeats the same cross-section along a route: picture frames and moldings, handrails, pipes, ropes and chains all come out of drawing a line and sweeping a profile, in minutes and without nudging hundreds of vertices. Radial objects are the other natural fit, because a profile revolved around an axis produces columns, cups, vases and towers with no sculpting at all.
Organic free-form shape, or parts whose section changes with no clear rule, still belongs to polygons. If you want that workflow (Extrude faces, Multi-Cut, Bevel, Bridge, Quad Draw), start with the fundamentals of modeling in Maya.
The Curves Maya Gives You: NURBS, Bezier and Edit Points
Everything rests on NURBS curves, defined by a degree, their knots and their CVs. Bezier curves are the friendlier subset to draw by hand: anchors that sit on the curve and tangents that shape it, cubic in Maya.
Drawing a Bezier Curve with Tangent Control
In Create > Curve Tools > Bezier Curve Tool, or on the Curves shelf, a plain click places an anchor while a click-and-drag places the anchor and stretches its tangent in the same gesture. Clicking an existing curve adds anchors without changing the shape, Ctrl with Shift on the first anchor closes the curve into a loop, and Enter finishes it.
Tangent Selection Modes
Normal Select moves the whole tangent symmetrically, which smooth arcs want. Weighted Select affects only the side you grabbed while keeping symmetry. Tangent Select breaks the tangent and turns the anchor into a hard corner. If the manipulators do not appear, enable Display Handle on the Bezier node.
Cleaning Up a Curve with Rebuild
A hand-drawn curve drags along extra knots, and when you sweep, the profile rolls and the mesh twists. Curves > Rebuild rebuilds the structure: Uniform sets spans and degree (cubic by default), Reduce strips knots inside a tolerance, Curvature places knots where the curve bends hardest, and Match Knots copies degree, knots and spans from another curve for a seamless join.
Curve Modeling in Maya: Sweep Mesh in Practice
With a curve selected, Create > Sweep Mesh generates a polygon mesh and keeps the curve as the path; every setting lives on the sweepMeshCreator node. Select several curves and you can ask for one node per curve, which matters when you model hair cards.
Built-in Profiles
Poly gives a circle or a star with side count and inner radius. Rectangle brings width, height, corner radius and corner segments, plus corner depth, where 0 flattens to 45 degrees and negative values round inward. Line sweeps a plane, Arc sweeps 0 to 360 degrees, and Wave brings amplitude, cycles and segments.
Custom Profiles
Custom opens a dialog with Type: Curve Object, Poly Object, Poly Face or Poly Edge. Orientation changes the result, and flat shapes beat volumetric ones. There is also a live link to the profile curve, so editing its CVs updates the mesh on its own; a second node, sweepProfileConverter, is created underneath.
Repeating the Profile Along the Path
Distribution repeats the profile in a circle, a square or a line, and with Number of Instances, Scale and Rotate Instances and Coverage (1 covering the whole path) you build railings, chains and any repeated-element part without duplicating objects by hand.
Alignment, Scale, Twist and Taper
Alignment positions the profile against the path with its horizontal and vertical modes. Under Transformations, Scale Profile thickens the section, Rotate Profile turns it, Twist wrings it (1 equals a full 360-degree turn) and Taper sharpens it down to 0, which collapses the end into a point. Flow Natural versus No Roll stops the profile rolling over itself on three-dimensional routes.
Density, Normals and UVs
Interpolation decides how much geometry is generated: Precision spreads 0 to 100, Start to End and EP to EP divide between ends or edit points, and Distance fixes subdivisions per unit of world-space length, which keeps density uniform across pieces. Normals can be reversed and smoothed by angle, and automatic UVs are None, Uniform or Unfold; the detail work still belongs to UV mapping in Maya.
The Surface Kit: Extrude, Loft and Revolve
Sweep Mesh does not cover everything. The Surfaces menu is still the road to take when you need a NURBS surface with history, or when the part does not come from a single path.
Extrude
Flat keeps the profile's own orientation, Tube carries it along with a vector tangent to the path, and Distance extrudes in a straight line with no path, adding length and direction. There is pivot placement, whether the result sits at the profile or the path, progressive rotation and scale, and a Curve Range Partial that creates an editable subCurve. Ends stay open and get capped with Planar; if the path turns abruptly, insert edit points or the profile twists.
Loft
Loft skins a surface across a series of profiles. Parameterization Uniform runs profiles parallel to V, while Chord Length works from the distance between start points. Auto Reverse prevents the twisted surface you get when curves run in opposite directions, and Surface Degree chooses between linear, faceted, and cubic, smooth. When every profile shares degree and edit point count, the loft comes out with matching spans and is far easier to manipulate and texture.
Revolve
Revolve spins a section profile around an axis, which is how columns, cups, vases and towers appear. With Curve Range set to Partial you revolve only part of the profile by controlling the subCurve. Moving the axis endpoints changes direction; moving its middle points changes the radius without touching direction.
NURBS to Polygons Without Wrecking the Mesh
NURBS surfaces are comfortable while you tune parameters, but almost everything eventually gets deformed, textured and exported as a polygon mesh, and that conversion is where projects break.
Tessellation Methods
Modify > Convert > NURBS to Polygons converts trimmed surfaces too and bakes NURBS UVs into the polygon vertices. Type defaults to Triangle, so ask for Quads if you want square topology. The methods are Standard Fit, adaptive; General, with Number U/V; Count, which caps the polygon total; and Control Points, which matches the CVs and returns quads. Match Render Tessellation aligns density with your render, and Attach Multiple Output Meshes fuses patches using Merge Tolerance.
Known Pitfalls
Tessellating a trimmed surface can leave triangles along the border even when you asked for quads. When merging patches, keep normals consistent and tolerances small, or the attach fails. If history produces a null surface, Maya warns about an invalid input NURBS surface and keeps the last valid mesh. And the conversion ignores Fix Texture Warp, so distortion corrections are lost on the way to polygons.
When to Stay in NURBS
Do not convert while you are still iterating with live parameters. Switch to polygons only the part you are about to deform, texture or export, and review the glTF export workflow so normals do not surprise you.
A Real End-to-End Flow
Draw the profile with the Bezier Curve Tool, close it and run it through Rebuild. Sweep it with Sweep Mesh using Rectangle, lower the corner radius for crisp edges, and adjust width and height. Add the molding by duplicating the profile and editing it in Custom mode: the mesh updates on its own. Convert to quads, check normals and smoothing, and only then generate UVs and export. The same skeleton builds a Greek column, a purely radial case.
When a Curve Mesh Deforms: the CurveNet Case
The CurveNet Deformer is a third-party authoring tool by Pavlo Kotliar and it does not ship with Maya: it builds a mesh of curves over a character's surface, and deforming that mesh deforms the character. Its home ground is secondary deformation, as an extra rig on top of the main rig or a geometry cache. It is not an official Autodesk feature.
Conclusion
Curve modeling in Maya does not replace polygons: it frees them from repetitive work. One profile plus one path handle moldings, pipes, handrails and every radial part in a fraction of the time, with live history so you can change your mind without rebuilding anything. The only discipline it demands is cleaning the curve before you sweep and converting with care at the end.
Seeing the tool move teaches more than any parameter list. On the platform you can watch Master Maya Curve Modeling Using Sweep Mesh, a full pass through sweeping with profiles, how to model a Greek column in five minutes, and the CurveNet Deformer demo.