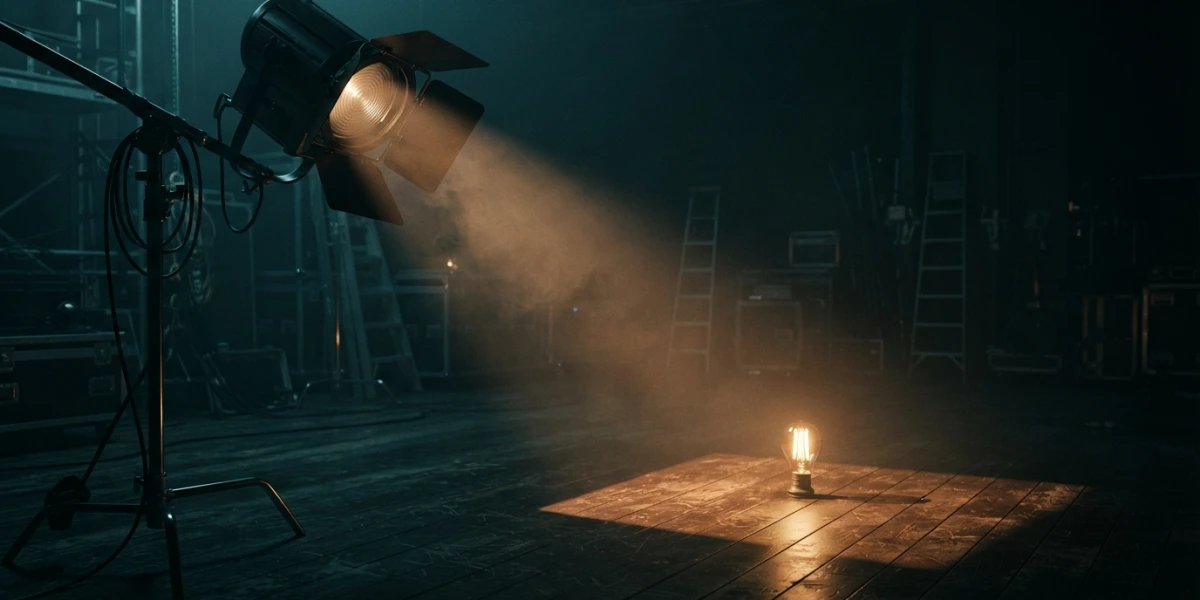
Image generated with AI
Arnold Light Filters in Maya: Barndoors, Gobo and Blocker

Diego Cortés
Author
An Arnold light without filters lights up everything in front of it. Light filters are how you decide what it lights: they trim the beam, project an image, block light with invisible geometry or fade it out at a set distance.
What Arnold Light Filters Are (and Why They Are Not Lights)
An Arnold light filter is a shader you connect to a light you already have, and it changes that light's output based on distance, position or other factors. It does not emit: it modifies. That is the documented way to extend the lights Maya ships with, without creating new ones; the Arnold rendering post already covers that part.
The Four Filters That Ship with MtoA
The official list has four: Barndoors (opaque flaps that trim the beam), Gobo (breaks the beam into a pattern), Light Blocker (blocks a geometrically defined area) and Light Decay (the ranges where a light starts and ends). Barndoors and Gobo are for spots only; Blocker and Decay go on any light. Gobo and Blocker are not the same thing: the gobo projects and contributes illumination, the blocker masks and stays invisible.
Where You Add Them in Maya
With the light selected: Attribute Editor, Arnold section, Light Filters, Add. Pick the filter and a second Add makes the connection; it shows up in the list, and a double click opens its attributes. The official tutorial suggests saving a preset of the filter you just added (Ai Barndoor_default) before pushing values around, and working with an interactive render (IPR).
Barndoors: Trimming a Spot's Beam
Four opaque flaps, like the barn doors on a theatre fixture, shape the cone of a spot. Each flap has two positions, which set where its ends start and finish, and Edge, the width of the border falloff. The gradient runs from 1 (open) to 0 (closed) outward, toward the perimeter of the spot: a flap at 0.25/0.25 with an Edge of 0.125 is fully open at 0.25 and fully closed at 0.375.
A Typical Setup, Step by Step
From the official tutorial: create a spot, widen the cone angle and start an IPR. Top Left and Top Right at 0.2 (at 1.0 the spot goes completely dark); Top Edge at 0.05 to soften the cut; the bottom flaps start at 1.0, so bring them down to 0.8; and Left Edge at 0.1 so the light graduates instead of cutting. That is how you stop a beam from spilling onto a wall.
Gobo: Projecting an Image with Light
A gobo (also called a cookie, short for Cucoloris) is a thin perforated metal sheet that breaks the beam into an irregular pattern. In Arnold it is not a light: it is a filter on a spot, and it takes any texture or procedural shader. Spots only.
The Parameters You Actually Touch
Filter Mode defaults to Blend, and also offers Replace (multiplies the map over the spot), Add (multiplies the spot over the gobo), Sub (inverts the map values) and Mix (averages them). Slide Map is the texture; Density, 0 by default, makes the gobo more opaque; Offset shifts the map and S/T Scale with S/T Wrap repeats it. The platform has two curated videos in Spanish on this.
Light Blocker: Invisible Geometry That Cuts the Light
The light_blocker defines a primitive volume (box, sphere, cylinder or plane) that blocks or modifies a light as it passes through, once connected to it. It only affects the light it is connected to: it changes nothing else, indirect lighting included, and it is invisible to the camera. That is how you fake the shell of a lamp without modelling it, or get shadows the real scene geometry would never produce.
The Parameters That Matter
Geometry Type picks the shape. Density is the strength of the effect and accepts negatives. Axis and Ramp attenuate the falloff along a direction (negatives flip it); Height Edge and Width Edge soften the borders, and Roundness makes plane blockers rounder. Shader only works with Geometry Type Box and takes a mask map: that way the shadow of leaves can be placed independently of the light's transform, and it works with any light type.
Light Decay: When Physical Falloff Is Not What the Shot Needs
Every Arnold light falls off according to a physically based law; light_decay shapes that falloff for artistic reasons and goes on any light. Use Near Attenuation sets where intensity appears, working as an inverse decay: nothing shines from the source up to Near Start and it brightens toward Near End. Use Far Attenuation sets where it dies, with Far Start, Far End and a gentle ramp in between.
The Detail Almost Nobody Knows
Arnold does not support constant light decay, and the manual documents the workarounds: on quad and disk area lights a low spread behaves much like constant falloff, and on a spot a non-zero lens_radius with a narrow angle fakes a classic cinema fixture. The other route is a distant or directional light.
Atmospheric Volume: Fog, Light Shafts and Volumetric Shadows
atmosphere_volume simulates light scattered by a thin, uniform atmosphere: that is where light shafts (god rays) and the volumetric shadows of objects come from. It is a scene-level volume shader, so it affects the whole shot. It used to be called volumetric scattering, and it is not the volumetric rendering of fluids.
Which Lights Drive It (and Which Do Not)
Only local lights work: point, spot and area, with a precise position and size and inverse-square falloff. A skydome or a distant light will not turn it on.
Density, Colour, Attenuation and Anisotropy
Density controls how much atmosphere there is. Color multiplies that density (a blue value scatters blue light and, with noise, gives cloudy fog). Attenuation sets how fast rays are extinguished: a high value means light does not travel far. Anisotropy is the Henyey-Greenstein coefficient, from -1 (backscatter) to 1 (forward scatter); 0, the default, is an isotropic medium, positives bias scattering toward the light and negatives bias it backward. The manual advises against going past 0.95 or below -0.95: scattering becomes so directional that it turns noisy.
Samples: the Setting Lives in the Shader, Not the Render
The volume samples in your render settings do not apply to the atmosphere: raise the ones on the shader itself (5 by default). With global light sampling (GLS) on, its global samples are used; if it is off, the total is the atmosphere samples times the number of lights.
How It Composites (and Why It Breaks)
The atmosphere does not composite well against volumes: it returns a flat result that overlays what sits behind the pixel with opacity, so it cannot penetrate a cloud volume. It composites in additive mode, screen-like. Blender's volume system is in the volumetrics post.
Bonus: the Distance Shader, When the Gradient Depends on Distance
The distance shader shoots sampling rays to estimate the distance from the shaded point to the closest surface, and turns it into a linear ramp between Near Color and Far Color (black and white by default). It is the fast route to gradients, corner grime or abstract art without modelling anything.
The Parameters and Their Limits
Samples defaults to 16: the measurement is an estimate, so more samples mean more precision and more render time. Distance is the maximum distance considered, and raising it can require more samples. Today it does not work with displacement. It also returns Out Distance and Out Direction, which usually need converting to colour: negatives get clipped with an Abs or the -1..1 range is remapped to 0..1 by adding 1 and multiplying by 0.5.
Trace Sets: Choosing What Counts
Trace Set tags objects so you can include or exclude them. To make only some objects count, give the shader and those shapes the same name; to exclude some, turn off Inclusive. They are not available on GPU today. Documented uses include paint mixing, abstract art, fire-like damage, snow and ice, and makeup effects with ramps.
The Mistakes That Ruin the Effect
A barndoor or a gobo on a light that is not a spot; looking for the fog inside an object when the atmosphere is scene-level; raising render samples when the noise comes from the atmosphere; and confusing a gobo with a blocker, since one projects light and the other cuts it.
What to Watch on the Platform to Practise This
Every tool here is walked through in the curated videos on CGI Academy Hub: the four tutorials from the Arnold renderer channel, the two Spanish videos on gobos and aiAtmosphereVolume, the gobo volumetric lighting one and the three distance shader videos. The collection is free and can be filtered by software in the Maya category.
Conclusion
Arnold's lights are already solved; what separates a correct render from a render with intent is knowing how to trim, project, block and wrap that light. The platform's video tutorials are the best way to see it running.