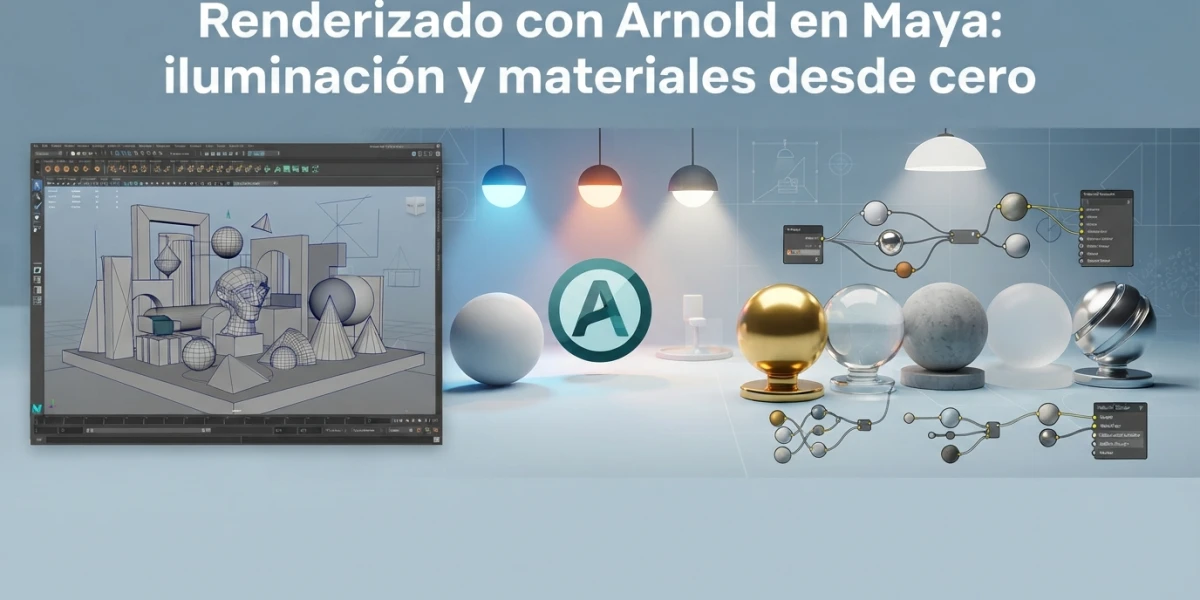
Image generated with AI
Arnold Rendering in Maya: Lighting and Materials from Scratch

Diego Cortés
Author
Arnold rendering in Maya is the standard in film and VFX, and it is one click away: the engine ships with Maya, so you only need to learn its lights, its main shader and a handful of sample settings. With that foundation, any scene starts producing clean, predictable images.
What is Arnold and why is it in Maya
An unbiased, physically based renderer
Arnold is an unbiased, physically based renderer that uses Monte Carlo path tracing techniques: instead of approximating light with tricks, it simulates the path of rays through the scene to produce predictable results. What you see in the render responds to how real light would behave, not to a heuristic optimized only for speed.
The standard in film and VFX
Arnold was developed by Solid Angle and acquired by Autodesk; today it is used in animation and visual effects productions around the world. It ships as the default renderer in Maya, so there is nothing to install: it is available from the first launch, ready to render with the same technology professional studios use.
The basic rendering workflow
Enabling Arnold and the IPR
The first step is selecting Arnold as the renderer in Render Settings. From there, the interactive render (IPR) is your best ally: it opens a window that updates in real time while you move lights, change materials or adjust the camera, without launching a full render every time. It is the fastest way to experiment and refine a scene.
AOVs and render passes
Arnold can export separate passes, the AOVs: diffuse, specular, albedo, normals and many more. Splitting the image into passes makes compositing much easier, because you can relight or fix specific elements without re-rendering. This blog already has a full article on render passes and AOVs, so here we only mention them as part of the usual workflow.
Lighting with Arnold
aiSkyDomeLight: environment light with HDR
The aiSkyDomeLight is a light dome that reads an HDR image and uses it to illuminate the scene from every direction. It is the foundation of image-based lighting (IBL): with a good HDR you get ambient light, reflections and realistic color bounce in one go. It is the light you should start any scene with, interior or exterior.
aiAreaLight and aiMeshLight
Area lights (aiAreaLight) emit from a rectangular or disc shape and produce soft shadows and controlled light, ideal for simulating windows, softboxes or screens. aiMeshLight goes one step further: it turns any object into an emitter, perfect for neon signs, TV screens or lamps with real geometry that also light the scene.
aiSunLight and exposure
The aiSunLight is a physical directional sun for exteriors: it follows the position you set and casts crisp parallel shadows. For interiors you can combine it with a skydome and control overall brightness with the camera exposure, which in Arnold works like a real camera: raising exposure brightens the whole image naturally and consistently.
Materials with aiStandardSurface
Base, metalness and specular
aiStandardSurface is Arnold's main shader and almost any material starts from it. The starting point is three controls: Base Color defines the color, Metalness decides whether the material is a conductor (metal) or a dielectric (plastic, wood, skin), and Specular controls the intensity and color of reflections. With these three dialed in, most materials in a scene are already solved.
Transmission and subsurface
Transmission handles transparency and translucency: glass, water and liquids are built by raising this value and adjusting the index of refraction. Subsurface, or subsurface scattering, simulates light entering the surface and scattering inside: it is essential for skin, candles, leaves or backlit marble.
Sheen and emission
Sheen adds a soft, velvety glow at the edges, very useful for fabrics, velvet and microfiber surfaces. Emission turns the material into a visible light source, ideal for screens or neon; and combined with an aiMeshLight, an emissive object can actually light the scene around it.
Render settings: samples, noise and GPU
Samples (AA, diffuse, specular)
Noise is the classic enemy of path tracing and you fight it by raising samples: more samples mean less noise, but also longer render times. The practical rule is to raise anti-aliasing (AA) samples first, then diffuse and specular depending on where the problem is. Noise usually shows up in low-light areas, so before cranking samples, consider adding a fill light.
GPU rendering
Arnold can render on the GPU when your card is compatible: hardware acceleration lets you iterate much faster, especially during lookdev and tests. You enable it in the render settings and the result matches CPU rendering in a fraction of the time, which makes the daily workflow much more comfortable.
Quick tips for clean renders
A solid base scene: an HDR skydome as the key light, an area light as a soft fill, and materials with consistent metalness. Raise samples only where needed, use the IPR to refine before the final render and export AOVs if you are going to composite. With that routine, renders stop being a lottery and you start controlling every variable of the result.
Conclusion
With a skydome, an area light, aiStandardSurface and well-tuned samples you can get professional-quality renders without leaving Maya. Arnold rewards understanding the physical logic: lights that simulate real light, one shader that covers almost everything, and a few settings that remove noise. If you want to see these concepts in action, the curated video tutorials on Maya and rendering in this platform are the natural next step.