Break time!
Your Pomodoro session has ended
PS1 Style Texturing & 3D Modelling Tutorial | Blender & Texture Ripper Walkthrough
Beginner🍅 Pomodoro Timer
Study for 25 min, then take a break. Improves focus!
Description
In this tutorial, learn how to create PlayStation 1 style textures and models using Blender and Texture Ripper. We’ll walk you through extracting image parts to use as texture maps, downscaling them for a pixelated, retro look, and adding color dithering to mimic the classic PS1 aesthetic. Then, we dive into Blender 3D modeling, where we recreate a vintage CRT TV with a PlayStation 1 console, showing how to model low-poly assets with retro textures.
What you'll learn:
How to use Texture Ripper for texture extraction.
Downscaling textures for pixelation and applying color dithering.
How to model and texture retro assets in Blender, including a CRT TV and PlayStation 1 console.
Achieving a low-poly, PS1-style aesthetic for your 3D models.
Links to software used:
Texture Ripper (Shoebox): For texture extraction.
https://renderhjs.net/shoebox/
Paint.NET: For texture editing and downscaling.
https://www.getpaint.net/
AdobeAir:
https://airsdk.harman.com/runtime
Chapters:
00:00 – Intro
01:00 – Texture Ripper Overview
02:22 – Paint.NET Pixelation & Dithering
03:21 – Blender Material Setup
04:00 – Blender Modeling Tutorial
Make sure to like, comment, and subscribe for more tutorials on retro-style modeling and texturing in Blender! Click the bell icon to get notified about future content.
#ps1 #blendertutorial #textureripper #retrogamedev #lowpolymodeling
Up Next

Must Have FREE Rigs for Blender Animation
Pierrick Picaut
Custom properties and drivers in blender made easy
Pierrick Picaut
Quick Tip: Working With Drivers in Blender
Polyfjord
Rigging and animating tails, whip and chains in blender the easy way
Pierrick Picaut
9 Tips for Blender You Probably Didn't Know
Max Hay
How to Use the Graph Editor for Beginners (Blender Tutorial)
Ryan King Art
Years Of Blender Texture Knowledge in 57 Minutes
JessWiseman
Avoid Texture Repetition on Large Scale Textures (Blender Tutorial)
Ryan King Art
Geometry Nodes Terrain - Blender Tutorial
ChuckCG
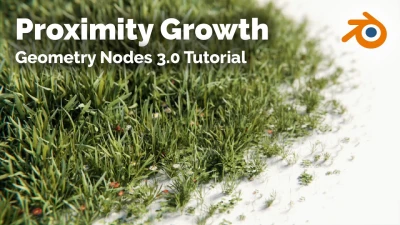
Proximity Growth - Blender Geometry Nodes 3.0 Tutorial
BlenderDude