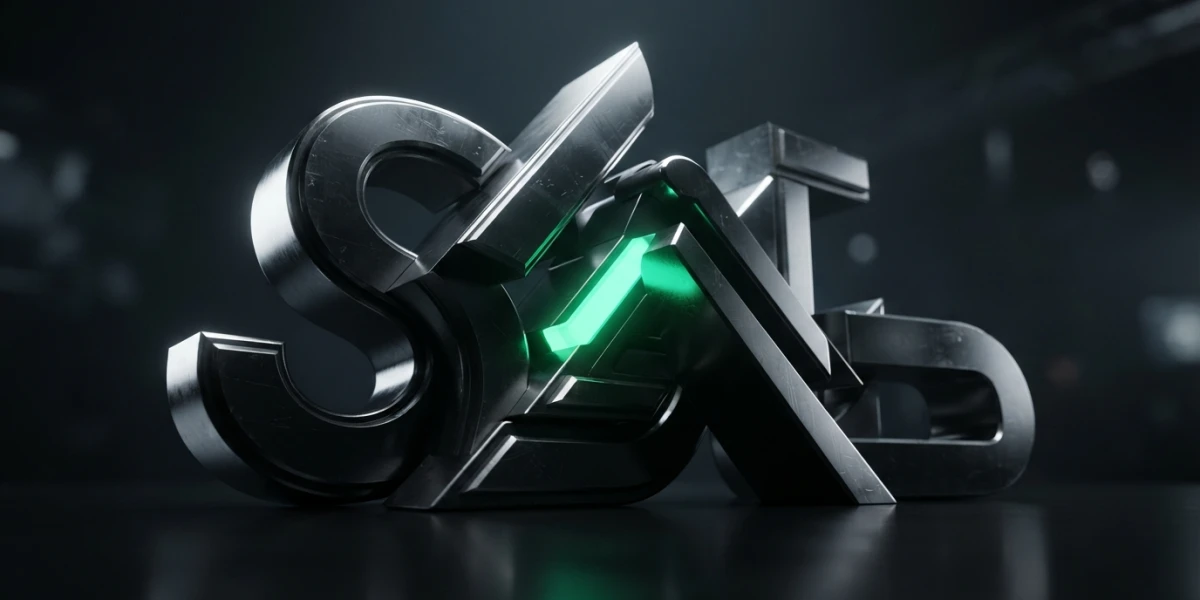
Image generated with AI
3D Text in Blender: Create, Extrude and Animate Type

Diego Cortés
Author
Modelling letters polygon by polygon is the worst way to make 3D text in Blender. The app ships an object built for exactly this: type it, extrude it, bevel it and animate it, and the letters stay crisp at any resolution because they never stop being vectors.
The Text Object: Why Typing Beats Modelling
Letters as Vectors, Not Polygons
A text object belongs to the same family as curves and surfaces, because fonts are vector data: letters are curves. You can rewrite the content at any moment and scale it without losing sharpness. It is the difference between editing typography and sculpting shapes by hand.
What Blender Ships With, and What It Is Not
Blender has its own font system with the built-in typeface "Bfont", and accepts external PostScript Type 1, OpenType and TrueType fonts. What it is not: neither a mesh nor a plain curve. Converting is a one-way decision, because going to mesh or to curve loses text editing and the font; keep "Keep Original" on to preserve a live copy. And there is a cap of 50,000 characters per text object. If you are just starting out, read first steps in Blender first.
Your First 3D Text in Blender in Five Steps
Add and Type
Shift+A in the 3D viewport, pick Text, and you get a sample letter. Press Tab for Edit Mode and start typing: the object updates as you write. One trap: inside a text object, Tab does not insert a tab, it toggles Edit Mode; Ctrl+Tab opens the Text menu.
Load a Real Font
The default font is fine for practice, not for work. Under Properties - Data - Font you will find four style slots, and they are not buttons: they are file slots where you load a font file. Blender does not care which file goes in each one, so you can run up to four different fonts inside one text object. Real italics means loading a real italic font.
Where to Get Free Fonts
Google Fonts listed 1,942 families in August 2026, 553 of them variable, and the catalogue is open. The SIL Open Font License allows bundling a font into commercially sold products, though the typeface itself cannot be trademarked. Always check the licence file before paid work.
Give It Volume: Extrude and Bevel
With the text in Object Mode, open Properties - Data - Geometry. Offset thins or thickens the outlines, but use it with care because it produces artifacts quickly. Extrude turns flat letters into ribbons with thickness, and Bevel has Depth, Resolution and Fill Caps. Two warnings from the manual: bevel follows the letter outlines and leaves two parallel curves, and Taper over text often looks quite random. A modest extrude with a small bevel beats a large faceted one.
Typographic Polish: From Decent to Professional
Paragraph, Kerning and Shear
Under Properties - Data - Paragraph you get horizontal and vertical alignment; justify and flush only work inside text boxes. The logo trick lives in Edit Mode: place the cursor in the gap and use Alt+Left or Alt+Right to adjust the space between two specific letters, such as the "AV" pair. Shear slants the whole text but is not the same as italic.
Text Boxes and Text on a Curve
Boxes split the text into rectangular areas, and Overflow decides whether it keeps spilling, scales to fit or truncates. To bend text around a logo, the Text on Curve field exists, but the manual recommends the Curve modifier instead.
Materials and Finish
One Material per Character, and Free UVs
Every character can carry its own material index, so a logo gets two colours without splitting the object. A text object also ships with a UV map generated for you, so you can apply textures without unwrapping by hand; for finer control, see the UV mapping guide.
Three Finishes That Always Work
Polished metal with low roughness and an HDRI environment: the bevel catches the highlights that make the letter read as 3D. Emission for neon and light-up signage, and glass for elegant titles. A procedural material with subtle variation works beautifully as a base, as covered in procedural materials in Blender. And for the environment, the post on outdoor HDRI lighting has what you need.
Animating 3D Text: Three Routes
Route 1: Typewriter with the Build Modifier
Convert the text to a mesh with Object - Convert - Mesh, which keeps the faces and volumes of extruded curves, and add the Build modifier. It makes faces appear one after the other in storage order; its settings are Start Frame, Length, Reversed and Randomize with a Seed.
Route 2: Sorting the Letters
Sort the faces first: in Edit Mode, Mesh - Sort Elements with View X Axis orders them from left to right. Without that step the reveal comes out in arbitrary order.
Route 3: Letter by Letter with Geometry Nodes
The String to Curves node turns the string into one curve instance per character: each unique character is generated once and later uses are instances of the same geometry. If you need to treat them separately, add Realize Instances. Fill Curve fills the letters with Delaunay triangulation and returns a flat mesh, and as outputs you get per-character fields plus the pivot position to rotate or scale each letter.
Route 4: Separate the Letters and Move the Camera
The no-nodes alternative: separate by loose parts until you have one letter per object and animate with offset keyframes, the motion graphics classic. Store the action and reuse it with the NLA Editor, and back the reveal with measured camera movement and a well-set motion blur.
Common Mistakes
Fill, Conversion and Export
If your "o" or "e" comes out holey, look at the Shape panel: the Sweep Line solver does not support self-intersecting curves and most font files have them, so the manual recommends Delaunay. Do not convert to mesh before the design is approved, and clean the topology afterwards. And do not export before converting, because engines work with meshes, as explained in the post on glTF for web and games.
Conclusion
Making 3D text in Blender is a short flow: type it, load a real font, extrude and bevel, assign a material, animate. Ninety per cent of the result lives in the typography and the spacing, not in the nodes. And when a project grows into several versions of the title, organising it with collections and the outliner saves hours.
The platform keeps a curated collection of video tutorials on text animation with Geometry Nodes, metallic text and logo animation, each one reviewed by hand so nothing distracts you. The panel names and limits come from the official Blender manual.