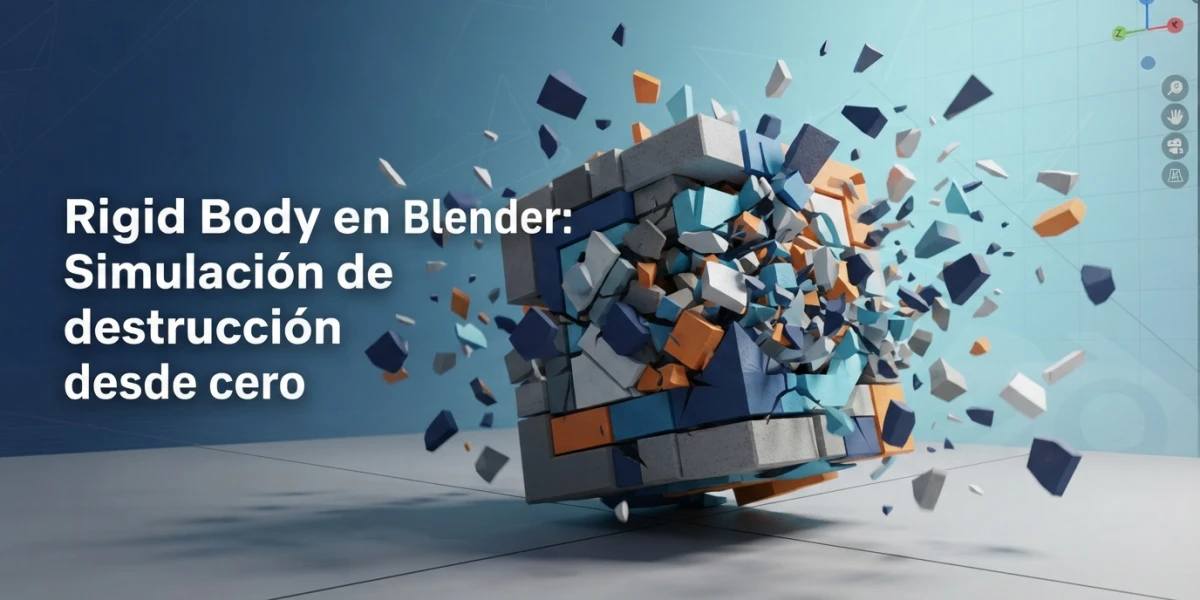
Rigid Body in Blender: Destruction Simulation from Scratch

Diego Cortés
Author
Towers of blocks that collapse, walls that burst into pieces, and chains that swing with believable physics: rigid body simulation in Blender turns any object into a solid body that falls, collides, and breaks under gravity. And it all works with tools that ship with the software.
What Is a Rigid Body
A rigid body is an object to which Blender applies solid-body physics: it falls under gravity, collides with other objects, bounces, and accumulates forces until something gives. Unlike fluid or cloth simulations, a rigid body does not deform: it behaves like a solid block, and that simplification is exactly what makes the simulation so fast and stable.
Active and Passive Objects: Who Moves and Who Is the Stage
Every rigid body simulation splits objects into two roles. Active objects are the ones that move: gravity acts on them by default, they fall, collide, and react. Passive objects are the stage: they do not move or fall, but active objects collide against them. A floor, a wall, or a column are typical passive objects; the cubes that fall and the walls that break are active.
Mixing Up the Two Types Is Mistake Number One
If you mark everything as active, the whole scene falls into the void; if you mark everything as passive, nothing ever moves. The mental rule is simple: the stage is passive, the actors are active. Before touching any advanced parameter, check that every object has the right role: it is the most common cause of simulations that "do not work".
The First Setup: Plane and Cube
Plane as Passive, Cube as Active, and Space to Play
The minimum setup is two objects: a plane acting as passive and a cube as active. Select the plane, open the Physics panel, and assign Rigid Body with the Passive type; the cube gets Rigid Body with the Active type. Press Space to play the animation and the cube falls under gravity and lands on the plane. If the cube passes through the plane, the problem is usually the collision shape or the scale, not the basic setup.
Realistic Scale and the Center of Gravity
Rigid body physics is calculated in real scene units, so scale matters: a two-meter cube does not behave like a two-centimeter one with the same collision margin. On top of that, the object's center of gravity is tied to its origin: Blender balances the body around that point. If the origin is offset, the object will wobble strangely, so it is worth centering the origin with Set Origin before simulating.
Collision Shapes
The collision shape defines the invisible geometry the engine uses to compute contacts, and it is the setting that changes the result the most.
Box and Sphere: Fast and Cheap
Box and Sphere are the simplest and fastest shapes: they wrap the object in a box or a sphere fitted to its size. They are ideal for objects that actually have that shape, such as blocks, crates, or balls, and for scenes with many objects where performance matters. For complex geometry they give poor results, because the engine "sees" the box, not the mesh.
Convex Hull: Efficient with a Better Fit
Convex Hull computes a convex wrap around the geometry: the smallest shell that contains the object with no hollows. It represents the real shape far better than a box and is still very efficient. It is the recommended option for most solid objects, from rocks and furniture to machine parts.
Mesh: Needed for Non-Convex or Interlocking Objects
The Mesh shape uses the object's actual mesh, allowing concave objects or interlocking pieces to be simulated, such as a hook that must catch a ring. It is the most accurate but also the most expensive to compute, so it is reserved for objects that truly need it. For everything else, Convex Hull usually gives nearly identical results at a fraction of the cost.
The Collision Sensitivity Margin
The Collision Sensitivity Margin controls how much the collision surfaces are "fattened" to prevent objects from passing through each other between frames. It is measured in scene units: if you work with tiny objects, the default margin can be larger than the object itself and collisions behave as if everything were rubber. Lowering it for small scales, or raising it when objects tunnel through each other, is a very useful fine tune.
Destruction with Cell Fracture
Destruction is the flashiest entry point into rigid body physics, and Blender ships it out of the box thanks to the Cell Fracture add-on.
Enabling the Cell Fracture Add-on
Cell Fracture comes bundled with Blender: there is nothing external to install. It is enabled from Preferences → Add-ons, searching for "Cell Fracture" and ticking the box. Once active, it appears under Object → Quick Effects and can be found with F3.
Fracturing an Object into Fragments and Turning Them into Rigid Bodies
With the object selected, Cell Fracture splits the mesh into fragments following the pattern you choose, and the add-on's rigid body option automatically turns them into active objects with a suitable collision shape. The result is a set of pieces that fall and collide with each other when you play the simulation. More fragments mean more spectacle but also more computation, so it is wise to start with modest numbers.
Adding the Initial Force: Explosion or Impact
To make the destruction look real, the fragments need an initial impulse: a force field, an active object that slams into them, or a visibility animation that hides the intact object exactly on the impact frame. The classic trick is keeping the object visible and whole until the frame where a projectile reaches it, then triggering the fracture: the audience sees the break at the exact moment of the hit.
Rigid Body Constraints
Constraints connect rigid bodies to each other or to passive objects, opening the door to mechanisms: doors, chains, wheels, and structures that hold themselves up.
Hinge, Point, and Motor
The Hinge constraint limits movement to one axis, like a door hinge: perfect for doors and trapdoors. Point allows free rotation around a point, ideal for chains or joined balls. Motor applies continuous rotation, the mechanism behind wheels and propellers. Each one is added from the object's Physics panel, choosing the type and the object it anchors to.
Anchoring Fragments Together for Structures That Hold
Constraints also let you link the fragments of a fracture to each other, so the structure stays standing until the impact overcomes the strength of the connections. That is the technique behind cracked walls that collapse in sections, towers that split at the base, or debris that piles up believably.
Baking to Keyframes
Why Bake: Stability, Editing, and Reuse
Rigid body simulations are recalculated every time you play the scene, and any tiny change can alter the outcome. Baking turns the simulation into regular keyframes: the result is locked in, can be edited like conventional animation, and can be reused without recalculating. It is the step that separates an experiment from a production-ready shot.
Bake to Keyframes: The Button in the Physics Panel
With the object selected, the Bake to Keyframes button in the Physics panel (or found with F3) writes the position and rotation of every frame as a keyframe. From that point the simulation is normal animation: you can tweak poses, trim sections, or reuse the motion in another scene.
Performance Tips
Few Objects, Simple Shapes, and Proper Margins
Rigid body physics costs computation time: every fragment of a fracture is another object with its own collision. To keep the scene fluid, use simple collision shapes whenever possible, limit the number of fragments, tune the margin to the real scale, and bake the result as soon as the take is ready. Trying to play hundreds of fragments in real time is the fast road to frustration.
Conclusion
Rigid body simulation in Blender turns any scene into a physics lab: active and passive objects, well-chosen collision shapes, destruction with Cell Fracture, constraints for mechanisms, and baking for stable, reusable results. Everything is built in, with no paid add-ons. If you want to complete the blog's physics series, the fluid simulation and cloth simulation articles cover the other two big families of effects, and the platform's video tutorials show physics, simulation, and VFX applied to real projects.