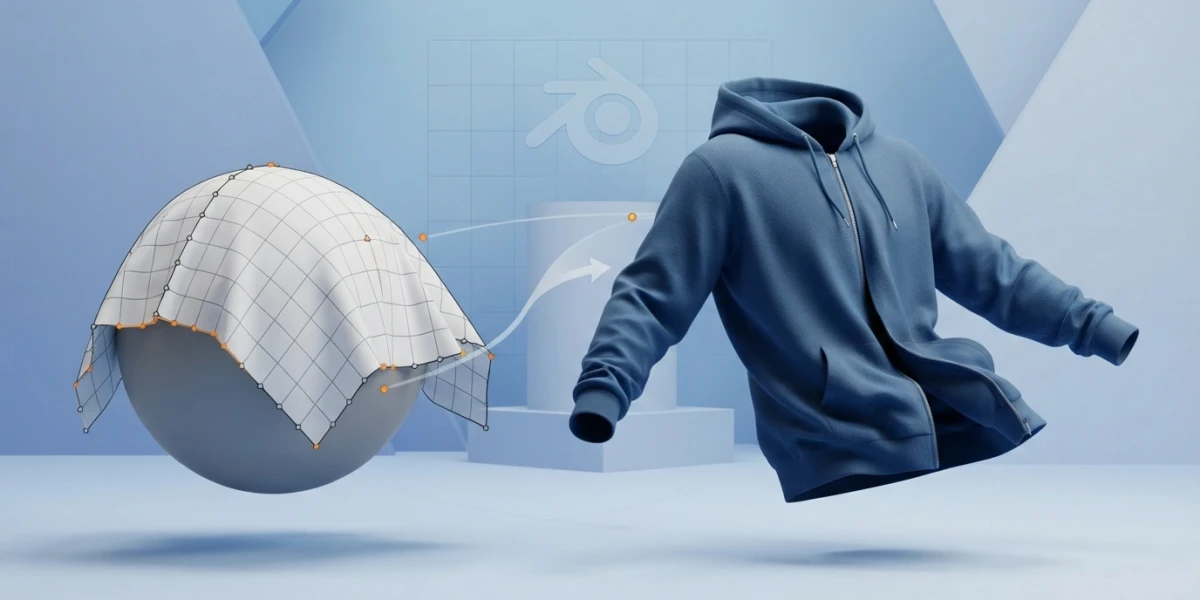
Image generated with AI
Cloth Simulation in Blender: From Theory to Fabric That Moves Right

Diego Cortés
Author
Cloth simulation in Blender turns a flat mesh into clothing, flags and curtains that move with believable physics, if you understand what is under the button: a spring system where each parameter fixes a specific problem — the difference between fabric that flows and rigid cardboard.
How Cloth Simulation Works in Blender
Before touching any setting, it helps to know what is happening. Cloth physics is not magic or a prefab effect: it is a spring system that connects the vertices of the mesh surface and calculates how they stretch, bend and collide with each other on every frame.
Fabric as a Spring System
The simulation springs act only on the surface of the mesh and only apply to 2D surfaces. That is why a flat subdivided mesh behaves like fabric while a closed volume does not: the system assumes you are working with a sheet. Understanding this explains almost every weird result: if your "cloth" behaves like a block of jelly, the problem is usually that the mesh is not a flat surface with enough density.
Preparing the Scene
The quality of a cloth simulation is decided before you press the simulate button. Three scene decisions separate a usable result from an afternoon fighting the viewport.
Mesh Density
Fabric needs enough subdivisions to be able to fold. A mesh with four faces cannot wrinkle even with perfect physics, because there are no vertices where folds can form. The usual workflow is to start with a flat mesh, subdivide it to a reasonable density and only then add the cloth physics. More density means more fold detail, but also slower simulation: find the balance for your scene.
Collision Objects
In most cases fabric does not hang in a void: it collides with the character, the ground or the objects around it. Every object it must interact with needs its collision configuration, and the cloth has its own collision settings: the distance at which it reacts and the quality of the calculation. With these values wrong, the fabric sinks into the character or bounces like rubber.
Self-Collision
Skirts, sleeves and cloaks clip through themselves without permission. The self-collision option makes the fabric detect its own surfaces and prevents one fold from sinking into another. It costs more calculation time, but it is essential for garments with volume or for any simulation where fabric folds over itself.
Presets and Main Parameters
The Physics ‣ Cloth panel includes a series of prefabricated fabric examples, and every parameter in the panel has a concrete effect on the result. Knowing the four most used in production covers most real cases.
Presets in the Physics Panel
The cotton preset is the reliable starting point: it behaves like cotton fabric with realistic weight and stiffness and gives good results in almost any scene. The silk preset is more ethereal and floaty, but much harder to control: it needs more simulation steps and usually demands fine tweaking. For a first simulation, cotton and patience.
Quality Steps
Quality Steps defines the number of simulation steps per frame. Higher values mean better quality and more stable results, at the cost of slower simulation. It is the most ignored parameter and the one that fixes the most fake results: if your fabric behaves erratically or the folds jitter, raising quality steps is the first answer, not the last.
Speed Multiplier
Speed Multiplier adjusts how fast time advances inside the simulation. It is useful for slow-motion simulation or for speeding up how the fabric settles, and it should be handled with care because it also changes how gravity and stiffness are perceived.
Stiffness and Damping
Spring stiffness controls how much the fabric resists bending: bending stiffness is where most people fail, because low values make fabric fold like wet paper and values that are too high make it look like cardboard. Damping absorbs vibrations and models air resistance: without it, the fabric keeps oscillating after any movement.
Pinning: Anchoring Fabric to the Character
A cloak does not sew itself. Pinning anchors specific vertices of the fabric to fixed points or to other objects, and it is the technique behind flags, curtains and garments that hang from the body.
Vertex Groups and Weight Paint
The workflow is to create a new vertex group on the cloth object, add the vertices you want to anchor and paint them with a non-zero weight —usually weight 1. In Weight Paint mode (Ctrl+Tab) you paint directly on the mesh the points that must stay fixed, with the convenience of adjusting the area with a brush instead of selecting vertices one by one.
Enabling Pinning in the Cloth Settings
With the vertex group ready, you enable Pinning in the cloth settings and assign the group. The classic manual example is a cloak hanging from the neck without being sewn: the vertices of the top edge are anchored with weight 1 and the rest of the fabric falls and folds with gravity. The pin group is configured in the Shape panel of the cloth settings.
Seams: Sewing Springs to Dress Characters
Dressing a character with a closed garment requires sewing. Sewing springs are extra edges added to the cloth mesh that are not part of any face, and they connect vertices that must come together during the simulation.
What Sewing Springs Are
If you want a cloak to close over the torso, you add sewing edges between the corners that must meet. During the simulation, those edges pull the vertices together, like an invisible seamstress sewing the garment in real time. It is the standard technique for designing character clothing directly on the model.
Maximum Sewing Force
Sewing springs have a maximum force setting: the force limit they can apply so they do not wrinkle the garment excessively. With the force too high, the fabric folds and gathers around the seam; with the right amount, the edges meet and the garment sits cleanly on the body.
Bake: From Simulation to Render
A simulation is not rendered directly: it is cached. Baking saves the simulation result so the viewport and the render run smoothly, and it is the step that separates experimentation from deliverable work.
Caching the Simulation
While the simulation computes live, any change in the scene invalidates it and the viewport drags. Once you bake, the mesh no longer depends on the calculation and the result is locked in: you can move the camera, change lights and render with full fluidity. For stills, it also pays to simulate before the final render and let the fabric settle for a few frames so you can capture a good, stable frame.
Production Tricks
Two settings appear again and again in production. The wind force field makes fabric flow and makes flags and curtains ripple without animating anything by hand. And the combination of friction and damping models the air: raise friction so the fabric settles with weight, and adjust damping to remove the final jitter. With these two controls, fabric goes from floating to dressing.
Conclusion
Cloth simulation in Blender stops being a lottery once you understand the system: springs on a 2D surface, mesh density so there are folds, quality steps for stability, bending stiffness against the cardboard effect, pinning to anchor and sewing springs to stitch. Every problem has its parameter, and baking turns the experiment into a result. If you want to see the full workflow applied to characters, the platform's video tutorials cover simulations, rigging and animation with practical examples.