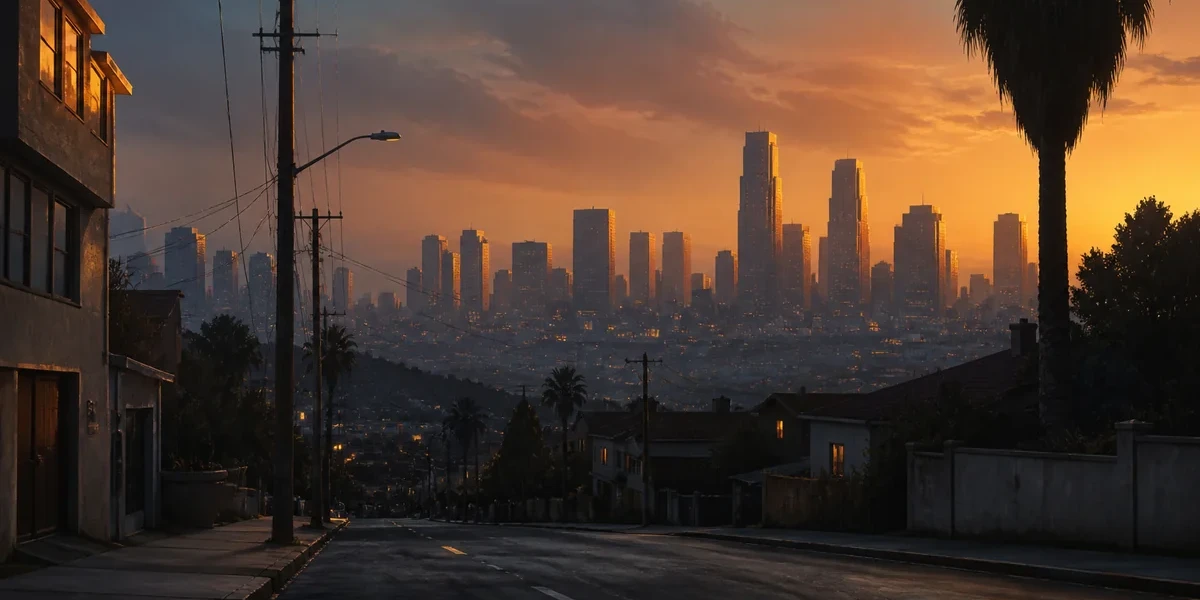
Image generated with AI
Camera Projection in Blender: Set Extension Guide

Diego Cortés
Author
Camera projection in Blender turns a photo or a matte painting into a set with real depth: you paste the image onto simple geometry, move the camera, and the shot gains parallax without modeling an entire city. This is the set extension trick studios rely on, broken down step by step.
The idea comes from theater and classical film: a backdrop painted on glass in front of the lens. In Blender that glass is a texture projected onto boxes, walls and ground planes that only have to match the perspective of the image. The geometry supplies movement, the image supplies detail.
Camera Projection in Blender: What It Is and What It Is For
Projecting an image means every ray that leaves the camera and hits the geometry takes its color from that image. If the camera sits where the photographer stood, the geometry looks exactly like the photo. Move the camera a little and the geometry reveals volume: that is parallax.
The studios' 2.5D trick
You are not modeling the set, you are giving visual volume to an image. Layers at different depths shift at different speeds as the camera moves: the foreground races, the background barely drifts. The brain reads depth where there is only a photo glued onto a few planes.
Typical uses
- Set extensions: extend a real location with a painted matte (skies, mountains, skyscrapers, crowds).
- Distant backgrounds in action shots, where nobody notices the trick but everybody notices when the background is missing.
- Full matte paintings for shots that do not justify weeks of modeling.
- Frozen moment: reproject a single video frame onto geometry and fly the camera around that frozen instant.
Honest limitations
The projection is an illusion that only holds from the camera's point of view. Push the move too far from the original angle and the image stretches, uncovered areas appear, and the trick collapses. That is why it is paired with layers separated by depth, fog, background blur, and camera moves that respect the original viewpoint.
Setting Up the Camera: Tracked Footage or fSpy Photo
Everything depends on the camera. If it does not match the viewpoint of the image, the projection slides across the geometry and no texture tweak will fix it.
With video: a camera solved with motion tracking
If the source image is a frame from a clip and the camera will move, solve the camera in the Movie Clip Editor first. The full breakdown lives in the motion tracking and matchmoving article. The solved camera, with its focal length and motion, is the one that projects.
With a still: fSpy to match the perspective
fSpy is a free app with an official Blender importer. You mark the vanishing lines and main planes on the photo and the app works out position and focal length. Importing the fSpy project into Blender creates a camera named after the project with the photo's perspective, and you can bring the project image in as that camera's background. It is the fastest route when the base is a single image.
Manual camera as a fallback
For simple cases (a horizon, a wall, a flat facade) a regular camera with the image as a Background Image plus manual position and focal tweaks is enough. It works, but it is slow and fragile once the shot has strong perspective.
Building the Projection Geometry
Boxes and planes that match the perspective
In camera view, model simple blocks: buildings, walls, ground, silhouette volumes. Detail is unnecessary because the projected texture supplies it. The only thing that matters is that your edges follow the lines of the image. If a surface is very large or curved, subdivide enough: huge planes with few polygons deform when projected.
Separating by depth
Splitting the scene into layers (far background, midground, foreground) is not just tidiness: it is what makes parallax readable. Three layers with air between them sell more depth than one giant layer. Keep them in separate collections so you can toggle each one while you adjust.
Three Ways to Project the Image
UV > Project from View: the quick path for stills
With the viewport looking through the camera, the Project from View unwrap bakes UVs according to the current perspective. It is the most direct path for a static shot and it also works with orthographic cameras. Community tip: check the result in the viewport in textured mode, because the UV Editor can mislead you about how the projection actually lands.
The UV Project modifier: live projection
The UV Project modifier takes a projector object (the camera or any other object) and reprojects in real time. Its options include the target UV map and the Aspect X/Y and Scale X/Y settings, which only apply when the projector is a camera, and it supports up to ten projector objects. Pick it when the camera moves or when you want to swap the image without unwrapping again.
Window and Camera coordinates in the shader
With the Texture Coordinate node, the Window and Camera outputs give you screen or camera space positions without touching UVs. Handy for quick tests and for projecting onto geometry you do not want to map. Careful: outside the frame the texture gets clipped and repeats or stretches depending on how the texture node is set up.
Production Tricks to Sell the Illusion
Volumetric fog and depth of field
Soft volumetrics between layers separate the background from the foreground and hide the seam where the geometry ends. Adding depth of field to the distant planes keeps the eye from noticing that a photo is sitting there.
Shadows and fake light
You can paint shadows directly into the projected image, or let real objects in the scene cast shadows onto the projected geometry. The second option reads much better when the camera moves, because the shadow travels with the light and the plane stops looking pasted on.
Frame-by-frame projection (frozen moment)
For the frozen instant effect the projected image is no longer a single frame but a sequence: each clip frame drives the texture of the matching frame, so internal motion keeps playing while the camera explores the scene. It is heavier to render, so test with a modest texture resolution before pushing it up.
Baking the projection
Baking the projected texture paints the image and the geometry's shadows into the UVs. Use it to stabilize the result, drop the modifier dependency, and move the scene to another engine without recalculating the projection. It is a widely used community technique and it shows up in Blender Studio productions.
Common Problems and How to Avoid Them
- The projection slides when the camera moves: the camera is not solved or does not match the one used for the bake. Redo the tracking or switch to UV Project with the correct camera.
- Seams at the geometry edges: the planes do not follow the perspective, or the image does not cover the whole surface. Fix the geometry in camera view and scale the projection.
- Blurry image when you push in: that is the resolution limit of the source. Use large images and matte paintings sized for the space they will fill on screen.
- The geometry does not match the photo: go back to fSpy or fix focal length and camera position before projecting, not after.
- Texture clipped outside the frame with Window coordinates: switch projection method or scale the texture.
Conclusion
Camera projection in Blender comes down to four pieces: a well prepared camera (tracking or fSpy), simple geometry aligned with the image, the right projection path for the case (Project from View, the UV Project modifier, or camera coordinates), and a layer of fog, depth and shadows to finish the illusion. With those in place, any photo becomes a set extension with parallax.
If you want to see the technique in motion, the platform has a curated tutorial on fSpy and camera projection for rebuilding photoreal scenes, and the rest of the VFX and compositing collection lives in the curated video tutorials of CGI Academy Hub. The natural next step is compositing with render passes and AOVs to integrate the projected shot with the rest of the frame.