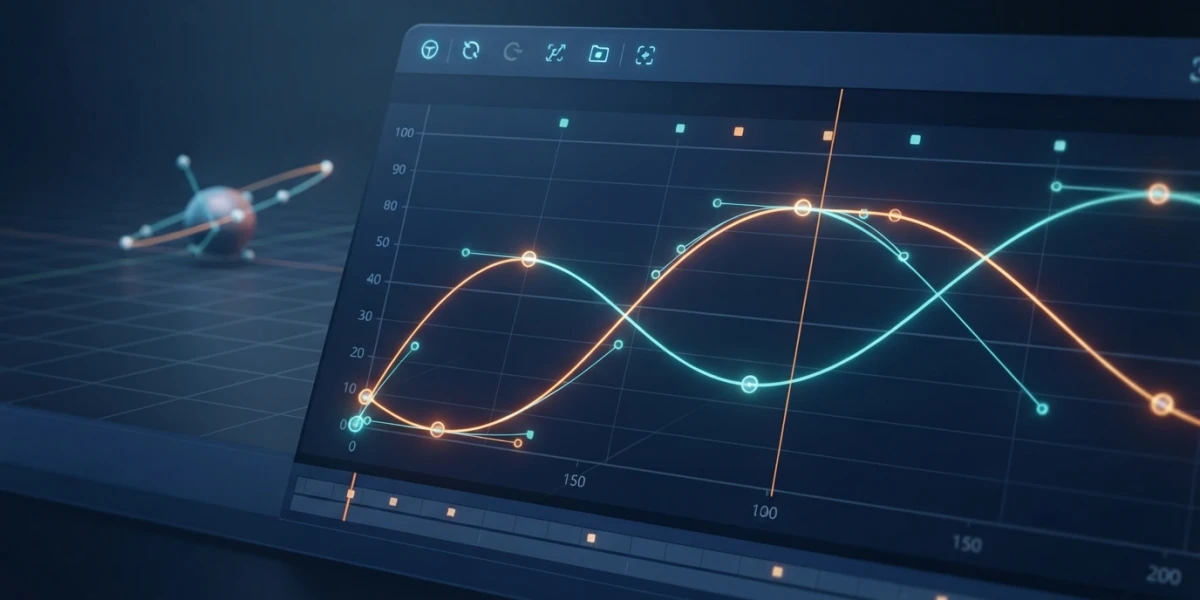
Image generated with AI
Blender Graph Editor Guide: F-Curves and Easing

Diego Cortés
Author
"I animated this but it looks wrong": if that sounds familiar, the problem is almost never the keyframes - it's the curves between them. The Blender Graph Editor turns keyframes into intentional movement: this guide shows you how to master curves, easing and handles.
What Is the Blender Graph Editor and Why It Matters
The Graph Editor edits the animation curves that determine how a property changes over time. Every animated property - location, rotation, scale or any keyframed value - has its own F-curve: a keyframe is a control point, and the curve joining it to the next one defines the speed and the feel of the motion. When an animation looks off, the culprit is usually right there, between keyframes.
F-Curves: the life of animation
An F-curve stores no new information: it is the graphic representation of the values you already animated. What it adds is readability. The horizontal axis is time in frames; the vertical axis is the property value. A flat curve means the value does not change; a steep slope means it changes fast. Learning to read that shape is learning to read your own animation.
The Dope Sheet vs the Graph Editor
The Dope Sheet organizes when keyframes happen; the Graph Editor shapes how the value evolves between them. You place the poses in the Dope Sheet first, then sculpt the curves in the Graph Editor. They are complementary, not rivals: one manages timing, the other shape.
Interface: Channels and the Curve View
The channel list
On the left, channels are grouped by object and property: Location, Rotation, Scale and custom properties. In dense scenes, the header filters let you show only transform channels, only selected ones, or search by name. That is the difference between working with ten curves or three hundred.
The curve view
The main area draws each F-curve as a line with its keyframes. Navigation matches the viewport: scroll to zoom, middle-drag to pan. The 2D cursor acts as a pivot to scale or rotate whole curves - handy when you want to reuse a gesture at a different amplitude.
Showing only what matters
With several objects sharing the scene, showing everything at once floods the view. The header filter buttons isolate what is relevant: only channels with keyframes, only transform channels, or only the ones with errors. Good filtering turns the editor into a diagnostics panel instead of a wiring mess.
Interpolation Modes
Constant: the dry step
No transition: the value jumps at the keyframe instant. It is the interpolation of stepped animation, perfect for blocking poses and reviewing timing before polishing, and for dry-cut effects like a camera cut or a blink.
Linear: constant speed
Straight segments connecting keyframes at uniform speed: mechanical motion with no acceleration or braking. It suits industrial objects, gears and robotic cameras, and works as a starting point when you are not sure yet what shape the curve should take.
Bézier: the default curve
Smooth transitions controlled by handles - the interpolation Blender uses by default and the foundation of almost all organic animation. Switch modes with the E menu on the selected keyframes: Constant, Linear and Bézier live there so you can mix all three in the same animation.
Handles: Fine Control of the Curve
Automatic handle types
Automatic computes the handles for you, giving smooth curves with no effort. Auto Clamped does the same but avoids overshoot when neighboring keyframes are close: it is the default type when animating and the reason most fresh animations already look decent. Vector keeps straight segments that do not bend when you move the keyframe.
Manual handle types
Free makes each handle independent: total control, with the risk of tangled curves. Aligned keeps the tangents aligned - the incoming and outgoing handles share direction, giving flow without losing control. Both are adjusted by dragging the handles directly in the curve view.
Breaking the curve on purpose
The V menu (Set Keyframe Handle Type) changes the handle type on the fly: Vector or Free for abrupt cuts and strong poses, Aligned for flow. Practical rule: smoothness where motion flows, angles where there is impact or a direction change. A hard hit should not wear a rounded curve.
Easing: Accelerating and Decelerating with Intent
What easing is
Easing groups interpolations specialized in accelerating or decelerating a value - easing it from a stationary state into motion or vice versa. It is applied from the T menu on the selected keyframes and it is the fastest way to give intent to a movement without touching handles.
The strength family
Sine, Quad, Cubic, Quart, Quint and Expo form a scale from softest to most aggressive, each with In, Out or In-Out variants. Back adds overshoot: the value overshoots the target before settling. Bounce produces rebounds and Elastic a spring effect. The last three are expressive: use them sparingly and save them for cartoon moments.
Easing in practice
An object that starts and stops with Quad or Quint instead of Linear stops looking robotic instantly. Back works for anticipation and landings with overshoot; Elastic and Bounce for comedy beats or animated UI. The rule is the same as with handles: easing should reinforce the motion's intent, not decorate it.
F-Curve Modifiers: Procedural Animation
The modifiers panel
In the Sidebar (N) of the Graph Editor, with a curve selected, you will find the F-Curve modifiers panel. They stack like object modifiers: order matters, and they can be enabled, reordered and removed without touching a single keyframe. That is pure procedural animation.
Noise: jitter and life
Noise adds randomness to the curve with scale and strength parameters: camera shake, wing flutter, organic micro-movement. A touch of noise over a clean curve brings life back to objects that look too perfect.
Cycles: loops without more keyframes
Cycles repeats the curve before and after the defined range, with offset and mirror options. A walk cycle or a continuous rotation becomes infinite without adding a single keyframe: define one cycle and the modifier sustains it forever.
Other useful modifiers
Limit clamps values to a minimum and maximum; Generator evaluates mathematical functions for precise curves; Envelope controls amplitude per frame range. All are non-destructive: you can try, stack and discard without fear of losing the original animation.
Workflow: Fixing and Reusing Curves
Normalize
Rescales the selected curves so you can compare channels of different scale: a 90-degree rotation against a 5-meter location. Without it, the location channel dominates visually and your diagnostics lie. With it, every curve's shape is read under the same magnifier.
Mirror
Copies the animation to the opposite axis or side by inverting values: the left leg of a walk cycle becomes the right one instantly. It is the tool that turns half a cycle into the full cycle.
Smooth and Simplify
Smooth cleans noisy curves and Simplify removes redundant keyframes - essential after importing captured or recorded animation. When modifiers have done their job and you need editable keyframes, bake/sample converts the processed curve into real keyframes.
Diagnosing floaty animation
Three typical causes: curves too smooth with no acceleration and braking phases (missing easing), accidental overshoot (check whether Auto Clamped was doing its thing) and Vector handles where flow should be. The full flow: Normalize to see, easing for intent, handles for fine-tuning and modifiers to automate.
Conclusion
The Blender Graph Editor is the tool that turns keyframes into intentional movement: pick interpolation, sculpt handles, apply easing and stack modifiers, and with Normalize, Mirror and Smooth the same curve is diagnosed, fixed and reused. Next time an animation looks wrong, do not stare at the keyframes: look at the curves. To see these principles in action, explore the curated animation video tutorials at CGI Academy Hub.