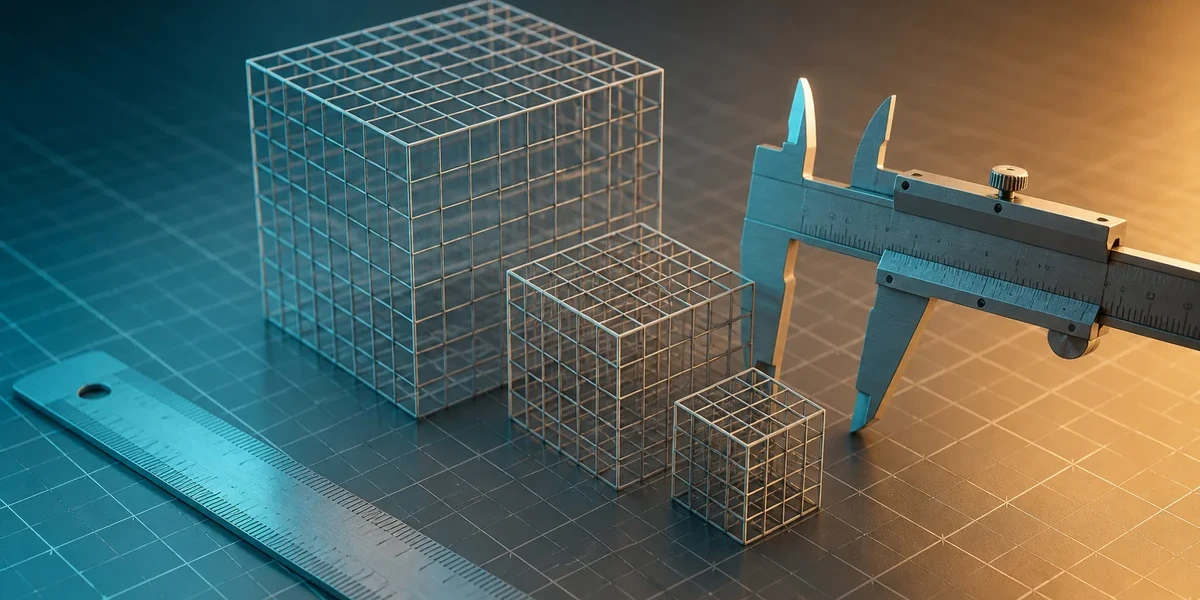
Image generated with AI
Blender Scale: Correct Units for Exporting Assets

Diego Cortés
Author
Blender scale and units get mixed up all the time: a two-meter cube can arrive in Unreal as a miniature or as a building when scene units and object scale are confused. The fix is not guessing an exporter number: measure, apply, and verify.
Scale, dimensions, and units in Blender are different things
Think of a ruler, a maquette, and the enlargement factor on a blueprint. The ruler tells you how big something is in the real world, the maquette how big the object in your hand is, and the factor how many times it was multiplied to represent the original. In Blender those three ideas live in separate places: scene units, dimensions, and object scale.
Dimensions is the resulting size on X, Y and Z, the number you want when someone asks how big the model is. Location is just position, moving does not change size. Scale is a multiplier stored in the object transform, and Scene Units is the label the interface uses to read values, not the size of the geometry.
The default cube is 2 units per side with Scale at 1, 1, 1, and the Item panel reports 2 m per side in a metric scene. Type 2 into Scale X and dimensions become 4 m on that axis while the transform still holds a multiplier of 2. The geometry did not change; the multiplier did. That distinction explains most scale bugs, because two objects can look identical on screen and carry opposite transforms. And a Blender Unit is not always a centimeter or a meter: the scene convention and the destination decide.
Set scene units in Blender
The settings live in Scene Properties, in the Units panel. Pick a convention before modeling and write it down; changing it mid-project creates assets with mixed measurements.
Unit System controls the display: None hides units from readouts, Metric works in meters and derivatives, Imperial in feet and inches. For physical assets and scenes traveling to other applications, Metric is the most legible choice for a team.
Unit Scale relates one Blender unit to one meter and helps when the whole scene is modeled at a different magnitude. It is not a fix-my-scale button: changing it at the end changes how everything already in the scene is read.
Length sets the displayed unit, and Separate Units makes 2.5 meters read as 2 m 50 cm. That is a reading aid, not a resize. Mass and Rotation shape how mass and angles are displayed; useful for simulation or documentation, not for fixing dimensions.
Warning that saves hours: changing the unit system does not remodel geometry, it only changes how the scene is read.
Measure an asset before exporting
The Item panel in the sidebar, opened with the N key, shows the Dimensions of the selected object: that is the main diagnostic readout. For a specific distance, the Measure tool in the toolbar measures point to point using the scene unit settings.
The fastest way to catch odd proportions is to model next to a reference: a door, a one-meter cube, a gauge block with the size of the printed part.
- Select the right object and confirm you are reading its data, not a duplicate's.
- Read Dimensions in visible units and compare with the expected real measurement.
- Check Scale on X, Y and Z: any value other than 1 is a signal.
- Inspect origin and orientation; an object can be the right size and still rotated.
- Save a copy before applying transforms.
When to apply scale, and what it changes
Applying scale bakes the multiplier into the object data so Scale returns to 1, 1, 1 without losing the visible size. Select the object, press Ctrl+A, choose Scale, then confirm in Transform that Scale is 1, 1, 1 while Dimensions keeps the correct value. That proves the scale was applied, not that the object shrank.
It matters with modifiers working in world units, such as a Bevel with a width in meters, and before exporting: several exporters assume unit scale, so an asset carrying Scale 0.01 travels with extra risk.
With simulation there is a nuance: applying scale does not fix a physics problem by itself. The Blender manual, in its rigid body tips, recommends applying scale when you do not need dynamic scale, and notes that simulations do not take Unit Scale the same way the interface does.
Do not apply it blindly on scenes with linked objects, animation or shared instances: save a separate version and test. And write down what was applied, because the other half of scale problems are documentation problems.
Prepare scale for Unreal Engine and games
Unreal Engine works in centimeters: a human character is roughly 180 engine units tall. Blender displays whatever you ask, so the real work is making the export conversion consistent with how you built the asset.
The Unreal FBX importer exposes a scene unit conversion that translates the file unit into the engine unit. Whether you enable it must match the convention used in Blender, not a habit copied from a tutorial. There are two valid strategies, and they should not be mixed:
- Model at real-world dimensions in meters, export with the documented conversion, and verify with a reference cube in the engine.
- Lock one export preset for the whole project and validate it once with a measured test asset.
Before exporting, review axes, apply the transforms your pipeline requires and confirm the pivot origin. In the importer, drop the asset next to a size reference you know: that is the only test that counts. The rest of the bridge is covered in the article on Unreal Engine 5 for 3D artists, and for other formats in the guide on exporting glTF from Blender.
Scale for 3D printing
Printing has a different goal: the file must reach the slicer at the physical size you intend to manufacture. Read Dimensions in millimeters or centimeters and check a known measurement on the part.
STL does not store a declared unit: it contains numbers, and each application interprets them with its own scale. Exporting therefore does not guarantee size intent survives; open the file in the slicer and measure a recognizable feature. If it shows ten times larger, the difference came from the bridge, not the printer. The printable mesh workflow is in 3D printing modeling in Blender.
Common scale mistakes
- Asset a hundred times bigger or smaller: meters mixed with centimeters, or an importer conversion that did not match the scene. Detect it by measuring in the destination.
- Weird Bevel or simulation behavior: unapplied scale, or modifier values set for another unit.
- Correct objects, incoherent scene: the unit readout was changed without rechecking Dimensions.
- Exports that change every week: no asset sheet recording unit, dimensions and preset.
Final export checklist
- Scene saved and a backup made.
- Unit system documented alongside the asset.
- Dimensions measured with Item and cross-checked with Measure.
- Scale applied only where the workflow needs it, verified in Transform.
- Axes, origin, normals and modifiers reviewed.
- A reference object available to validate size.
- Result verified in the destination application, not just in the export dialog.
Conclusion
Blender scale and units are not solved by a magic number: they are solved by measuring the model, documenting the scene convention, and verifying where the asset will live. If it looks right in Blender and wrong in Unreal, in the slicer or in another application, the answer is almost always in this chain: scene units, real dimensions, applied scale.
To keep going, CGI Academy Hub has free curated video tutorials on modeling, materials and pipeline, plus the articles on trim sheets for modular assets and organizing projects with collections and the outliner.