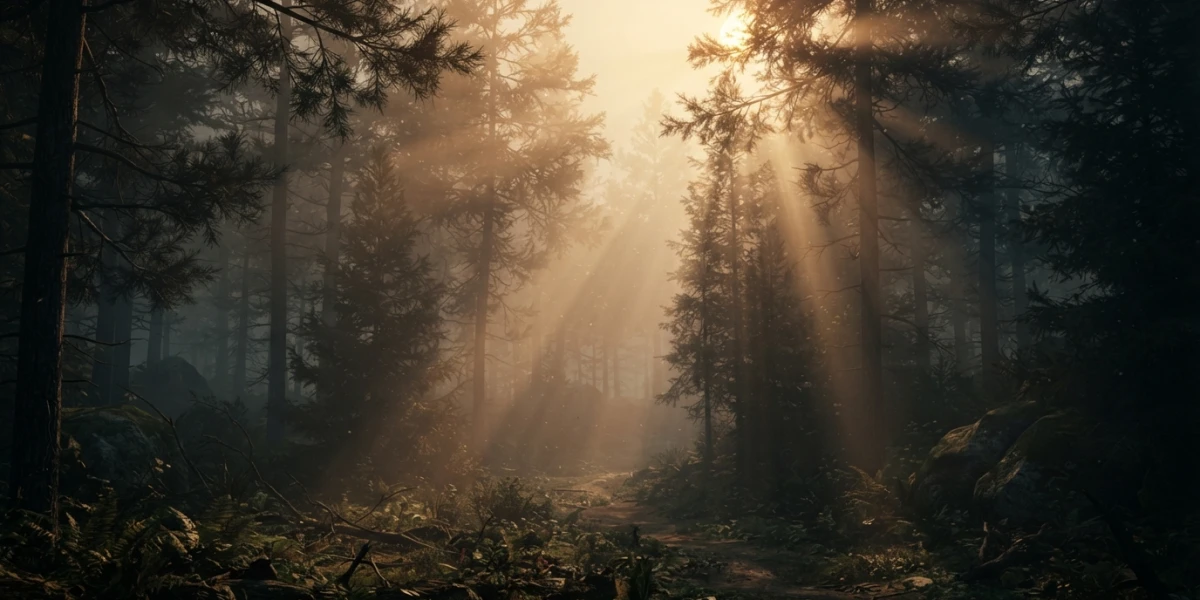
Image generated with AI
Blender Volumetrics: Fog, God Rays and Volumetric Light

Diego Cortés
Author
Ground-hugging fog, sun rays cutting through a window, depth in a flat shot: Blender volumetrics are volume shaders applied to the world or to objects, and no simulation is needed to get started. With Principled Volume, some noise and a well-placed light you get atmosphere in EEVEE and Cycles.
What is a volume shader?
Unlike surface shaders, which compute how light bounces off a point, a volume shader defines how light interacts with a medium —air, fog, dust— along its entire path. That is why volume looks different depending on the light passing through it: the same fog reads as soft haze under an area light or as a dramatic beam under a spotlight.
Blender offers three volume shaders. Volume Scatter scatters the light passing through it, which is what gives lit fog its look. Volume Absorption absorbs light and works for dense media, like dark smoke or murky water. Principled Volume combines them all in a single node, and it is the recommended starting point in most cases.
Principled Volume: the all-in-one
Principled Volume brings together all volume shading components in one easy-to-use node. Instead of chaining several shaders, you connect a single one and control the inputs you care about.
What it combines
The node integrates scattering, absorption, emission and anisotropy. The idea is the same as with the Principled BSDF for surfaces: a single entry point that covers most materials without complicated node trees.
Key inputs
The density input defines how much medium there is per unit of volume; it is typically fed from a volume grid or a noise texture. Color sets the tone of the medium. Anisotropy controls the direction of scattering: positive values scatter light forward and negative values backward, which changes how beams look. Emission adds self-illumination, useful for effects like lava or neon in fog.
World fog: volume in the World
The fastest way to get atmosphere is to add a Principled Volume to the World shader with a low density. That creates uniform fog across the whole scene, and it is the classic trick for giving depth to exterior renders.
To keep the fog from looking flat, plug a Noise Texture into the density input. The noise scale controls the size of the fog banks: low scales give large, soft masses and high scales give fine motes. The result is irregular, breathing fog that feels much closer to reality.
God rays: practical volumetric light
God rays, or visible light beams, are the flashiest volumetric effect and also one of the easiest to set up.
The setup
You need two things: a volume in the scene and a light passing through it. A spotlight aimed through an area with volume —an object with a volume shader or the world fog— creates the visible beam. If something opaque interrupts the beam, the volume projects its silhouette, and that is where the cinematic rays come from.
What EEVEE does
In EEVEE, volumetric scattering is simulated by evaluating all volume objects inside the view frustum. It is a real-time approximation: instead of marching rays, the engine samples the volume within the camera cone, which makes it much faster than Cycles but with its own limitations.
EEVEE vs Cycles: how each engine computes it
The difference in how each engine computes volume explains most of the performance problems you will run into.
EEVEE
EEVEE uses several 3D textures to represent the volume, with heavy video memory usage. The dimensions of those textures are controlled by the Resolution and Steps parameters in the render settings: Resolution controls the quality of volumetric effects and Steps controls how many samples are taken along the depth. If your scene is slow, lowering Resolution is the first dial to touch.
Cycles
Cycles does ray marching: it casts rays and samples the medium in steps along their path. Homogeneous volumes, with constant density, are relatively cheap. As soon as you plug a noise into density, the volume becomes heterogeneous and the cost rises: every ray needs more steps to resolve the variations. The step rate setting controls the sampling density, and that is where the balance between quality and render time lives.
Clouds and effects with noise
The same noise-into-density principle goes far beyond fog. On a cube or a mesh domain, a Noise Texture with well-tuned scale and detail creates clouds and organic masses without touching any simulation.
The key is letting light pass through the volume: a sun or area light behind the mass draws silhouettes and adds depth. With two or three noise layers at different scales you get the fluffy look of a real cloud, and the render stays static volume —no domains, no baking.
Performance: VRAM, resolution and steps
Volumetrics are among the most expensive effects in Blender, but they can be tamed with three rules. First: in EEVEE, volumetrics compete for video memory with the rest of the scene, so lower Resolution while composing and raise it only for the final render. Second: in Cycles, start with homogeneous volumes and add the noise at the end, once the look is locked. Third: limit the volume to what the camera sees; a huge volume object behind a wall is wasted render time.
Conclusion
World fog with low density, a spotlight cutting through it and a noise on density: that is all you need for atmosphere and god rays in any scene. Choose EEVEE to iterate fast and Cycles when you need the accuracy of ray marching. To see these setups in video, the curated tutorials on the platform about lighting and shading walk you through complete scenes step by step.