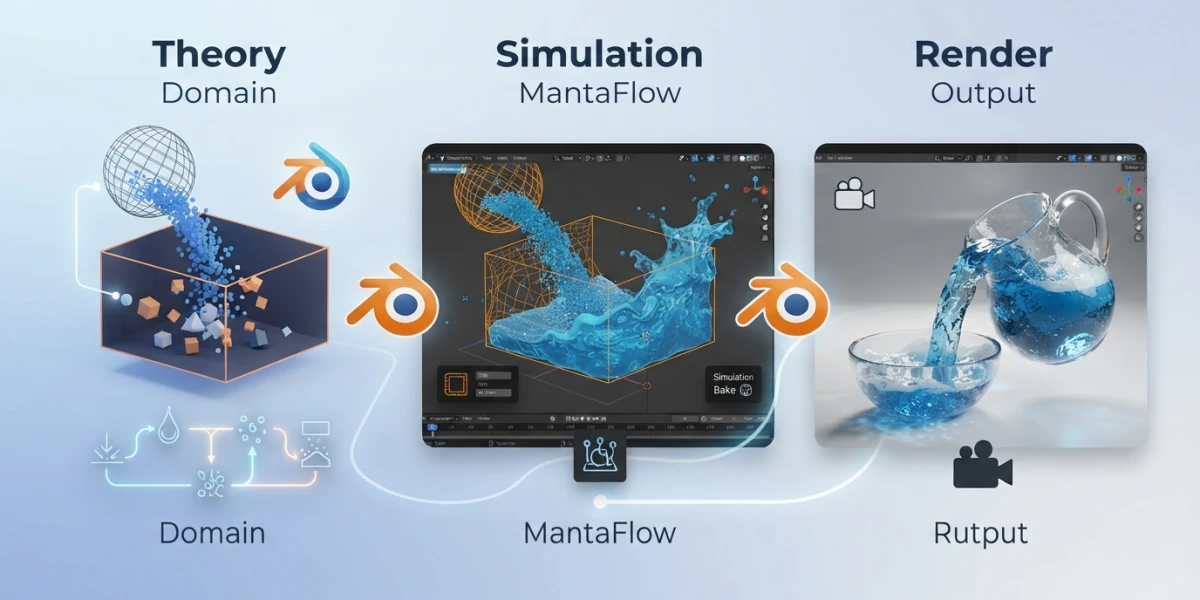
Image generated with AI
Blender Fluid Simulation: From Theory to Render with Mantaflow

Diego Cortés
Author
A fluid simulation in Blender may sound like an expert-only affair, but with Mantaflow you only need to understand four pieces —domain, flow, effector and cache— to pour believable water into a glass starting from a single cube. In this guide you will build your first complete liquid simulation, from setup to final render, with concrete values and without melting your machine.
What Mantaflow Is and the Four Ingredients of a Simulation
Mantaflow is Blender's built-in fluid engine: a system capable of simulating everything from a drop in a glass to entire oceans. Everything you need to understand fits into four objects: the domain, the flows, the effectors and the cache.
Domain, Flow, Effector and Cache: What Each One Does
The domain is a cube that contains the entire simulation: the fluid is computed inside it and can never leave its bounds. Flow objects add or remove fluid: they can feed it continuously (Inflow), drain it (Outflow) or turn their own mesh into liquid (Geometry). Effectors are the obstacles the fluid collides with, such as a glass or a table. And the cache is where the simulation results are stored on disk, so you can play them back without recomputing everything.
Domain Rules: Axis-Aligned, No Rotation, No Keyframes
The domain object has strict rules: it must be a box aligned to the X, Y and Z axes, with no rotation, no location or scale keyframes and no modifiers. Only one domain may exist per file. Break these rules and the simulation behaves unpredictably, so it is worth checking them before you start baking.
Resolution Is Measured in Divisions
The setting that confuses beginners the most is resolution, because it is not expressed in pixels but in subdivisions of the domain. Understanding it saves you from simulations that never finish or results that look like jelly.
Why 64 Divisions in a 1 m Cube Equal 128 in a 2 m Cube
Resolution Divisions split each edge of the domain into cells. A 1 meter cube with 64 divisions has cells of about 1.5 cm; to achieve the same detail in a 2 meter cube you need 128 divisions. Domain size and resolution always go hand in hand: if you double the size, double the divisions to keep the same quality.
Adaptive Domain: The Domain That Resizes Itself
The adaptive domain automatically resizes the domain to fit the fluid, instead of computing the whole volume of the cube. It is a simple way to save memory and time in scenes where the liquid only occupies part of the space, and it is worth enabling by default in most projects.
Your First Liquid: From a Pourer to a Glass
With the theory clear, we set up the classic scene: a pourer filling a glass. The values below are a starting point that works well and that you can tune afterwards.
Setting Up the Domain and the Flow
Add a cube and turn it into the domain (Physics → Fluid → Domain), with Liquid as its type. Adjust its size so it encloses the glass, the pourer and the water's path. Then create the flow: a small object inside the domain's bounding box, with Inflow as its type, acting as the mouth of the pourer. Remember that the flow must be inside the domain: if it sits outside, it will not emit fluid. Flow objects can be enabled and disabled per frame, which lets you stop the pour halfway through the animation.
The Collision Effector for the Glass and the Table
The glass and the table need a Collision effector so the water hits them instead of falling through. Assign the fluid modifier to both objects and mark them as collision effectors. For the glass, the geometry must be properly oriented; an open glass needs its interior to be reachable by the fluid.
Baking Data and Baking Mesh
The simulation is baked in two phases. First the data bake, which computes the fluid's motion and generates the cache; then the mesh bake, which builds the liquid surface from the particles. The mesh usually runs at a higher resolution than the base divisions to get a clean surface. Store the cache in a folder outside the project: it keeps memory usage low and lets you reuse the simulation.
From Simulation to Render
With the cache baked, the water already moves in the viewport. Now it is time to make it look like actual water.
Water Material: Transmission, Low Roughness and IOR ~1.33
A liquid material is built on transmission: light passes through the water instead of bouncing off it. Use a Principled BSDF shader with high Transmission, low Roughness (around 0.05) and an IOR of 1.33, the refractive index of water. Tint the transmission color slightly if you want river or sea water.
Lighting and Motion Blur to Sell the Water
A liquid without light is an opaque crystal: light the scene with a large area light or an HDRI so transmission and caustics have something to show. Motion blur goes a long way toward selling the water's movement, especially with splashes and fast ripples. Enable it in the render properties and keep the shutter subtle.
Optimization: Fast Previews and Final Resolution
Fluid simulations are expensive, and the difference between a preview and a final render lies in resolution. This is where you decide whether your machine suffers or stays calm.
Two-Pass Workflow: Low Res to Lock the Animation, High Res Only at the End
The professional workflow uses two bakes. First a low-resolution pass (64-128 divisions) to lock the animation: this validates the pour, the collisions and the timing without waiting hours. Once everything is approved, bake the final pass at 200 divisions or more and render. Never iterate on the high-resolution bake: every scene change forces you to redo it.
Bake Times: Bigger Domains Demand More Resolution and More Time
Bake time grows brutally with resolution and domain size: a large domain with high divisions can turn a minute-long simulation into hours. If the scene allows it, shrink the domain to the minimum that contains the fluid, enable adaptive domain, and save high resolutions for the final pass. Whitewater —foam and splashes— also adds cost: enable it only if you really need it.
Conclusion
A Blender fluid simulation with Mantaflow comes down to mastering four concepts —domain, flow, effector and cache— and respecting the relationship between domain size and resolution. With the two-pass workflow you can iterate quickly and save your power for the final render, and with the right transmission material the water will stop looking like plastic. If you want to see these concepts in action with guided examples, check out the curated video tutorials on our platform: watching the process in real time clears up the doubts that reading alone cannot.