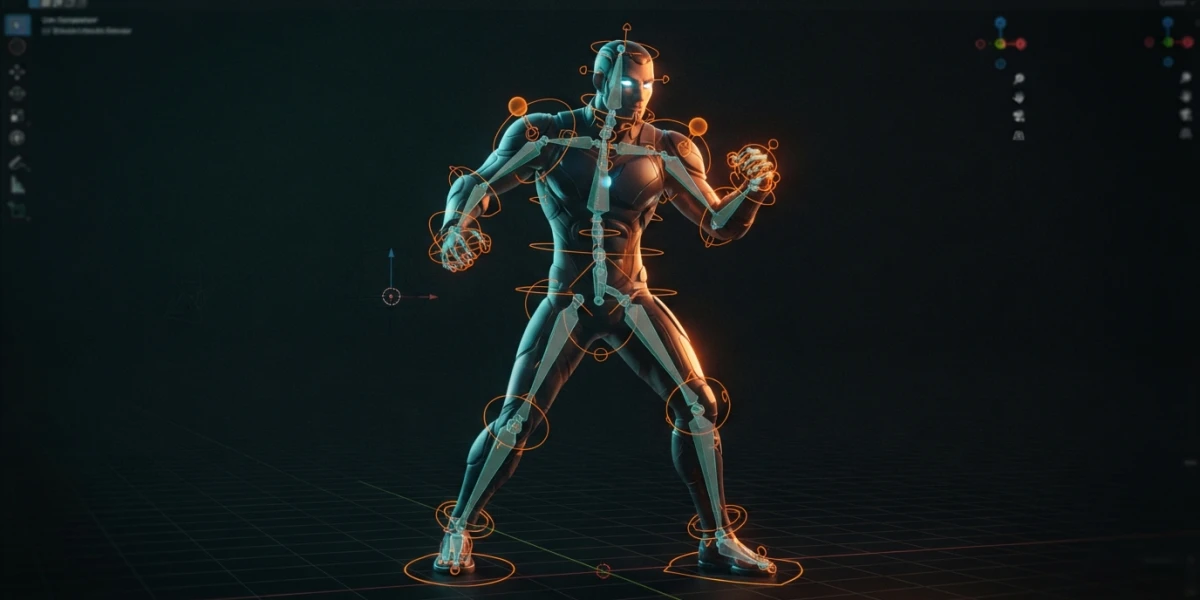
Image generated with AI
Character Rigging in Blender: Armatures, Weight Painting and Rigify

Diego Cortés
Author
Character rigging in Blender sounds like expert territory, but with Rigify the path from a static model to an animatable character is a guided flow: metarig, Generate Rig, automatic weights, and weight painting. This is what happens at every step, and how to fix deformations when they go wrong.
What Rigging Is and Why Rigify
Rigging is the process of creating the digital skeleton — the armature — that deforms a character's mesh so it can move and be animated. Without a rig, a model is a frozen sculpture; with one, every bone controls an area of the surface and the character comes to life. It is the natural bridge between retopology, which prepares the mesh, and animation, which moves it.
Armatures, Bones and Deformation: the Skeleton That Moves the Mesh
An armature is an object made up of bones. Each bone has a head and a tail, and when you move it, it drags along the vertices assigned to it. The resulting deformation depends on two things: the hierarchy of the bones and the weights of each vertex.
Rigify: Auto-Rigging Created by Nathan Vegdahl
Rigify is an auto-rigging addon written by Nathan Vegdahl that turns a traditionally slow process into something fast and simple. Its core idea is the metarigs: control armatures divided into several sub-rigs, each one in charge of a part of the body. From that assembly of bone chains, the system generates the final rig with all its pieces, saving the artist hours of setup and configuration.
Armatures in Five Minutes
Before touching Rigify, it is worth understanding the base piece it works on. Adding an armature is as simple as pressing Shift+A and choosing Armature. From there, all the work happens in Edit Mode.
Add an Armature, Enter Edit Mode and Build Bone Chains
With the armature selected, enter Edit Mode and select the root bone. Press E to extrude a new bone from its tip, or Shift+D to duplicate it. Repeat the operation to build the chain: spine, upper arm, forearm, hand. Each new bone is automatically connected to the previous one, and you can rename them from the side panel to keep the rig organized.
Hierarchy: Parent and Child Bones, and Why Order Matters
In a chain, every bone is the child of the one before it and the parent of the one after. When you move the shoulder bone, everything hanging from it — upper arm, forearm, hand — follows along. That is why the hierarchy order defines the behavior of the whole rig: a parenting mistake shows up the moment you try to animate, because the mesh deforms as a block or on the wrong axis.
The Human Metarig
This is where Rigify comes in. Instead of building the armature by hand, you add a human metarig and adapt it to your model. It is the standard starting point for humanoid characters, and Rigify also ships metarigs for quadrupeds and other setups.
Add Human: Rigify's Metarig with the Structure of a Biped
With the Rigify addon enabled, go to Add > Armature > Human. Blender adds a complete metarig: pelvis, spine, arms, legs, hands, feet and head, with the structure of a biped and the bone chains already organized into sub-rigs. Every bone has a name designed so the system knows what it is and which controls it should generate later.
Positioning the Bones Over the Model
The metarig is added at the scene origin, so your first task is to place it inside the model. Scale the whole metarig to match the character's height, then move each bone in Edit Mode until it lines up with the anatomy: knees and elbows bent in the right direction, hands over the model's hands, head inside the head. A poorly placed metarig produces a rig with strange deformations, so it is worth investing time here before generating.
Generate Rig
With the metarig in place, the next step is generating the final rig with a single click.
The Generated Rig Comes with IK/FK Controls Ready, Not Just Bones
Select the metarig, press Generate Rig in the Rigify panel, and the addon creates a new armature with animation controls ready to use: IK/FK controllers for arms and legs, finger controls, head and torso controls, and even spine stretch systems. It is not a raw skeleton: it is a rig designed to be animated right away, with inverse kinematics logic already configured.
Why You Don't Animate the Metarig Directly
The metarig is a configuration template, not an animation rig. Its bones lack the controls and constraints that Rigify generates later, and animating it directly gives poor results that are hard to fix. The rule is clear: you set up the metarig, generate the rig, and the generated rig is the only thing you animate. The original metarig can be deleted or hidden once the rig is generated.
Binding the Mesh to the Rig
The rig is ready; now it is time to connect it to the character's mesh. This step is called skinning or parenting, and it is where the sculpture stops being an independent object and becomes the skin of the skeleton.
Automatic Weights: the Bone Heat Method Creates the Vertex Groups for You
Select the mesh and then the generated rig — the order matters — press Ctrl+P and choose With Automatic Weights. Blender uses the bone heat method, which calculates for each vertex which bones influence it and how strongly, and automatically creates the rig's vertex groups. It usually gives better results than the envelope method and does not require setting an influence radius for each bone, which makes it the ideal starting point.
What Vertex Groups Are and How They Get Assigned to Each Bone
A vertex group is a list of vertices with a weight between 0 and 1. Every bone in the rig has its own: the arm group assigns a weight close to 1 to the arm's vertices, while the vertices in the shoulder transition share their weight between several groups. Automatic weights do this assignment for you, but understanding it is what lets you correct it precisely later.
Weight Painting
Automatic assignment works well in general, but transition areas — shoulders, elbows, knees, hands — usually need adjustments. That is where weight painting comes in, the mode that turns weights into something you can see and paint directly on the mesh.
Weight Paint Mode: Add, Subtract and Blur Brushes, and Mirror for Symmetry
Select the mesh and switch to Weight Paint mode. You will see the mesh colored: blue where the active bone has little weight, red where it has a lot. The Add brush increases the weight of the area, Subtract reduces it, and Blur smooths out harsh transitions. If the character is symmetrical, enable Mirror (X) to paint both sides at once and save half the work. Selecting the bone and painting directly on the mesh is much faster than editing each vertex group by hand.
Fixing Typical Deformations: Shoulders, Elbows, Knees and Hands
Shoulders tend to collapse when the arm lifts: share the weight of the area between the collarbone and the arm, and smooth it with Blur. On elbows and knees, the fold looks wrong if the weight changes too abruptly: paint gradual transitions around the joint. Hands, with their finger chains, need clean per-finger weights so each finger bends independently. In every case, test the movement with the rig in Pose Mode and keep painting until the deformation looks natural.
Conclusion
Character rigging in Blender stops being a mystery once you understand the pieces: armatures and hierarchies, the Rigify metarig, the generated rig with its IK/FK controls, automatic weights, and weight painting to fine-tune the details. Rigify does the heavy lifting, but knowing what happens behind the scenes is what lets you fix deformations and make the leap to animation. If you are coming from retopology, this is the natural bridge to characters that move, and on the platform you will find video tutorials on rigging, animation and character modeling to keep going deeper.