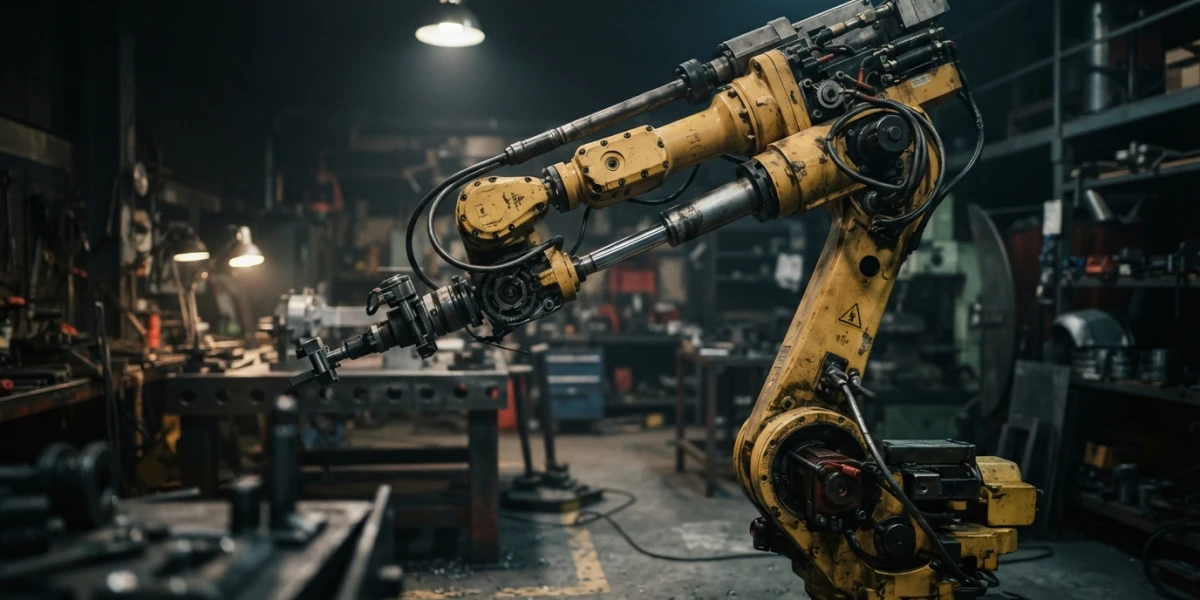
Image generated with AI
Mechanical Rigging in Blender: Constraints, IK and Pistons That Actually Work

Diego Cortés
Author
Mechanical rigging in Blender does not need to deform anything: with clean hierarchies and a few constraints, a robotic arm or a piston behaves like real machinery, with the precision that hard-surface animation demands.
What Makes a Mechanical Rig Different
A character rig solves deformation: skin weights, elbow creases, facial expression. A mechanical rig solves the opposite: keeping parts rigid while they move within physical limits. These are opposite philosophies, and mixing them is the cause of most mechanical rigs that do weird things.
Precision Instead of Deformation
Instead of weight painting, mechanical objects are articulated with object hierarchies and constraints. Each part is an independent object that rotates or slides according to rules defined by the rig, not according to weights painted on a mesh. The result is predictable motion: a piston always slides along its axis, a hinge never rotates past its stop.
Hierarchies vs Armatures
For loose parts, parenting is enough: select the child, then the parent, and press Ctrl+P. But when a single part must drive several meshes at once, like an axle dragging three gears, an armature with bones is better, because one bone can control multiple objects with a single keyframe.
Preparing the Model: Separate Parts and Correct Pivots
Before thinking about constraints, the model has to be ready. The golden rule: every part that moves independently must be its own object, and every object must rotate from its real joint.
Separate the Parts That Move Independently
Enter Edit Mode, select the faces that form a part and press P to separate by selection. Repeat for each moving section: the forearm, the elbow, the base. If a part does not move, do not separate it: fewer objects, fewer headaches.
Set the Pivot of Each Part
The pivot is the point the object rotates around, and by default it usually sits at the mesh center. To make a joint rotate where it should, place the 3D Cursor at the joint position, for example with Shift+S and Cursor to Selected on a vertex, and use Object > Set Origin > Origin to 3D Cursor. A wheel that spins from its center and an arm that rotates from the shoulder are the difference between a believable rig and a floating one.
Parenting Order
Order matters when parenting: select the child first, then the parent, and press Ctrl+P. The child inherits the parent's motion, so build the hierarchy from the base to the tips: base, arm, forearm, wrist.
The Five Constraints That Solve 90% of the Mechanical Rig
Constraints are the rules of the rig: each one defines what a part can do and what it cannot. With these five you cover almost any machine you can imagine.
Limit Rotation
It limits the rotation angle of each axis to a defined range and clamps any out-of-range angle to the nearest limit. It is the constraint of hinges and elbows: a door that swings 0-90 degrees, a mechanical elbow that never bends backwards. Configure it in the constraint panel of the bone or object, entering the minimum and maximum degrees per axis.
Copy Location and Copy Rotation
These two force an object to match the position or rotation of a target. They are the most direct way to connect parts that must move in unison: two gears spinning together, a platform following the piston that pushes it. Copy Rotation has a bonus: while copying rotation it removes shearing, the unwanted stretching that appears when rotations on several axes combine.
Transformation
The most versatile of all: it maps the rotation of a control to the position, or the scale, of another object, mixing axes freely with the Map From and Map To fields. It is the basis of the classic piston: you turn a crank and the rod extends; the control's rotation translates into linear displacement. In the mapping you define which axis of the control, for example Z rotation, feeds which axis of the piston, X location, and with what value range.
Track To
It makes a part point permanently at a target: the Look At of other software. It is the constraint of cannons that follow a target, spotlights that keep an actor lit or sensor arms that face a point. The object rolls around itself so that a local axis always stays up.
IK for Robotic Arms
Animating with direct rotations, forward kinematics, means keyframing every joint by hand. Inverse Kinematics does the opposite: you animate the end of the chain and the intermediate bones arrange themselves.
What IK Does
The Inverse Kinematics constraint rotates an entire chain of bones so that its end follows a target. The classic example is the arm: move the target and the elbow and shoulder reorient to reach it. For machinery it is ideal when what matters is the final position of a tool or gripper, not the path of each axis.
Quick Setup
Select the last bone of the chain and press Shift+I to add IK to the bone. Then create an Empty, assign it as the constraint's target and animate the Empty: the end of the arm will follow it with assembly-line precision.
Drivers: Connecting Properties Without Constraints
Constraints connect transforms; drivers connect any property. With a driver you can make any value depend on another, without keyframing both.
Creating a Driver
Right-click a property, the Z rotation of a wheel for example, and choose Add Driver. In the driver editor you specify which other property feeds that value: the X location of the vehicle. The wheel will spin exactly the amount proportional to the distance traveled, without animating it by hand.
When to Choose a Driver Over a Constraint
Use drivers when the relationship is not a direct transform: a scale value, a material property reacting to motion or a slider controlling a piston's extension. If you need one object to follow another in space, a constraint is usually simpler and more predictable.
Clean Controls: Empties and Custom Bone Shapes
A mechanical rig is also an interface: if only you understand your controls, the rig fails as a working tool. Empties and custom bone shapes turn the rig into something readable at a glance.
Empties as Controls
An Empty is an invisible object that can drive an entire group of parts. Use it as the arm's master control: move the Empty and the whole chain follows. Because it is reusable and easy to select, it is the standard for top-level controls.
Custom Bone Shapes
If you work with an armature, assign a custom shape to the controller bones from the Bone tab, Custom Shape option. Instead of the classic bones you will see arrows, circles or whatever forms you modeled, and you will know instantly what each element controls and in which direction it moves.
Full Workflow: A Robotic Arm Example
With everything on the table, rigging a robotic arm comes down to a sequence of steps you can repeat on any machine.
Step by Step
First, separate the arm's sections in Edit Mode with P and set each part's pivot at its joint with the 3D Cursor and Shift+S. Build the hierarchy with Ctrl+P from the base to the gripper. Add Limit Rotation to every joint to respect the design's physical stops. Set up the forearm IK with Shift+I and an Empty as target. Finally, create a master Empty that controls the whole assembly and, if you want, give the controller bones custom shapes.
Verification
Test the rig with Alt+A to play the animation and review the motion in the Dope Sheet and the Graph Editor: spikes and straight lines betray misplaced keyframes. For repetitive machine motion, a piston going back and forth forever, apply a curve modifier such as Cycles to the animation curve and the loop stays perfect without extra keyframes.
Conclusion
Mechanical rigging in Blender is not harder than character rigging: it is different. Think in restrictions instead of deformation, prepare your pivots well and let constraints do the heavy lifting. With clean hierarchies, Limit Rotation on the joints, IK for the arms and a couple of drivers, you will have machinery that moves with an engineer's precision. To see these techniques applied to real scenes, check out the rigging and animation tutorials on the platform: theory always lands better when you watch it in action.