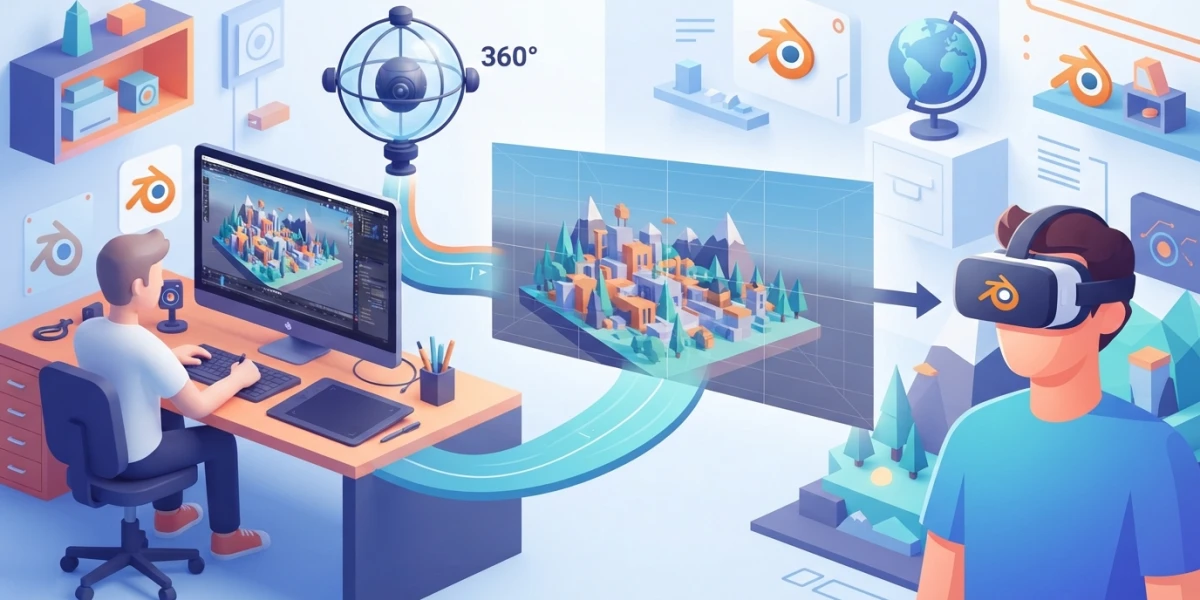
Image generated with AI
360 Render in Blender: Complete Panoramic and VR Guide

Diego Cortés
Author
A 360 render in Blender turns your scene into a panorama you can explore from inside: on YouTube 360, in a VR headset, or as your own HDRI. The panoramic camera in Cycles makes it easy, and here is the full workflow, including spherical stereo.
What Is a 360 Render and What Is It For?
A 360 render captures the scene in every direction at once. Instead of a fixed frame, you get a full sphere of visual information: the viewer turns around, looks at the ceiling or spins the view, and a static image becomes an immersive experience.
The uses are concrete. It works as a personal archive to revisit a scene as if you were inside, it is the foundation of architectural walkthroughs where the client explores an interior, and with stereoscopy it works in a VR headset: 360 video creators publish immersive content on YouTube.
Equirectangular: The Standard Panoramic Format
The equirectangular projection is saved with a 2:1 aspect ratio: the width covers the 360 horizontal degrees and the height the 180 vertical ones. It is the same mapping used by HDRIs, which makes it a universal standard: any panorama viewer, from YouTube to your operating system's file viewer, understands it without conversion.
From HDRI Image to Immersive Video
The same equirectangular image serves two purposes. Saved as OpenEXR or Radiance HDR it becomes an HDRI that lights other scenes with the exact light of your render; animated, it exports as a frame sequence and becomes 360 video. The technical foundation is identical, only the destination changes.
Setting Up a Panoramic Camera in Blender (Cycles)
The setup starts in the camera data tab, not in the render properties: select the camera and look for the lens section.
Panoramic Type and Equirectangular Projection
In the lens type menu, switch from Perspective to Panoramic. The Panorama Type parameter appears with several projections; Equirectangular is the most versatile: it always renders the 360 horizontal degrees and the 180 vertical ones, without configurable limits. It is the safe choice for almost any use.
Camera Orientation: Rotation (90, 0, -90)
Orientation matters more than it seems. The default mapping of an environment texture expects the center of the image to face a specific direction; if the camera is not rotated correctly, the horizon curves or the result does not match your expectations. The verified solution is to rotate the camera to (90, 0, -90), pointing at the positive X axis, which aligns the image with the standard mapping. With Latitude Min/Max and Longitude Min/Max you can limit the rendered area to a slice of the sphere.
Why Cycles and Not EEVEE
The panoramic camera is a Cycles feature; EEVEE does not render these projections natively. If your scene was built for EEVEE, switching means raising samples and adjusting the lighting, but the result is worth it: Cycles handles the projection with the same quality as a normal render, including motion blur and depth of field.
Resolution and Format Settings: The 2:1 Ratio
The resolution follows a simple rule: the height must be exactly half the width. For 4K use 4096 by 2048; for 8K, 8192 by 4096. This 2:1 ratio guarantees the projection looks correct in any viewer, because the width represents the 360 horizontal degrees and the height the 180 vertical ones.
The format depends on the use. For a standard viewer or YouTube, an 8-bit PNG or JPEG is enough; if the panorama will serve as an HDRI, save as OpenEXR or Radiance HDR to keep the dynamic range. In both cases enable Cycles denoising: it cleans up noise without raising samples to the maximum, the render is faster and the result looks much cleaner in indirect light areas.
Stereoscopic 360 Rendering (Spherical Stereo) for VR
If the destination is a VR headset, you need two images, one per eye. This is where most mistakes happen, because the intuitive way to do it does not work.
Multi-View and Spherical Stereo: The Two-Camera Mistake
The temptation is to duplicate the camera, separate the copies by a few centimeters as if they were eyes, and render two panoramas. The result is broken: the projection center of a panoramic camera is not between the two eyes, but at the center of each individual camera. The front looks fine, the sides lose depth and the back appears inverted; it is a classic failure documented in Blender forums.
The correct solution is Spherical Stereo: each eye renders with its own panoramic center and the stereo geometry is computed correctly across the whole sphere. Enable it from the scene panel, activating the Multi-View toolset and checking Spherical Stereo in the camera settings. With the camera set to Panoramic and Equirectangular, Cycles handles the rest.
Convergence and Interocular Distance
In the Stereoscopy tab of the camera you control the interocular distance, which virtually separates the two eyes, and the convergence distance, where both eyes' lines of sight cross. The viewport responds in real time showing the convergence plane. Overly aggressive convergence strains the eyes in the headset; conservative values work better in interiors.
View Output Formats
In the output properties you choose how the views are saved: individual files per eye, top-bottom stacking both eyes in one frame, or red-cyan anaglyph to review on screen without a headset. The Image Editor lets you inspect each view and the final stereo result.
Other Panoramic Projections: Equiangular Cubemap, Fisheye and Mirror Ball
Equirectangular is not the only option. Equiangular Cubemap Face distributes pixels more evenly and avoids the detail loss at the poles, ideal for VR with limited resolutions. The Fisheye variants imitate real lenses: Equisolid matches a fisheye lens with its focal length, Equidistant generates a circular image for full-dome and Lens Polynomial models a real camera with a fourth-degree polynomial. Mirror Ball imitates the reflection of a polished sphere. They all share the same workflow: only the projection and, in some cases, the lens parameters change.
One detail: panoramic cameras are not shown in the Solid mode of the viewport; you will see the normal scene while working and the panoramic result only in the final render.
Viewing and Sharing the Result
VR Review with the VR Scene Inspection Add-on
Before sharing, review the result where it will be consumed. Blender includes the official VR Scene Inspection add-on, based on OpenXR, that puts you inside the scene with a headset. Enable it in Preferences, in Add-ons, by searching for "3D Viewer: VR Scene Inspection"; it is not active by default. The VR tab in the 3D Viewport sidebar shows the Start VR Session button.
The session lets you disable positional tracking and keep only rotation, show or hide the floor, add annotations, trim the view and set landmarks to jump between positions, plus sync a mirrored image in the viewport. The limitation: it is inspection only, with no hand controller support.
Publishing to YouTube 360: Resolution and Spatial Media Metadata
To publish on YouTube, render with the panoramic camera set to Equirectangular and push to at least 4K (3840 by 2160): the viewer only sees a portion of the frame at any time, and low resolution is very noticeable. The 2:1 ratio is the most reliable, although 16:9 also works.
The step that gets forgotten the most is metadata injection: without it YouTube plays the video as a distorted flat image. Use Google's free tool spatial-media (GitHub, v2.0 release), open your video, select Inject Metadata and save a copy; once uploaded, the player enables 360 mode by itself. Finally, choose the highest resolution in the player's gear menu instead of leaving automatic, which sometimes starts at low quality.
Conclusion
Doing a 360 render in Blender is a short process with three pillars: the Cycles panoramic camera, the 2:1 ratio and spherical stereo for VR. With them you go from a flat image to an immersive experience you can review in a headset, publish on YouTube 360 or reuse as your own HDRI.
If immersive workflows interest you, explore the video tutorials on the platform: seeing the process in action with artists who master these techniques speeds up learning considerably.