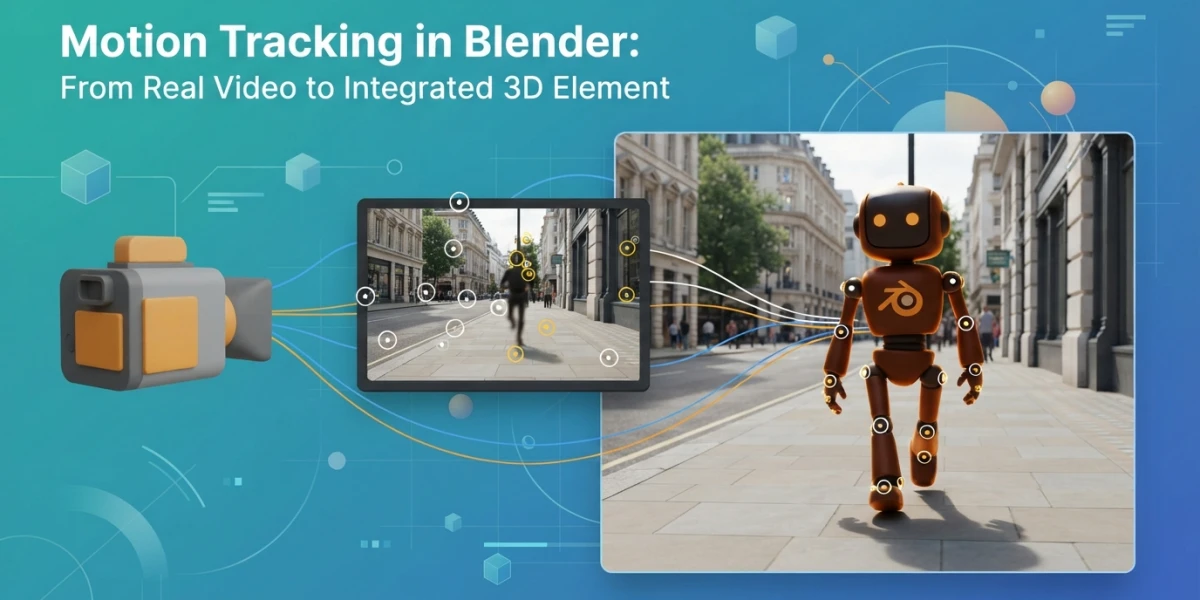
Image generated with AI
Blender Motion Tracking: From Live Footage to a Seamless 3D Composite

Diego Cortés
Author
Placing a 3D object inside live footage is one of the most requested VFX effects, and Blender motion tracking solves it with professional tools built in. This guide walks the full workflow, from lens calibration to 2D stabilization.
What Motion Tracking Is and What It Is For
Tracking movement and applying it to 3D objects
Motion tracking analyzes the movement of objects and the camera in a clip and, through constraints, applies that data to 3D objects created or imported in Blender. It combines 2D point tracking with 3D reconstruction and covers three cases: camera tracking (the camera moves and the 3D object stays anchored to the scene), object tracking (the real object moves and the 3D one follows it) and plane tracking (anything happening on a plane, like a screen being replaced).
Tracks at the service of rotoscoping
The same tracks do more than solve cameras: they also move and deform masks in the Mask Editor, a special mode of the Movie Clip Editor. That is how you rotoscope an element in the footage and apply corrections or replacements without animating the mask by hand frame by frame.
Before You Start: Footage and Lens Calibration
What the video needs
The solve depends on the quality of the source material. Look for fixed, high-contrast points in the scene, avoid heavy motion blur, and above all do not use pre-stabilized footage: previous stabilization destroys the motion information the tracker needs. The better the footage, the better the reconstruction.
Lens distortion and focal length
Every camera records with lens distortion, and an accurate solve needs the exact focal length and the strength of that distortion. The focal length comes from the camera settings or the file's EXIF metadata. To calibrate distortion in Blender, use the Annotation tool: draw a straight line from the real world (a building edge, for example) with poly line, then adjust the distortion values until the drawn line matches the element in the video. There is also the OpenCV calibration grid, which uses the same distortion model.
Tracking: Markers and Editor Views
The three views of the Movie Clip Editor
In Tracking mode, the Movie Clip Editor offers three views switched with the View selector in the header: Clip, Graph and Dope Sheet. The Clip view shows the footage with the markers; the Graph view shows the motion curves of each track, and the Dope Sheet presents tracks as time blocks. To see curve and dope sheet at once, split the editor.
Placing and following markers
Place markers on high-contrast points spread across the whole frame and track forward and backward. When a track jumps out of place, fix it manually on the frames where it fails and track again. A handful of good tracks beats dozens of mediocre ones.
Solving the Camera Movement
Keyframe A/B and the Keyframe option
The solve reconstructs the camera from the movement of the tracks between two keyframes. Keyframe A and B define the frame range used for reconstruction, and the Keyframe option automatically looks for the pair with the lowest reconstruction error and the best scale estimate. On short clips that pair is usually the first and last usable frames.
Refine: fine-tuning the intrinsics
Refine specifies which camera parameters to adjust during the solve: focal length, optical center, and radial and tangential distortion. Use it only with approximate starting values; if the initial intrinsics are completely wrong, the solve fails. The practical rule is to refine one parameter at a time and check the result before continuing.
The Tripod solver for locked-off cameras
If the camera does not translate and only rotates on its axis, the generic solver cannot handle it: you need the Tripod solver, which reconstructs only the relative rotation and reprojects the points onto a sphere at the same distance. Five to ten tracks are usually enough, because in this case more tracks do not mean more accuracy.
Cleaning up bad tracks
The Cleanup button removes tracks that were not followed long enough (Frames criterion) or whose reprojection error exceeds the threshold (Error criterion). You can select them, delete the whole track or remove only the bad segments. Use Filter Tracks to review the state of everything before solving.
Orienting the Scene and Setting the Scale
Anchoring the solve to the real world
After the solve, the reconstruction floats in arbitrary space. The orientation tools anchor it to the real world: Floor defines the ground from coplanar tracks, Set Origin places the scene origin on a chosen track, and Set X/Y Axis aligns the axes with known directions on the set. With ground and axes defined, compositing stops being a guessing game.
Scale: the step nobody wants to skip
Without Set Scale, the 3D element will have the size of the reconstruction, not the real one. Measure a known distance on the set (a door height, a table length) with the Distance tool and apply that measurement to the scene. The 3D Markers to Mesh and Link Empty to Track options generate helper geometry to visualize and anchor the tracks.
From Solve to Composite
Setup Tracking Scene and Set as Background
Setup Tracking Scene creates a new scene with the solved camera and the footage as background, ready for the 3D element. Set as Background does the same on the current scene. From there, model, light and composite with the real camera already solved.
Plane track: replacing screens and signs
The plane track solves the movement of all markers lying on the same plane. It is the ideal tool for replacing screens, signs or paintings: the plane is reconstructed with its perspective deformation and the new content integrates without animating anything by hand.
Object tracking and constraints
To make a 3D object follow a real element in motion, solve the object's motion relative to the camera and anchor your element with tracking constraints: Camera Solver, Object Solver and Follow Track cover the usual integration cases.
Rotoscoping with tracked masks
When the 3D element must pass behind something in the video, create a mask in the Mask Editor and let the tracks move and deform it. Tracked rotoscoping saves dozens of manual keyframes.
2D stabilization for handheld footage
If the video was shot handheld and has jumps and tilts, 2D stabilization detects and compensates that motion based on tracked elements. Apply it to the footage itself, before or after the solve depending on what you want to stabilize.
Common Mistakes and Final Tips
High reprojection error
A high reprojection error almost always means bad tracks or a poorly calibrated lens. Review and clean the tracks before refining intrinsics; refining on a dirty foundation only makes the result worse.
Forgotten scale and origin
The two most common integration mistakes: not setting the scale (the 3D object ends up the wrong size) and not orienting the origin (the element floats misaligned with the ground). Spend five minutes on Floor, Set Origin and Set Scale and the final composite solves itself.
Conclusion
Blender motion tracking remains the most direct way to integrate 3D elements into live footage: good footage, contrast tracks, a clean solve and an oriented, scaled scene are all that separates an amateur result from a convincing one. If you want to see the full workflow in action, the video tutorials on our platform cover VFX, compositing and 3D integration with practical examples.