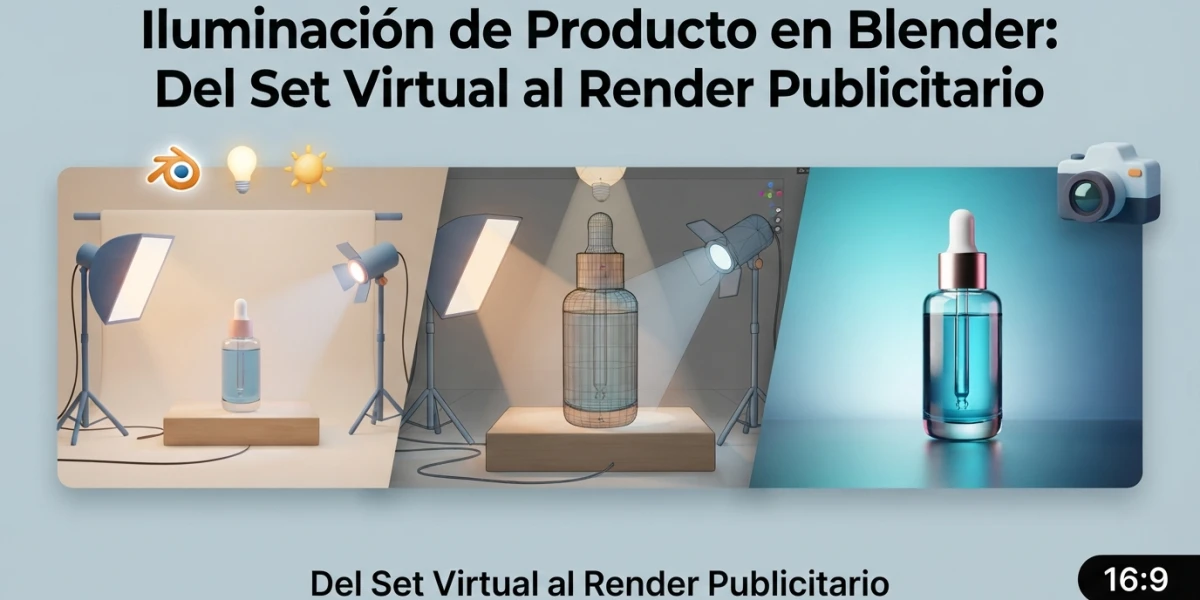
Image generated with AI
Product lighting in Blender: a studio setup that works

Diego Cortés
Author
The same 3D model can look like a free download or a catalog photograph: the difference is product lighting in Blender. Three lights, a seamless background and controlled reflections give any object that commercial finish.
Why light decides whether a product render looks professional
Before touching a single setting, it helps to understand what the eye reads first in a product image. It does not start with the geometry: it reads the reflection and the shadow. A perfume bottle can have a flawless model, but if the light is flat, the glass dies and the render screams "free asset". Light communicates quality because it defines shape, material and mood at the same time.
Hard light vs. soft light
In studio photography, softness depends on the apparent size of the source relative to the subject: the larger the source and the closer it sits, the softer the shadow. Soft light produces clean shadows with a gradual transition, the usual look for cosmetics and food. Hard light creates defined shadows that bring out texture, the style of tech and sports products. The practical rule of the real set survives intact in Blender: big source, soft light.
Build the set: infinite background and surface
Product rendering starts with the environment. You do not need a complex scene, just a space that does not compete with the object: a continuous background, a floor with just the right reflection, and lights planned like a real photography studio.
The sweep or infinite background
A hard horizon line betrays an amateur render. The classic technique to remove it is the sweep, an infinite background that curves the backdrop into the floor with no visible seam. In Blender you can build it with a large smoothly curved plane, or with a gradient background plus a shadow catcher plane that captures the product's real shadow. Both variants work in Cycles and in EEVEE, so the choice comes down to whether you prefer controlling a curve or working with a color gradient.
A subtle reflective floor
For sneakers, gadgets and packaging, a showroom reflection adds presence without stealing attention. A plane with a Glossy BSDF at low roughness gives that elegant sheen; you control the strength by mixing the material with a diffuse through the mix node factor. The goal is a floor that suggests polished surface, not one that competes with the product.
The studio base: three-point lighting (key, fill and rim)
The three-point scheme inherited from studio photography is the standard starting point in product visualization because it distributes volume evenly and separates the object from the background. It is made of a key light, a fill light and a rim light, and each one has a distinct job.
Key light with a large area light
The main light sits at 45 degrees to the side and slightly above the product, just as a photographer would place a softbox. In Blender you create it with Shift + A and the Light option, type Area. The detail that makes the difference is size: a large area light produces soft shadows immediately. Power is handled in watts, in physical units like a real set, which keeps exposure coherent when you add more lights.
Fill and contrast control
The second area light, weaker and placed on the opposite side, fills the shadows left by the key. Its power is your contrast control: raise it and the render turns clean and commercial; lower it or remove it and the shadows deepen, giving the image more drama. For a general catalog look, keep a soft fill that preserves some modeling on the shadow side.
A rim light to separate the product from the background
The third light travels behind the object, high or at a rear angle, and draws a rim of light along the silhouette. That bright edge separates the product from the background and is the fastest visual shortcut to a catalog feel: a well-defined luminous contour makes the object look as if it is lifting off the image. On a dark background the rim reads even stronger.
Controlled reflections for glossy and glass products
Glossy and glass materials reflect everything in front of them. If you light a bottle only with point lights, the result is hard speculars and shapeless white blobs. The secret of the commercial studio is lighting with surfaces, not with points of light.
Gradient emissive panels instead of raw lights
For bottles, jars and polished metal, emissive planes with a gradient texture work like a real softbox: they create long, clean reflections with a smooth falloff across the curved surface. The typical studio pattern is a backlight behind the product plus two gradient emissive panels on each side. By rotating those panels, the reflection slides over the glass and you can compose the exact light line you want to show.
White and black bounce cards
Fine control arrives with bounce cards, the 3D equivalent of the photographer's foam boards. A white matte plane placed next to the dark side of the product bounces light and opens that area; a black plane kills unwanted reflections. This adjustment layer is what separates an amateur render from a studio one: nobody sees the card, everyone sees the difference in the object's highlights.
HDRI used only for reflections
An HDRI in the world gives rich reflections instantly, and CC0 libraries such as Poly Haven offer studio environments for free with commercial use allowed. The common mistake is letting the HDRI light the whole scene and muddy the light direction you already composed. The product technique is to use it as a reflection source: lower its strength until it only adds interesting highlights and let your area lights do the main work.
Light Linking in Blender: light only what you want
Sometimes a light that is perfect for the product dirties the background, or a panel meant for the bottle spills too much onto the floor. Blender solves this with Light Linking and Shadow Linking, available in the Shading panel of both Cycles and EEVEE for several releases and present in 5.2 LTS. Light Linking decides which objects each light affects; Shadow Linking decides which objects a light can pass through or be blocked by. In practice it lets you isolate the rim light on the product or stop the main key from touching the sweep. You manage it with light and shadow linking collections assigned to each light, a workflow that replaces the old layer tricks.
Final render: Cycles, denoising and export
Once the light composition is locked, it is time to turn the viewport into a final image with the right engine and without paying for hours of unnecessary render time.
Cycles settings
Cycles is the engine for the final pass. Instead of pushing samples to the limit, use a moderate count and enable denoising: OptiX if you have an NVIDIA GPU, or OpenImageDenoise as the alternative, and the image comes out clean in a fraction of the time. If the product includes glass or liquid, check the maximum bounces so transmission and refraction resolve without black artifacts.
EEVEE for previewing
Before committing minutes of rendering, EEVEE lets you iterate light positions in real time. The soft shadows of area lights can be tuned in the viewport, and only then you switch to Cycles for the final pass. This two-engine workflow is what makes testing lighting variants affordable.
Exporting a PNG with a transparent background
If the product will later sit on an advertising backdrop or a composition, enable Film and the Transparent option in the render properties. Another route is keeping a color background and using a shadow catcher to integrate it. With a transparent PNG you get the isolated product and can change its context without rendering again.
Conclusion
Product lighting in Blender is a craft you train, not a trick you copy: a clean background, a three-light scheme, controlled reflections with panels and bounce cards, and light linking so each light does only its job. With that workflow, your next render of a perfume, gadget or package can cross the line between exercise and catalog piece. If you want to watch the full process in motion, the platform collects curated video tutorials on lighting and product rendering so you can study every step at your own pace.