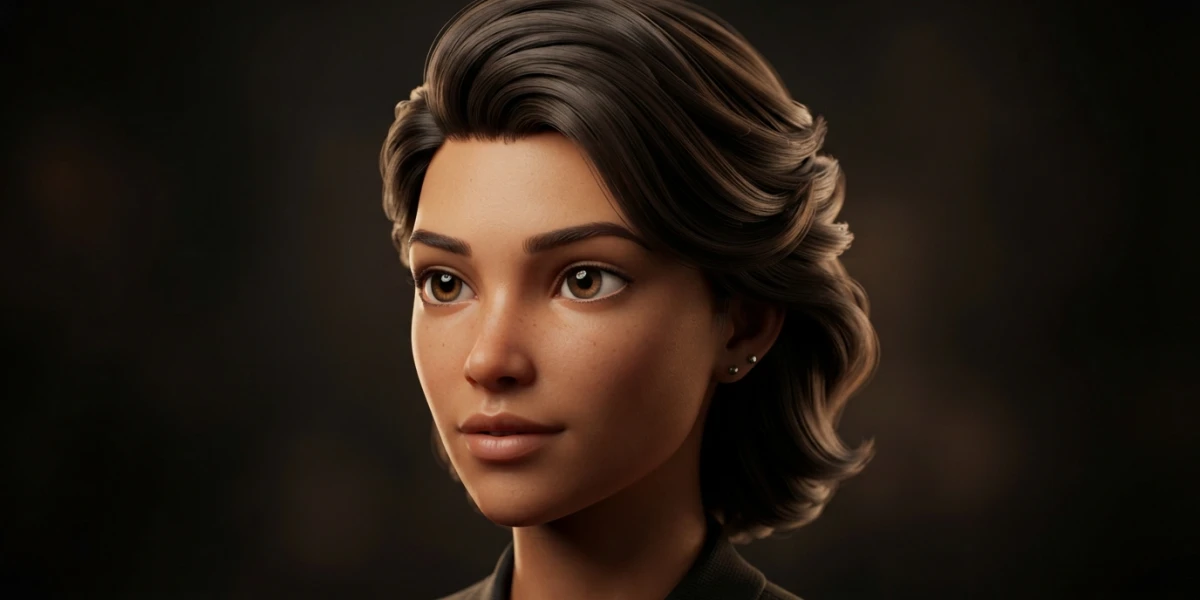
Image generated with AI
Blender Hair Curves: Grooming Guide Step by Step

Diego Cortés
Author
Hair in Blender is no longer a pile of particles: it is a curve you comb. Blender hair curves is the modern grooming system: a curves object, sculpt brushes, interpolated guides and a physical shader. This guide covers the full workflow, from Empty Hair to Cycles.
Why Blender Has Two Hair Systems
Since version 3.3, Blender ships with two ways to create hair, and confusing them is the most common source of frustration when starting a groom. One emits strands from a mesh through particles; the other treats hair as an independent curves object you sculpt. Understanding what each one does saves time and prevents fighting the wrong interface.
The legacy particle system
The classic workflow creates hair with a Hair-type particle system: the mesh acts as an emitter and each particle becomes a strand you can comb from the system settings. It is a powerful and stable method, used in production for years, and it is still available in Blender 5.2 LTS. Its full detail, with particle-based children and force fields, is covered in the dedicated article about the Blender particle system.
The modern Hair Curves system
The curves-based hair system first appeared experimentally in Blender 3.3 and took a major leap in version 3.5, which consolidated it and shipped 26 hair assets ready to use in the Asset Browser, according to the official release notes. Here hair is not emitted: it is its own curves object that you add, groom in Sculpt Mode and control with guides and children. Because it is an object, it can be edited, animated and reused like any other element of the scene.
Which one to choose
Hair Curves is the recommended option for modern workflows, characters and reusable assets, and it is where Blender is investing its development. The legacy particle system remains useful for scenes that already use it or for very specific effects. Both coexist in 5.2 LTS, so there is no need to migrate anything by force: just pick the right one for each job.
Adding Hair with Hair Curves: The Curves Object
The first step of modern grooming is creating the curves object that will hold the hair. The workflow is deliberately simple: the object is added empty and associated with the surface it must populate, so the hair follows the mesh.
Add > Curve > Empty Hair
With the mesh selected, hair is added from the Add > Curve > Empty Hair menu. The operation creates an empty hair curves object associated with the surface, ready to receive the first guides. This exact menu path is documented in the official Blender tracker and the manual, so it is worth memorizing: it is the entrance to the whole system.
Guides vs children
The Hair Curves model separates two levels of hair. Guides are the strands you groom by hand, the foundation of the hairstyle design. Children are the interpolated hairs Blender generates automatically between guides, and that is where real density lives: parameters such as Number of Children, clumping and variation define how much hair is visible and how it groups. The key idea is that you groom a few guides and the children do the rest.
Attaching to the surface
So the hair follows the mesh when it moves or animates, the manual documents specific operations: Attach Hair Curves to Surface fixes the curves to the surface, Redistribute Curve Points spreads the points evenly and Restore Curve Segment Length returns the original length to the segments after redistribution. Applying them in that order avoids the classic problem of hair floating in the air when the character moves.
Grooming in Curves Sculpt Mode
With the curves object selected, styling happens in Curves Sculpt Mode, a dedicated mode with brushes that feel like digital sculpting. This is where hair stops being a setting and becomes something you shape by hand.
Entering Curves Sculpt Mode
From the curves object mode list you activate Curves Sculpt Mode. The brush menu includes the main tools: Comb to style, Add to create new strands and Pinch to squeeze or tighten strands, plus other variants documented in the Curves Sculpting section of the manual. Each brush has its own radius and strength, adjustable with the usual shortcuts.
The grooming workflow
A practical workflow starts with broad Comb strokes over the guides to define the overall direction of the hair. Then Add fills empty areas and Pinch closes tips or builds volume in specific spots. For faces and symmetrical creatures, Sculpt Mode symmetry lets you groom one side and mirror the result, which speeds up the work considerably.
Grooming tips
The golden rule is to work with few guides and let the children provide the density: combing hundreds of strands by hand is slow and unnecessary. Enable the children view in the viewport to see the actual result while grooming, and check the render periodically, because what you see with guides alone does not represent the final hair.
From Grooming to Render: Material and Conversion
A good groom deserves an equally good material. Blender includes a dedicated shader for hair and fur that, combined with the right conversion, takes the curves to the final render.
Principled Hair BSDF
Principled Hair BSDF is the official shader for hair and fur in Cycles, physically based and designed for strands. It controls color in two ways: through melanin, simulating the real pigment behavior of hair, or through a direct color input. Roughness and transmission settings refine the look, and the manual recommends variation between strands to avoid the plastic result of a uniform color.
Curve to Mesh and conversion
For game pipelines or highly controlled styles, curves can be converted to mesh with Curve to Mesh, or used as the base for hair cards. It is a direct conversion that keeps the shape of the hairstyle and opens the door to classic texturing, although for cinematic-quality rendering the usual choice is to keep the curves.
Rendering in Cycles
Curves hair renders natively in Cycles with no extra setup. The object visibility and density options let you control render time: lower the children density for quick test renders and raise it for the final image is the standard workflow.
Procedural Variations with Geometry Nodes
The curves system integrates with Geometry Nodes, turning the manual groom into a procedurally controllable starting point.
Distribution and density
With Geometry Nodes you decide where hair grows and how much: vertex masks, weight painting and selections control coverage, and density can vary per area, for example a denser beard and softer eyebrows on the same object.
Length, curl and color variation
Per-strand attributes driven by noise eliminate the cloned-hair look: varying length, curl and color between strands with noise nodes is the difference between a believable hairstyle and a toy one. The manual documents Geometry Nodes support for hair curves.
Fur, grass and vegetation
The same system covers much more than human hair: creature fur, grass and vegetation use exactly the same flow of curves, guides and children. It is one of the most documented use cases in the community and one of the reasons mastering Hair Curves pays off in any portfolio.
Common Problems and How to Avoid Them
- Hair does not follow the mesh when animating: attach it properly with Attach Hair Curves to Surface or use the mesh as the parent surface object.
- Density too low or too high: adjust Number of Children and clumping; too many children increase render time without visible quality gain.
- Hair looks plastic: it lacks variation between strands, both in color and length, and a well-configured Principled Hair BSDF with proper roughness.
- Confusion between systems in the UI: the legacy one lives in the mesh Properties > Particles; the modern one is a separate Curves object. If hair does not appear where expected, you are probably looking at the wrong system.
Conclusion
Hair Curves is the present of hair in Blender: a curves object, guides combed with brushes, children that provide density, Principled Hair BSDF for rendering and Geometry Nodes for procedural variation. With that workflow you move from a particle wig to character grooming, and the same system handles fur and vegetation. To see it in action and keep learning, CGI Academy Hub curates video tutorials on character modeling and shading on the platform homepage.