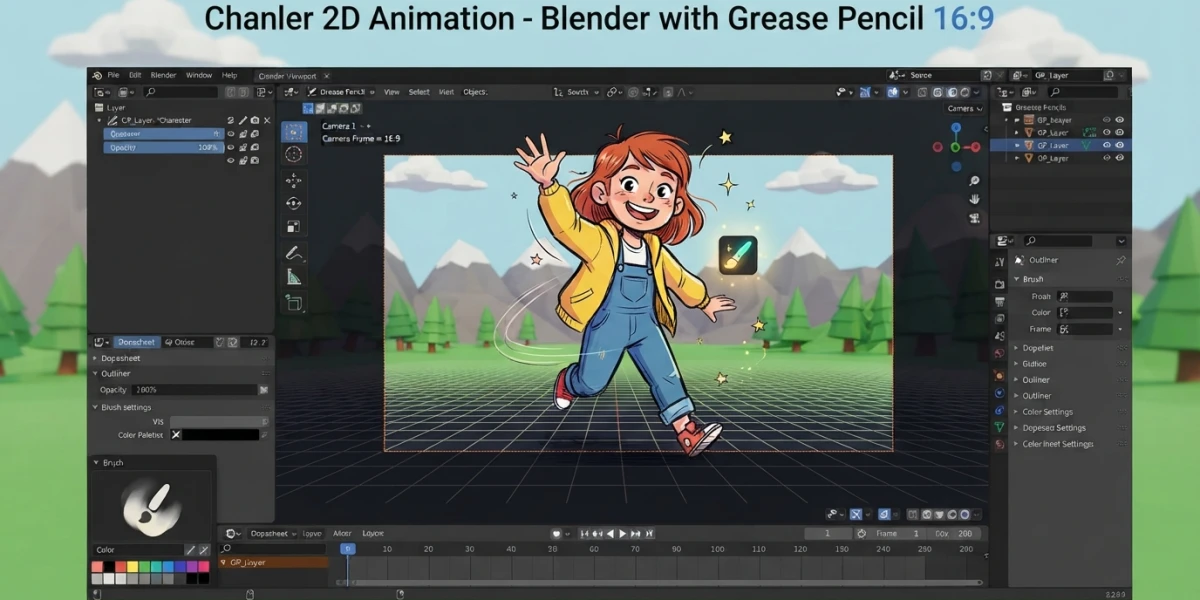
Image generated with AI
2D Animation in Blender with Grease Pencil: A Beginner's Guide

Diego Cortés
Author
2D animation in Blender no longer means leaving the program: Grease Pencil turns the 3D viewport into a canvas where you draw and animate strokes next to three-dimensional objects. Whether you come from illustration or motion graphics, here are the fundamentals to start animating today.
What Grease Pencil Is and What You Can Do with It
Grease Pencil is a Blender object type designed for drawing in 3D space. Its strokes do not live on a flat canvas: every point has three-dimensional coordinates, which opens up possibilities that a classic drawing program cannot offer.
A special object that draws in 3D space
The tool started as a notepad for storyboards and grew into a full animation system. You can use it for traditional frame-by-frame animation, cut-out animation with bones, motion graphics and even storyboards directly in the 3D view. Because the strokes exist in space, you can surround a model, draw over its surface and move the camera around the drawing without losing perspective.
A workspace ready for drawing
Blender ships with a workspace called 2D Animation that contains everything you need to begin: a Grease Pencil object already in the scene, stroke and fill brushes configured, and the animation panels visible. Open the program, switch to that workspace and the first stroke is one click away.
The Structure of a Grease Pencil Object
Before animating, it helps to understand what lives inside a Grease Pencil object, because editing it works differently from a regular mesh.
Points, edit lines and strokes
A Grease Pencil object has three basic components: points define the geometry of the stroke; edit lines connect those points and are what you see while editing; and strokes are the final visible lines with their thickness, color and texture. This separation lets you reshape the drawing without losing stroke quality.
The Add menu primitives
In the Add > Grease Pencil menu you will find three primitives. Blank creates an empty object with no points, ideal for starting from scratch. Stroke adds a reference stroke you can draw on top of. Monkey generates a 2D version of Suzanne, Blender's classic test monkey, perfect for experimenting with materials and effects without having to draw anything.
The Grease Pencil Modes
Like meshes, Grease Pencil objects have their own modes, each tied to a stage of the workflow.
Draw: the only mode that creates strokes
Draw mode is the only one where new strokes are created. Here you pick a brush, adjust thickness and smoothness, and draw directly in the viewport. It is the mode where you will spend most of your time as a beginner.
Sculpt: shaping the drawing with brushes
Sculpt mode lets you alter the drawing by dragging brushes over an area of influence, instead of selecting individual points. It is the most intuitive way to push, smooth or twist an existing stroke, like sculpting a mesh but applied to 2D lines.
Edit: the classic editing tools
Edit mode gathers the usual tools for adding, duplicating, transforming and deleting elements. When you need to move a whole stroke, duplicate a gesture or fix a point, this is the place.
Weight Paint: weights for cut-out rigging
Weight Paint mode assigns weights to stroke points through vertex groups. It is the foundation of cut-out rigging: you define which parts of the drawing follow each bone, and the stroke deforms like a jointed paper puppet.
Animating: Keyframes, Onion Skinning and Multiframe
Grease Pencil animation works with Blender's regular keyframe system, plus two aids designed for the 2D animator.
Onion skinning: seeing the ghost of neighboring keyframes
Onion skinning shows ghost versions of the keyframes before and after the current frame, usually in another color and with some transparency. With that visual reference you decide where to place the next pose without guessing: motion flows because you always see where you came from and where you are going.
Multiframe: editing several frames at once
Multiframe enables simultaneous editing across several frames. You can sculpt, move or paint weights on a group of frames at once, avoiding the need to repeat the same correction frame by frame. For global adjustments to a sequence, like nudging a gesture a few pixels, it saves a huge amount of time.
Layers, Materials and Effects
A professional drawing is organized in layers, and Grease Pencil supports that inside the object.
Layers to organize, materials to add color
Grease Pencil layers organize the drawing: every stroke belongs to a layer, and you can hide, lock or reorder them as in any drawing program. Materials, on the other hand, define the color and texture of strokes and fills. Combining layers and materials is what turns a loose sketch into a readable animation.
Real-time visual effects
Grease Pencil visual effects apply blur, glow, pixelate, shadow, rim and other treatments in real time inside the viewport. They work on the whole object, treating it like an image: they do not affect individual strokes but the entire drawing at once. They are ideal for finishing motion graphics without leaving Blender.
Dedicated, non-destructive modifiers
Grease Pencil has its own modifiers, such as Line Art, Array, Mirror, Armature, Outline or Noise. They are non-destructive operations: you can stack, reorder and tweak them at any time without damaging the original drawing. Line Art, for instance, generates automatic outline strokes from 3D objects, a direct bridge between the 2D and 3D worlds.
Mixing 2D and 3D in the Viewport
The big difference between Grease Pencil and a traditional drawing program is that your strokes coexist with three-dimensional geometry.
Drawing on and around 3D
You can draw over 3D objects, surround them with strokes, or parent a drawing to an object so it follows it in space. Storyboard artists use this freedom to plan shots directly on the scene, and 2D artists use it to give their characters real depth.
A simple example: a 2D character in a 3D scene
Imagine a character drawn from the front and a 3D box on the floor. You draw the character with strokes, place it in front of the box and animate both: the character jumps in 2D while the camera orbits the scene. The result has the expressiveness of hand drawing and the depth of 3D, with nothing to integrate in post-production.
Conclusion
Grease Pencil turns Blender into a complete 2D animation studio: you draw in space, animate with onion skinning and multiframe, organize the work with layers and materials, and mix your strokes with 3D geometry in the same scene. Start with a simple exercise, like a bouncing ball or a character made of a few strokes, and add complexity at your own pace. On this platform you will find video tutorials on 2D animation, character animation and motion graphics to keep improving with practical examples.