Maya for Beginners: Navigation, Interface and Polygon Modeling

Diego Cortés
Author
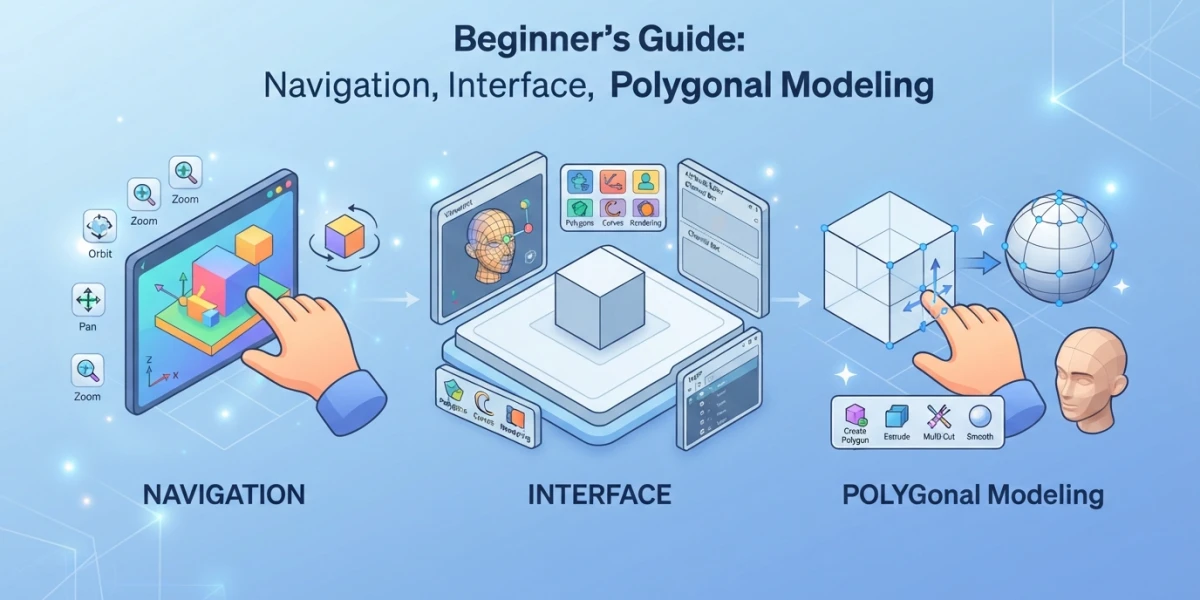
Maya for beginners can feel like a wall at first: dozens of panels, a viewport full of gizmos and a way of working very different from Blender. But with the right shortcuts and six modeling tools, you can go from the welcome screen to a model of your own in a single session. This guide walks through the Maya 2027 interface, viewport navigation and the essential polygon modeling tools, finishing with a hands-on exercise.
The Maya Interface in 2027
When you open Maya 2027 you find a divided workspace: the viewport takes the center, the Outliner lists every object in the scene on the left and the attribute panel sits on the right. Unlike Blender, where almost everything is solved with a single shortcut, Maya keeps each panel clearly separated, which pays off as your scene grows.
Viewport, Outliner and Panels
The viewport is your window into the model: here you select, transform and review the result. The Outliner lists all objects, groups and cameras in the scene hierarchy; it is the equivalent of Blender's outliner and the fastest way to find anything once the scene fills up. The attribute panel shows the properties of the selected object: transforms, construction history and shape options.
The Hotbox: Your Menu Under the Cursor
The hotbox is the best-kept secret of the Maya interface. Hold the right mouse button in the viewport (without releasing) and a radial menu appears with every option: modeling, rigging, animation and more, grouped around the cursor. It is the fastest way to switch tools without moving your hand to the top menu.
Viewport Navigation
The golden rule in Maya is that the Alt key combined with the three mouse buttons moves the camera. If you come from Blender, the main difference is here: in Blender the scroll wheel zooms and the middle button pans; in Maya everything goes through Alt combinations.
Orbit, Pan and Zoom: Alt + Mouse Buttons
- Alt + left button (LMB): orbit or tumble. You rotate the camera around the point of interest.
- Alt + middle button (MMB): pan or track. You move the view sideways without rotating.
- Alt + right button (RMB): dolly or zoom. You move the camera in and out.
The scroll wheel also zooms, but professionals use the Alt combinations because they are more precise and keep your hand in place. Spend ten minutes practicing until they become automatic: it is the skill you will use most every day in Maya.
Selection and Transformation: Q, W, E, R
The four essential keys on the top row are Q, W, E and R. Q activates the select tool, W moves the object, E rotates it and R scales it. You will see the matching gizmo on the selected object: drag the colored arrows to transform along a single axis, or the center cube to move freely. In Blender you use G, R and S; in Maya, W, E and R do the same job.
Shading Modes and Quick Frames
The keys 1 through 7 change the viewport display mode: from wireframe (key 4) to smooth shaded with textures (key 6). The most useful mode for modeling is 5 (smooth shaded), which shows the geometry with lighting and no distractions. To frame the view, press F to focus the selected object and A to see the whole scene. Orthographic views (front, side, top) are chosen from the viewport menu or with the spacebar to toggle between one and four views.
Polygon Modeling: The Essential Tools
Polygon modeling in Maya follows the same logic as any 3D application: faces, edges and vertices that you manipulate with specific tools. These six cover eighty percent of real-world cases.
Extrude: Pulling Geometry from Faces
Extrude takes a selected face, edge or vertex and generates new geometry from it, as if you were pulling clay. Select a face, activate the Extrude tool and drag to push out volume: it is the foundation for building almost any shape from a cube.
Bevel: Smooth Edges and Controlled Chamfers
Bevel rounds selected edges and adds control segments. It is essential so an object does not look like clay: a box without bevel has hard edges, while a subtle bevel gains realism under render. Control the number of segments and the chamfer amount from the option panel.
Multi-Cut and Insert Edge Loop: Topology Where It Is Missing
Multi-Cut slices faces by drawing lines over the surface, ideal for adding detail where the geometry does not allow it. Insert Edge Loop inserts a full ring of edges around an object, perfect for creating smoothing zones or preparing an area to extrude. Both are the most used topology tools in production.
Bridge and Merge: Joining and Cleaning Geometry
Bridge connects two facing edges or faces by creating a surface between them, useful for closing gaps or joining pieces. Merge fuses nearby vertices or edges into one, the go-to cleanup tool for removing duplicated geometry or closing holes.
Hands-On Exercise: Modeling a Simple Prop
Let us apply all of the above by modeling a simple prop: a toolbox. You need nothing more than a primitive and the tools you just learned.
From Primitive to Base Shape
Create a cube from the polygon primitives menu. With W, E and R place it at the center of the scene and give it box proportions. Select the top face and use Extrude upward to create the lid, then scale it slightly with R to give it a briefcase look.
Details with Multi-Cut and a Final Bevel
With Multi-Cut, draw a horizontal line around the body of the box to mark the separation between lid and base. Select that edge and apply a small bevel so the seam looks natural. Add a handle by extruding two faces of the lid and joining the ends with Bridge. Finish by applying a soft bevel to all visible edges.
Checking Normals and Non-Manifold Geometry
Before accepting the model, check that there is no non-manifold geometry (edges shared by more than two faces) or inverted normals. From the mesh menu, use the cleanup option or select everything and review the normals in shading mode. A clean model avoids render artifacts and export problems.
Tips for Continuing Your Learning
Free Student License and Official Resources
Maya costs around 1,875 dollars per year, but if you are a student you can get a free license for as long as you study. Also take advantage of AREA by Autodesk, the official learning platform, which includes fundamentals courses with guided modeling, rigging and animation exercises.
Which Version to Use in 2026
The current version is Maya 2027, released in March 2026 with AI-assisted tools and improvements in modeling, look development, simulation and rendering. If your school or studio uses an older version, do not worry: the shortcuts and tools in this guide have worked the same way for years.
Conclusion
Maya for beginners comes down to three blocks: mastering navigation with Alt and the mouse buttons, memorizing the Q, W, E, R keys, and practicing the six essential modeling tools. With that and the toolbox exercise, you will have the foundation to tackle any intermediate tutorial. At CGI Academy Hub you will find video tutorials that expand each of these topics with complete step-by-step projects.