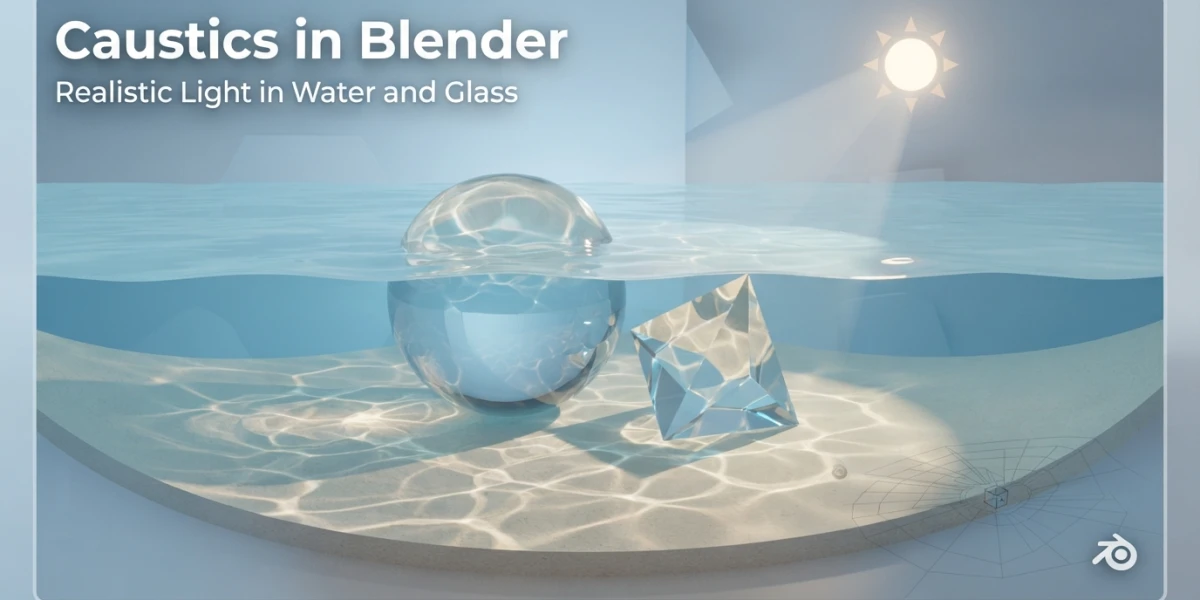
Image generated with AI
Blender Caustics: Realistic Water and Glass Without Noise

Diego Cortés
Author
Caustics in Blender are one of those details that separate a good render from a spectacular one - and also one of the most frustrating, because of the noise. The good news: there are two paths, calculating them for real with Cycles or faking them for EEVEE, and you can master both in an afternoon.
What Caustics Are and Why They Cost So Much
A caustic is the pattern light draws when it bends through a transparent medium or bounces off a shiny surface. The wavy net on the bottom of a pool, the highlights a glass of water throws on a table, the arc of light traced by a polished metal ring: all of those are caustics. In real life they are free; in a render they carry a price in time and noise that is worth understanding before you turn them on.
Refraction and Reflection: The Two Kinds of Caustics
Blender treats two types separately. Refractive caustics come from light that passes through water or glass and changes direction when it enters a new medium: the pool pattern, the bright spot behind a magnifying glass. Reflective caustics, by contrast, come from light bouncing off highly polished curved surfaces, like chrome or jewelry. The render panel lets you enable them independently, because not every scene needs both.
Why Cycles Renders Them with Noise
Cycles is an inverse path tracer: it shoots rays from the camera into the scene and hopes they find the light on the way. A caustic is exactly the kind of path that method rarely finds: the light has to hit the source, cross the glass and reach the floor at a very specific angle. When the tracer cannot complete the path, you get a stray bright dot - the famous fireflies. It is like looking for someone in a city without GPS: possible, but slow and full of false positives.
Real Caustics in Cycles: Step-by-Step Setup
The first thing to know is that Blender ships with caustics disabled for performance. Turn on what comes switched off, adjust three or four values, and the engine starts computing them; the rest is taming the noise.
Light Paths: Enable Refractive and Reflective Caustics
Go to Render Properties - Light Paths - Caustics. There you will find Reflective Caustics and Refractive Caustics, both off by default. For water or glass, enable Refractive; for polished metal and chrome, Reflective. If your scene does not need them, leaving them off saves render time, so the rule is simple: enable them only when the hero material justifies it.
Filter Glossy: The Setting That Was Erasing Your Caustics
This is the number one cause of the classic "I enabled caustics and see nothing". Filter Glossy defaults to 1.0 and blurs glossy reflections to kill noise, but it also erases caustics. Lower it to 0.0 or 0.5 and the patterns come back. It is a trade-off: at 1.0 the render is cleaner but loses the phenomenon; near 0.0 you keep it and pay a bit more computation time.
Objects: Cast and Receive Shadow Caustics
Global settings are not enough: every object decides whether it participates. In Object Properties - Shading - Caustics, mark Cast Shadow Caustics on the object that bends the light (the glass, the water surface) and Receive Shadow Caustics on the object that catches the pattern (the floor, the wall). Without that pair, nothing shows up even with Light Paths enabled. A little-known detail from the manual: bump maps and normal maps are ignored when caustics are computed, so do not expect fine relief to change the pattern.
Samples, Denoising and Path Guiding to Tame the Noise
With caustics on, noise goes up, and the naive answer - cranking samples to 4000 - works but hurts. The recommended flow: raise samples to 2048 or more, enable the denoiser (OpenImageDenoise) and, above all, enable Path Guiding in the Sampling panel. Path Guiding integrates Intel OpenPGL and has been available since Blender 3.4; it guides rays toward regions of indirect light and dramatically reduces noise in scenes with caustics. Indirect light clamping works as a last resort, with care: it can flatten caustics if you push it too far.
Believable Materials: Water and Glass
Caustics will not show up if the material is not built well. Two values govern almost everything.
Principled BSDF: Transmission, IOR and Absorption
For water: Transmission at 1.0, IOR 1.33 and a hint of Absorption with a bluish tint, because photons get absorbed with distance and that is why deep water looks blue. For glass: IOR between 1.45 and 1.5. Keep Transmission Roughness low so the refracted pattern stays sharp; if you raise it, caustics blur just like with Filter Glossy.
Light Matters: Small, Intense Sources
Caustics look best with small, intense sources: a directional sun coming through a window, a concentrated spot. A huge soft area flattens the phenomenon until it disappears. The classic practice scene: a glass of water on a table, sunlight through a window and the pattern thrown onto the wood.
Fake Caustics: The Fast Alternative for EEVEE
EEVEE does not compute real caustics, and sometimes you do not want to pay the Cycles time either. That is where fake techniques shine, and in many productions they are the right call.
Spotlight with a Procedural Caustics Texture
The simplest: a spotlight aimed at the floor with a procedural caustics texture in the light's texture node. Noise or musgrave nodes plus a color ramp give you the wavy pattern, and it works in both Cycles and EEVEE. It is the ideal option for pools and underwater shots where fine detail does not justify real computation.
Fake Caustics with Geometry Nodes (Point Mesh)
The mesh-based technique popularized by Evan Wallace and brought to Geometry Nodes since Blender 3.1 distributes points over the water surface and projects a "spot" from each one toward the floor. It runs in EEVEE, needs no high sample counts and allows chromatic dispersion with three RGB lights. It is a community technique, not an official feature, but it is so established that many studios use it in production.
Animating the Pattern with Vector Mapping
Both the projected texture and the point mesh animate with the same trick: offset the X and Y of Vector Mapping over time. The pattern moves like real water instead of staying frozen, which is the mistake that gives a fake away.
Tips for Clean, Fast Renders
The Light Path Node: Blending Glossy and Diffuse per Ray
The Light Path node is the classic anti-firefly tool. With Is Diffuse Ray and Is Glossy Ray you can mix shaders by ray type: for example, a clean glossy for the rays that generate caustics and a cheaper version for the rest, keeping indirect lighting without multiplying the noise.
When It Makes Sense to Disable Caustics
If the scene has no water, glass or polished metal as its heroes, leave Refractive and Reflective off: you save render time and replace the realism with a cheap projected texture. The production decision is clear: real caustics for hero shots, fakes for everything else.
Conclusion
Caustics in Blender have two paths and neither is mysterious. If you want the real phenomenon, enable Refractive or Reflective in Light Paths, lower Filter Glossy, mark the objects as caster and receiver, build a water or glass material with the right IOR and tame the noise with samples, denoising and path guiding. If you need speed or work in EEVEE, a spotlight with a procedural texture or a Geometry Nodes mesh solves the pattern in minutes. To see it in action on real scenes, the CGI Academy Hub platform gathers curated video tutorials on water, glass and lighting that complement what you just set up.