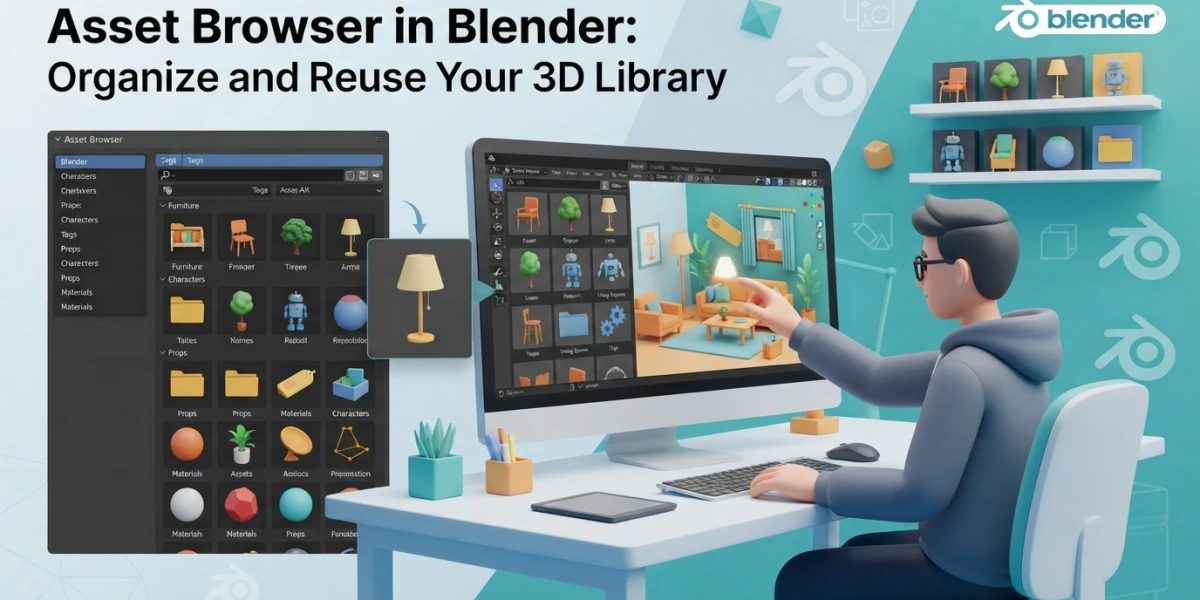
Image generated with AI
Blender Asset Browser: Organize Your 3D Library

Diego Cortés
Author
The model you built months ago exists, but it is lost in some folder. The Blender Asset Browser turns your files into a visual library: mark models, materials and node groups as reusable and drag them into any project. This guide shows you how to use it.
The Blender Asset Browser: What It Is and How to Open It
The library editor
The Asset Browser is the main interface in Blender for organizing and using assets, according to the official Blender 5.2 LTS manual. To open it, create a new area and pick Asset Browser from the Editor Type selector in its top left corner. You will see a panel with your assets as thumbnails, ready to browse, much like the content browser of other 3D applications. You can consult the full editor documentation at the official manual page.
What can be saved as an asset
Almost any data-block in Blender can become an asset: finished objects, materials, node groups (including Geometry Nodes setups), brushes, images and more. In a single library you can gather everything from a chair model to a scattering node setup, along with the brushes you use for painting.
Previews and names
Each asset shows a preview and a name. A descriptive name and a clean preview make the library genuinely usable: at a glance you know what each file contains without opening it. Vague names like "material" or "mesh" become a real problem once your collection grows.
Mark Your First Assets
The Mark as Asset operator
The Mark as Asset operator lives in the data-block selector, in the Outliner and, for objects, in the Object menu of the 3D viewport. There is no single way to use it: select the data-block and mark it through whichever path is most convenient. Once marked, Blender treats it as a reusable asset.
Saving is mandatory
The asset only gets registered when you save the .blend file. If you mark an object and close without saving, it does not exist for the library. Make a habit of saving right after marking each asset; it is the most common mistake for people starting to organize their collection.
From object to material to node group
Try a simple scene to see the range of asset types. Mark a finished object, for example a table. Mark a wood material you built with procedural nodes: that material you worked so hard to achieve now reuses with a single drag. And mark a Geometry Nodes group you use often so you do not rebuild it in every project.
Asset Libraries: Your Registered Folder
Registering a library
Asset libraries are folders on your disk that you point Blender to. Open Preferences with the Ctrl+, shortcut (Ctrl + comma) and go to the File Paths section, Asset Libraries area. Add a folder and give it a name. Blender does not move or copy your files: it only recognizes them as a source of assets.
How Blender indexes the library
Blender generates an index of all assets contained in a library and keeps it up to date as you modify files. That index is stored in the local cache directory, and the .blend files can sit in the top level of the library or in any subdirectory. If an asset does not appear, check that the file is saved and inside the registered folder.
The Essentials library
Blender ships with an Essentials library loaded and active in your user preferences by default, with included brushes and other example assets. It works as a sample of a well organized library and as a reference for what you can store, while also giving you ready to use resources.
Multiple libraries for different needs
You can register several libraries and activate or deactivate them as needed. A good setup is to keep a shared personal library with the materials and node groups you always use, plus project libraries for assets specific to each job. That keeps reusable content separate from one off pieces.
Catalogs: Organization That Survives Moving Files
Hierarchical catalogs
Asset catalogs look like folders but are completely independent of where your .blend files live. They are defined with hierarchical paths, for example Characters/Ellie/Poses. This independence is the key: you can organize assets logically without depending on where each file physically sits on disk.
Sub-catalogs are inherited
Selecting a catalog in the Asset Browser shows the assets in that catalog and in its child catalogs. If you pick Characters/Ellie/Poses, you will also see the ones in Characters/Ellie/Poses/Head and Characters/Ellie/Poses/Hands. This inheritance lets you navigate from broad to specific without jumping between levels.
Reorganize without fear
Because catalogs live in shareable catalog definition files (for example blender_assets.cats), you can rearrange them without moving or renaming files on disk. That is why your organization does not break when you move folders: the classic mistake of losing everything after reordering files disappears.
Using Assets: Drag, Link or Append
Drag and drop
Assets are dragged into the 3D viewport to place them in the scene, and in some cases into other editors. Materials are dropped directly onto the object that will use them. It is a visual, immediate flow: with one drag you bring into your scene something you created weeks ago.
Link vs Append
The Asset Browser lets you choose the import method. With Link the asset is linked into the current file and becomes read only; future changes in the asset file are reflected in every file that links it. With Append the asset and its dependencies are copied into the current file. Practical rule: use Link for shared assets you want to update across all your projects (like node groups) and Append for unique pieces you will modify (like models).
Poses and actions as assets
You can also save actions and poses as assets, for example to reuse poses in your character animation work. It is a way to bring the same reuse logic into animation, connecting your library with your rigging and motion projects.
Recommended Personal Library Workflow
A suggested folder structure
A library root with subfolders by type works well: models, materials, geometry nodes, hdri and lighting, brushes. Then mirror that logic with catalogs that look and navigate the same way. Keeping both levels aligned lets the library grow in an organized manner.
Rules that prevent chaos
Name things descriptively from day one, review the previews and force regeneration if any comes out empty, save after marking each asset and check the index if an asset does not show up. Blender re-indexes on its own, but the file must be saved and inside the registered library. A few rules are enough to avoid clutter as you accumulate hundreds of assets.
Sharing libraries
Because a library is just a folder with its catalog files, you can copy it to another machine or workstation. In a studio everyone can use the same shared library, with the same organization and the same assets ready to drag in. That turns reuse from a personal habit into a team asset.
Conclusion
The Blender Asset Browser is the difference between starting from scratch in every project and building on what you already made. Mark your assets, register them in libraries, organize them with catalogs and choose Link or Append depending on the case. To see the workflow in action, the platform gathers curated Blender and CGI video tutorials to reinforce these concepts with hands on examples.