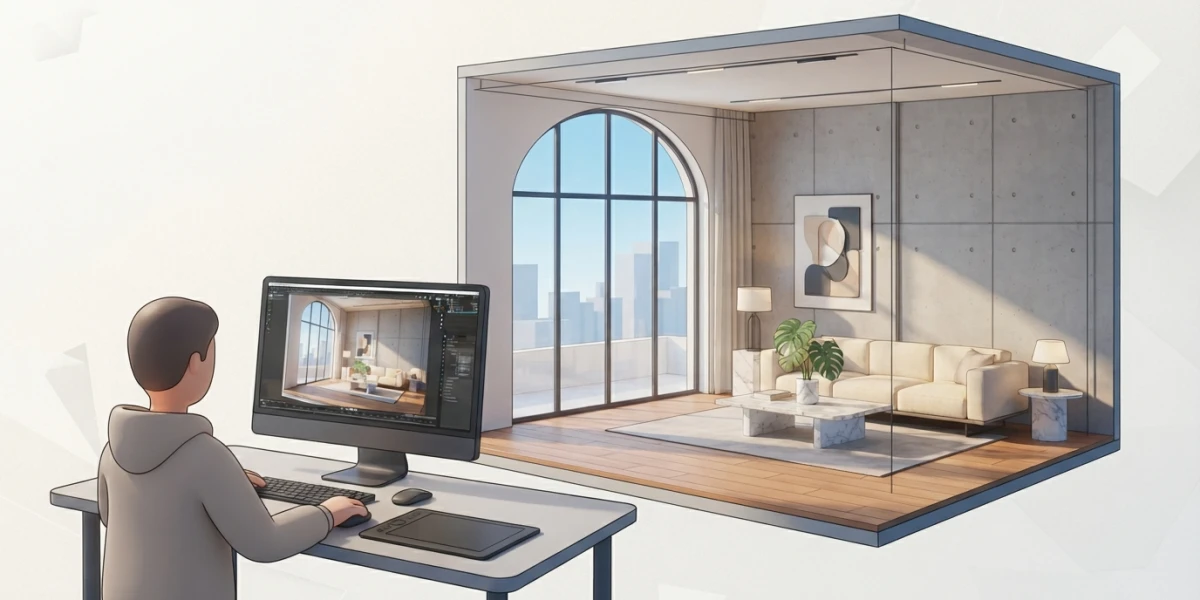
Archviz in Blender: Realistic Interiors for Architecture

Diego Cortés
Author
Archviz in Blender is the most accessible gateway into professional CGI: with free software, an average computer and an organized workflow you can produce interiors that look like photographs. The secret is not expensive tools, but mastering five pieces: model, materials, light, camera and render.
What Archviz Is and Why Blender Is a Real Option
Architectural visualization, or archviz, is the craft of creating photorealistic images of spaces that do not exist yet or that you want to show before they are built. It is the niche where many 3D artists land their first paid jobs: architects, real estate agencies and interior design studios need quality renders, and the result is measured in sellable final images, not in software certifications.
From Sketch to Photorealism: What You Really Need
A believable interior is built with a short chain: a model at real scale, physically correct materials, lighting that imitates real light, a camera placed the way a photographer would and a render engine that resolves everything with accuracy. Blender covers all five links with no license cost, and since Cycles became the default ray-tracing engine, final quality stands up to packages that cost thousands of dollars a year.
The Model: From Floor Plans to Scene
Every architectural render starts on paper. The most practical approach is importing CAD or PDF plans as a reference image and modeling on top at real scale: a three-meter wall must measure three meters in the scene, because light and materials are calculated from physical measurements.
Importing CAD or PDF Plans as Reference and Modeling at Scale
In Blender you can drag the floor plan file into the viewport and use it as a background guide. With the measurements from the plan, model the walls with curve extrusion or adjusted cubes, and verify scale with a one-meter cube placed in the scene. Working in meters from the first minute avoids the most expensive mistake in archviz: beautiful renders with impossible proportions.
Free Add-ons: BlenderBIM and Archipack
Two add-ons turn Blender into a serious architecture tool. BlenderBIM opens the BIM/IFC workflow: you can import and export complete projects with intelligent walls, doors and windows, and stay coordinated with Revit or ArchiCAD. Archipack provides parametric elements and furniture: a staircase, a railing or a window that adjust by dragging parameters, ideal for populating the scene quickly. Both install from Edit, Preferences and Add-ons, and both are completely free.
PBR Materials with Principled BSDF
The Principled BSDF is a single shader that covers the vast majority of architectural materials. Instead of learning a different node for each surface, you adjust the same parameters: base color, roughness, normal and, depending on the case, clearcoat or transmission.
Why a Single Shader Covers Almost Every Material
The Principled shader is based on the Disney model and is designed to be physically plausible: one node represents wood, metal, plastic, glass and skin. For architecture this simplifies everything: you master one node and apply it across the scene, changing values. A wooden floor is a base color with a grain texture in the normal map and low roughness; polished metal is a dark base color with almost no roughness.
Floors, Metal, Glass and Fabrics: The Parameters That Matter
Wood demands attention in the normal map: the grain must read as relief. Metal works best with low roughness and, if it is chrome, with an HDRI environment reflecting on it. Glass uses high transmission and low roughness, and sofa fabrics need high roughness to scatter light. Clearcoat, that fine sheen of lacquered surfaces, is what separates a cheap parquet floor from one that looks freshly varnished.
Interior Lighting: Light Is Photography
In archviz, light matters more than any other factor. A scene with perfect models and bad lighting looks like a render; a simple scene with good lighting looks like a photo.
Sun and Sky for Exteriors; HDRI Plus Area Lights for Interiors
For exteriors, the classic combination is a directional sun with a sky: the sun gives sharp shadows and the sky fills shadow areas with bluish light. For interiors, the usual setup is an HDRI lighting the environment from outside the windows plus area lights for artificial sources. In a twilight interior, warm area lights from 2700K to 3000K create the contrast with the cold exterior light that makes the time of day recognizable.
One Strong Key Light Beats Five Weak Fill Lights
The typical beginner mistake is spreading many weak lights so everything is visible. The result is flat and directionless. The rule studios use: one strong key light through the window, with its intensity proportional to the size of the scene, and few fills that only soften shadows. Light enters with direction, shadows tell the geometry and the image gains depth without adding anything else.
Portal Lights in Cycles: Directing the Sampling
Cycles has a tool designed exactly for interiors: portal lights. You place them at openings, like windows or doors, and they tell the engine where to direct light sampling. Noise in the areas farthest from the window drops drastically and the final render cleans up much sooner.
Camera and Composition
The archviz camera behaves like a real photography camera: focal length, height and framing decide whether the image communicates.
35-50mm Focal Lengths and Eye-Level Height
Focal lengths from 35 to 50mm reproduce the perspective perceived by the human eye and are the archviz standard. Very short focal lengths, like a 16mm wide angle, distort vertical lines and turn a room into a cave. Camera height also matters: placing it at eye level, between 1.60 and 1.70 meters, makes the viewer feel they are inside the space.
Rule of Thirds and Leading Lines
The rule of thirds works the same as in photography: divide the frame into nine parts and place the main elements at the intersections. Architectural lines, like the edge of a table or the joint of a floor, should guide the eye toward the focal point. And a detail that separates professionals: keep verticals straight, with no camera tilt, unless you are deliberately looking for an expressive effect.
Rendering: EEVEE for Testing, Cycles for Delivery
The real production workflow uses two engines: EEVEE for quick tests and Cycles for the final result.
Quick Tests with EEVEE and Finals with Cycles and Denoising
EEVEE renders in real time and is great for moving the camera, testing materials and composing the frame without waiting. When the scene is locked, you switch to Cycles with denoising enabled for the final render. Cycles computes light with physically accurate ray tracing, which is what gives an archviz interior that real-photography feeling EEVEE cannot fully reach.
Bounces: Diffuse 6-8 in Bright Interiors and High Transmission with Glass
Bounces control how many times light rebounds in the scene. In bright interiors you should prioritize diffuse bounces between 6 and 8, because light bounces a lot between white walls and floors. If the scene has glass, raise transmission bounces above 16 so light passes through it correctly without being cut off. These are two settings in the render panel that change the result more than any other parameter.
Final Adjustment in the Compositor
The raw render is rarely the final delivery. In the Blender Compositor, an exposure curve, a slight contrast increase and a targeted color correction turn a correct render into an image with a professional finish. Always compare the result with a real photograph of the same type of space: that comparison tells you what is missing.
Conclusion
Archviz in Blender requires nothing more than a method: a scale model from floor plans, materials with Principled BSDF, one strong key light with portals in Cycles, a 35-50mm camera and a final pass with Cycles and denoising. With those five steps, any artist can produce interiors that look like photographs and step into a niche with real demand. At CGI Academy Hub you will find video tutorials on lighting, texturing and rendering that go deeper into each of these steps with complete projects.