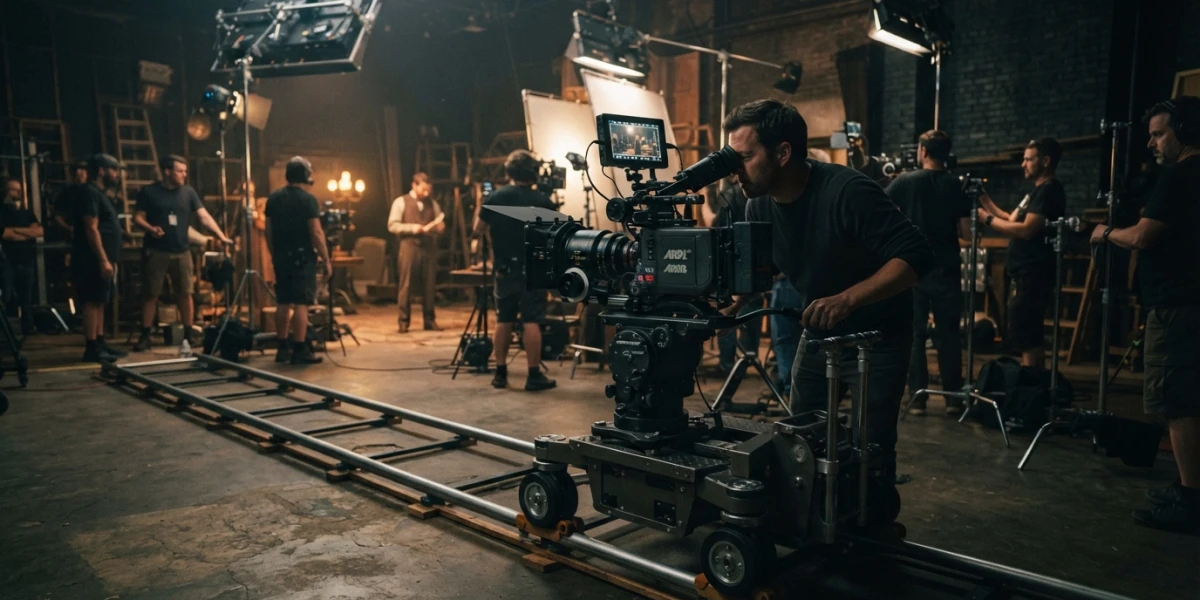
Image generated with AI
Blender Camera Animation: Cinematic Camera Moves That Elevate Your Renders

Diego Cortés
Author
Blender camera animation is what separates a render that floats from a shot with intent. With three methods, keyframes, curves and Track To, and a handful of shortcuts, the same shots that used to feel stiff become camera moves that guide the viewer's eye.
The Camera Is Half the Shot
The viewer cannot tell you why a scene feels professional; they feel it. And in most cases, what they feel is the camera: smooth, purposeful motion directs attention, sets the rhythm and sells the scale of the scene.
Why Smooth Motion Sells More Than a Thousand Modeling Details
A spectacular model shot with a static, lifeless camera looks like a screenshot; a simple scene with a careful tracking shot looks like a production. The camera is the first layer of storytelling the audience perceives, so it deserves the same polishing time as the most complex shader.
Before Animating: Controlling the Camera in the Viewport
Animating a camera you cannot handle by hand is building on sand. These shortcuts give you total control of the framing before you set the first keyframe.
Lock Camera to View and Numpad 0
Select the camera, enable Lock Camera to View in the view panel, or from the navigation gizmo, and press Numpad 0 to enter camera view. From that moment, navigating the viewport moves the camera instead of the view: it is the fastest way to frame, because you use the navigation controls you already know.
Roll, Pan, Dolly and Tracking Shortcuts
With the camera selected in camera view, R rolls, the rotation on the local Z axis, R+X+X pitches vertically and R+Y+Y yaws horizontally. G+MMB dollies, moving closer and farther away, and moving the mouse after G you get tracking; press X or Y twice for pure horizontal or vertical tracking. Memorize the R and G pair and you have 80% of the classic camera moves.
Align Active Camera to View (Ctrl+Alt+Numpad 0)
When the viewport framing is perfect but the camera is not there, press Ctrl+Alt+Numpad 0 and the active camera snaps to exactly that point of view. Ideal for composing first and placing the camera afterwards.
Method 1: Keyframes and the Graph Editor
The most direct method: the camera is an object like any other, so it is animated with location and rotation keyframes.
Keyframing Location and Rotation (I)
Place the camera on the first frame, press I and choose Location or Rotation, and repeat on the last frame. Understanding the difference between moving the camera and moving the target is key: if the camera looks at a fixed point in space, keyframe only the location; if you want the framing to pivot, keyframe the rotation.
The Focal Length Can Be Animated Too
Zoom is not just a camera setting: in recent Blender versions you have to enable the Animate property dot next to the value to keyframe the focal length instead of setting it globally. Once enabled, zoom becomes another animation channel, ready for curves and easing.
Smoothing in the Graph Editor
Default keyframes produce linear motion, and linear motion is the enemy of the cinematic look. Open the Graph Editor and adjust the curves: ease in and out, handles that accelerate and brake like a real camera. A physical camera never starts at constant speed; neither should your animation.
Method 2: The Camera on a Curve (Follow Path)
For long, smooth tracking shots nothing beats a curve: the path is designed once and the camera travels it with perfect fluidity.
The Follow Path Constraint
Add the Follow Path constraint to the camera and assign a Bezier curve: the camera sits on the curve and its position is controlled by the curve's Evaluation Time, in frames, or by an offset. With the follow option enabled, the rotation aligns with the curve's direction, so the camera looks where it is going.
Why a Bezier Curve Gives Smoother Tracking Than Hundreds of Keyframes
A curve defines a continuous trajectory with interpolation built in: there are no intermediate keyframes to generate or curves to fix by hand. Besides, editing the curve is editing the shot: move a handle and the whole path readjusts coherently.
Method 3: Track To, the Camera That Watches a Target
When the camera must follow a moving subject, keyframing the rotation by hand is unnecessary pain. The Track To constraint solves it on its own.
The Track To Constraint
The Track To constraint makes the camera point permanently at a target and rolls around itself so that a local axis always stays up: it is the Look At of other programs. Add it, assign the target and the camera will follow the subject without a single rotation keyframe.
Using an Empty as the Target
The classic target is an Empty: animate it and the framing moves without touching the camera's position. This separation between where the camera is and where it looks is the foundation of almost every professional follow shot.
The Dolly Zoom (Vertigo Effect)
The most famous shot in suspense cinema is done in Blender with two keyframes and an animated focal length.
The Technique
While the camera moves closer to the subject, the focal length decreases, or the other way around: the subject's size stays constant and the background distorts around it. That progressive compression of space is what creates the feeling of vertigo.
Starting Values
A proven starting point: begin with a long focal length of 80 mm and bring it down to about 23 mm while the camera advances toward the subject. Keyframe the position and the focal length on the same frames so the change is simultaneous and the subject's framing does not jump.
When to Use It
The dolly zoom is a very strong effect: use it in moments of tension or revelation, and in moderation. If every shot in your project has one, it stops being a device and becomes a cliché.
Final Polish: Making It Look Like Film
The last 20% of the work is what turns a correct animation into one that looks expensive.
Avoid Linear Motion
Everything moving at constant speed looks robotic. Scan the Graph Editor for straight lines and apply easing: soft accelerations and decelerations at every direction change.
Subtle Handheld, Depth of Field and 24 fps
A tiny noise-based micro-movement, the handheld, removes the digital stiffness from static shots. Depth of field directs attention to the subject and blurs the background. And if the project allows it, render at 24 fps: it is the cadence the eye associates with cinema.
Camera Switching with Markers
For multi-camera scenes, place several cameras in the scene and use timeline markers to bind each segment to a different camera: the cuts stay clean and you can alternate shots without duplicating the scene.
Conclusion
Blender camera animation is learned in three levels: mastering the framing shortcuts, choosing the right method for each shot, keyframes, curve or Track To, and polishing the curves until the motion breathes. The dolly zoom and the staging details are the finishing touch, but the foundation is understanding that the camera guides the viewer's eye. To see these moves applied to real projects, the animation and cinematography tutorials on the platform are a great next step.